loose, the RingDrive may not engage properly and could lead to permanent damage
of the internal parts.
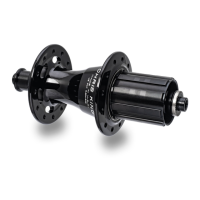
Front hub bearing preload adjustment
If in a bike shop or workshop environment:
Remove axle skewer from hub.
Secure “L”-shaped 5 mm hex key in vice with shorter
end of “L” facing up.
With adjusting cone facing up, insert hub axle onto 5 mm
hex key so that hub can sit freely on vice.
Insert 5 mm hex key into adjusting cone-side of hub.
Turn hex key counter clockwise to loosen axle end and
adjusting cone from main axle assembly. Unscrew until
both items are free from main axle.
Unscrew axle end from adjusting cone.
Thread adjusting cone onto protruding axle threads until
finger tight against bearing.
Then unthread adjusting cone a fraction of a turn so that
axle spins freely, and no play is detected between axle
and bearings.
Insert hub assembly onto 5 mm hex key in vice so that
adjusting cone is facing up.
Thread axle end into adjusting cone two full turns,
making sure that the adjusting cone does not turn in
the process.
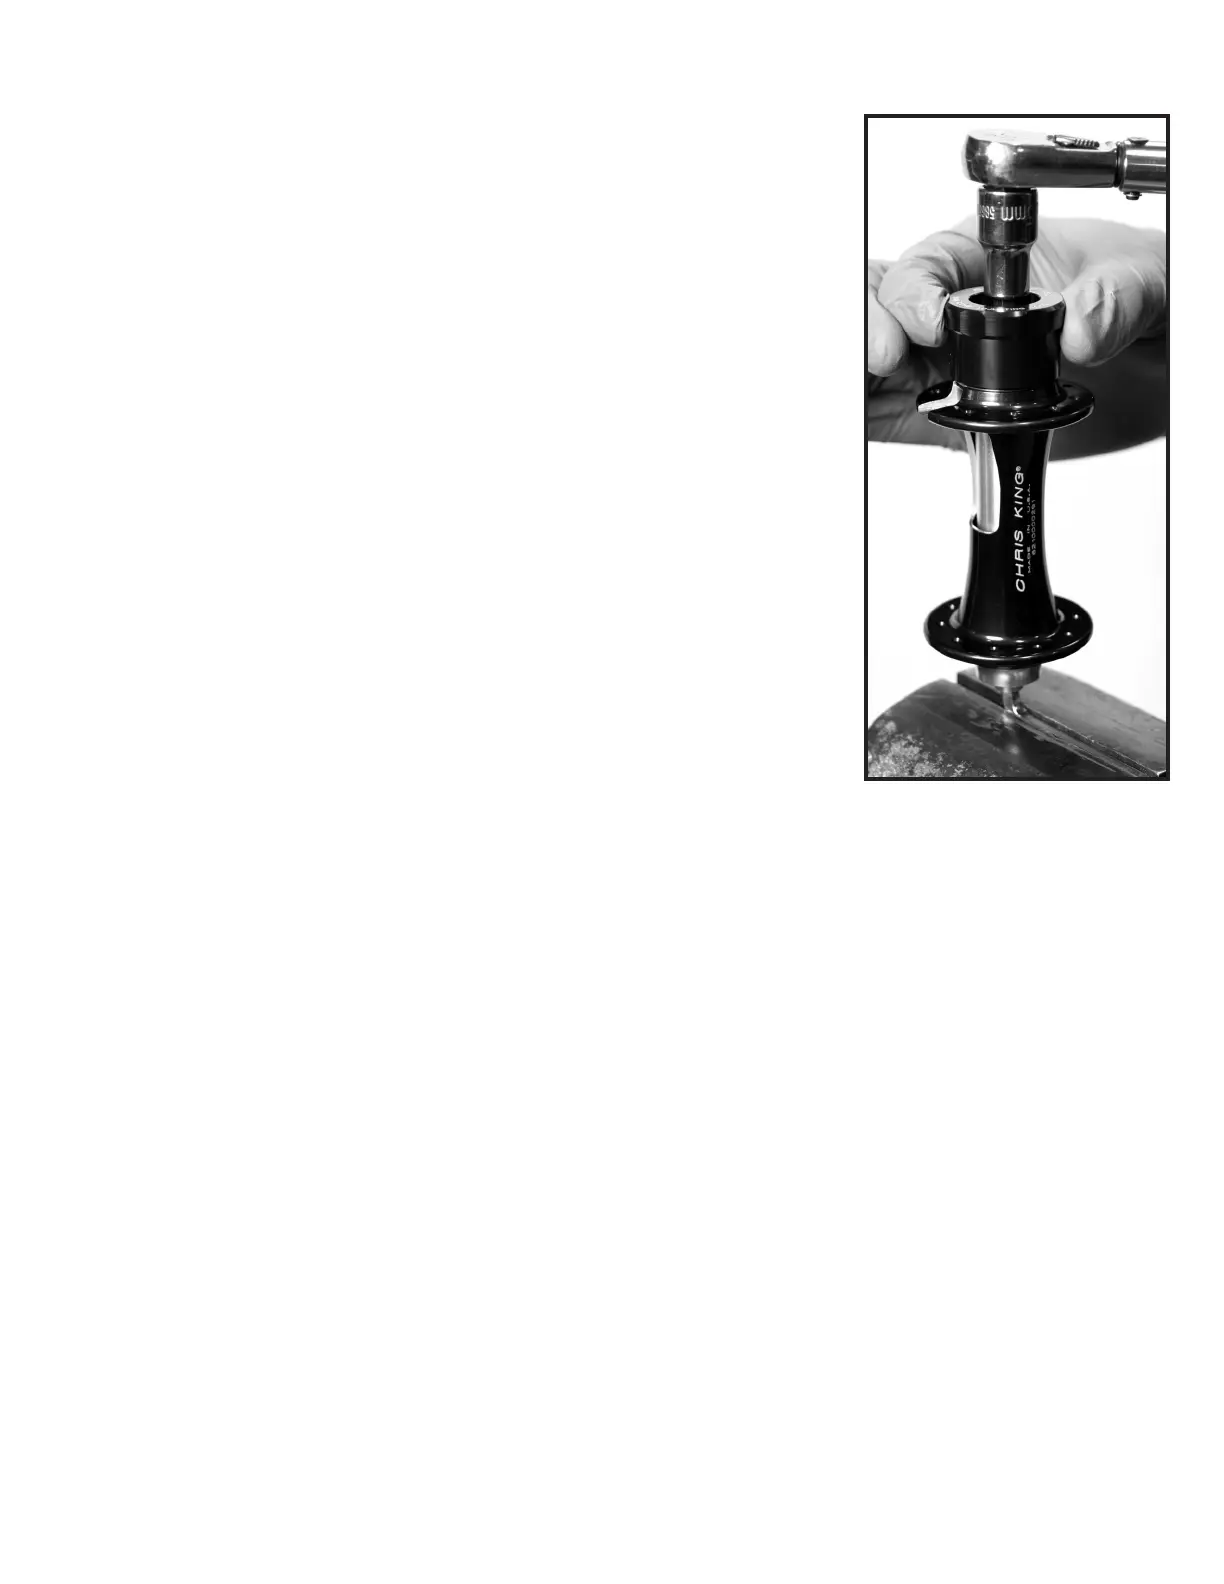
Place hub cone adjusting tool onto adjusting cone.
Use hub cone adjusting tool to hold adjusting cone in place while tightening axle
end with 5 mm hex key to 110 in lbs. (12.4 Nm).
Check for excessive bearing drag by turning axle with fingers. If excessive drag is
detected, go back to step 4 to reset bearing preload.
Check for bearing-axle play by clamping hub or wheel into frame or truing stand.
If play is detected, go back to step 4 to reset bearing preload.
If in the field:
Assuming that the axle end and adjusting cone is facing to the right:
Remove axle skewer from hub
Insert 5 mm hex keys into both ends of axle assembly.
Hold the left hex key steady while turning the right hex key in a counter clockwise
direction. This will loosen the axle end and adjusting cone from the main axle
assembly. Unscrew until both items are free from main axle.
Unscrew axle end from adjusting cone.
Thread adjusting cone onto protruding main axle threads until finger tight against
bearing.
Then unthread adjusting cone a fraction of a turn so that axle spins freely, and no
play is detected between axle and bearings.
Use one hand to make sure that adjusting cone does not continue to tighten or
1.
2.
3.
4.
5.
6.
7.
8.
9.
10.
11.
12.
13.
14.
1.
2.
3.
4.
5.
6.
7.