25
Wiring connection
Refer to the wiring diagram of electrical wiring of a connection kit – for wiring connection of connection kit.
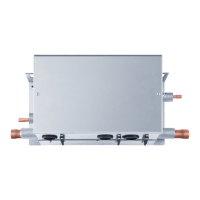
(1) Connection communication line
Remove the cover of the electrical cabinet of the valve cage. Introduce communication lines for outdoor
and indoor units to the through holes at the lower right of the electrical cabinet and crimp them on the
communication terminal block respectively. Then x the lead wires with crimping pliers to prevent the
communication line from falling off under the effect of external force.
(2) Connection of power line and ground wire
Remove the cover of the electrical cabinet of the connection kit. Introduce power lines to the through holes at
the lower left of the electrical cabinet and crimp them on the communication terminal block. Then x the power
lines with crimping pliers to prevent them from falling off under the effect of external force.
1) Don’t route communication lines and power lines together. Otherwise, it may cause malfunction or fault due
to electrical disturbance.
2) Make sure that ground wires are properly crimped. Otherwise, grounding may be ineffective.
(3) Required input and output signals when the eld conguration
Name Input signal Signal type remark
TC1 Gas pipe sensor 0~5V Use the congurated sensor by factory
TC2 Liquid pipe sensor 0~5V Use the congurated sensor by factory
TA Air return temp. sensor 0~5V Use the congurated sensor by factory
K1K2 On/Off signal Dry contact On/Off signal provided by AHU
Name Output signal Signal type remark
H/M/L/N Fan 220V
,
3A
(
Max
)
H/M/L fan speed signal output
V1/V2 On/Off signal 12V
,
30mA
Fan motor on 12V
Fan motor off 0V
D1/D2 On/Off signal Dry contact
Fan motor on, output closed signal;
Fan motor off, output disconnected signal
P1/P2 On/Off signal 220V
,
3A
(
MAX
)
Fan motor start up signal