1 Carefully remove cabinet drawer(s)
and/or door(s) and cover runners
before installation to avoid
damage. If top has not been xed
to vanity, remove it from vanity.
2 Using a hole saw, drill holes for
water supply pipes, wastes etc.
3 Carefully move cabinet into place.
Pack vanity to required height
ensuring vanity top is level from
side to side and front to back.
Packers may be required behind
the unit to ensure top is level and
to prevent unit from twisting.
4 Once the vanity is level, fasten it
to the wall using washers around
the appropriate xings ie. screws,
bolts (not supplied by CIBO).
Vanity Unit Installation
IMPORTANT NOTES
1 CIBO Design vanity cabinets are
manufactured from Moisture Resistant (MR)
materials but are not waterproof.
Care must be taken to dry spillages or
leakage of water that may gain access to
cabinetry. Accurate sealing of the cabinet
and kickboard (where applicable) is vital
for proper maintenance of the product and
ensuring longevity.
2 Wall Hung Vanities: When xing vanity
unit to wall, use washers around the top
xing positions. This will decrease pressure
applied to the screw head.
In situations where a wall is out of square,
the installer may be required to use packers
behind the vanity to ensure the unit does not
become twisted during installation.
3 Vanities with Kicks: Kick should t
snugly with the oor and may require
trimming with an electric planer if oor is not
entirely at.
Packers may also be required to ensure
cabinet is level from left to right as well
as front to back. Seal around kick with
bathroom quality silicone to avoid water
gaining access from oor and/or walls.
4 Under no circumstances should
vanities and/or tops be tiled into the
wall. CIBO vanities and basin/tops must be
tted to nished/completed wall coverings
e.g., tile, masonry or other cladding method
deemed acceptable, as per the building code
(of Australia) 2013.
The CIBO Warranty does not cover any vanity
and/or top and/or basin that has been tiled
‘into’ a wall i.e., tting or xing a vanity to a
wall and tiling around it, and/or tiling down
and/or around the vanity and top/basin.
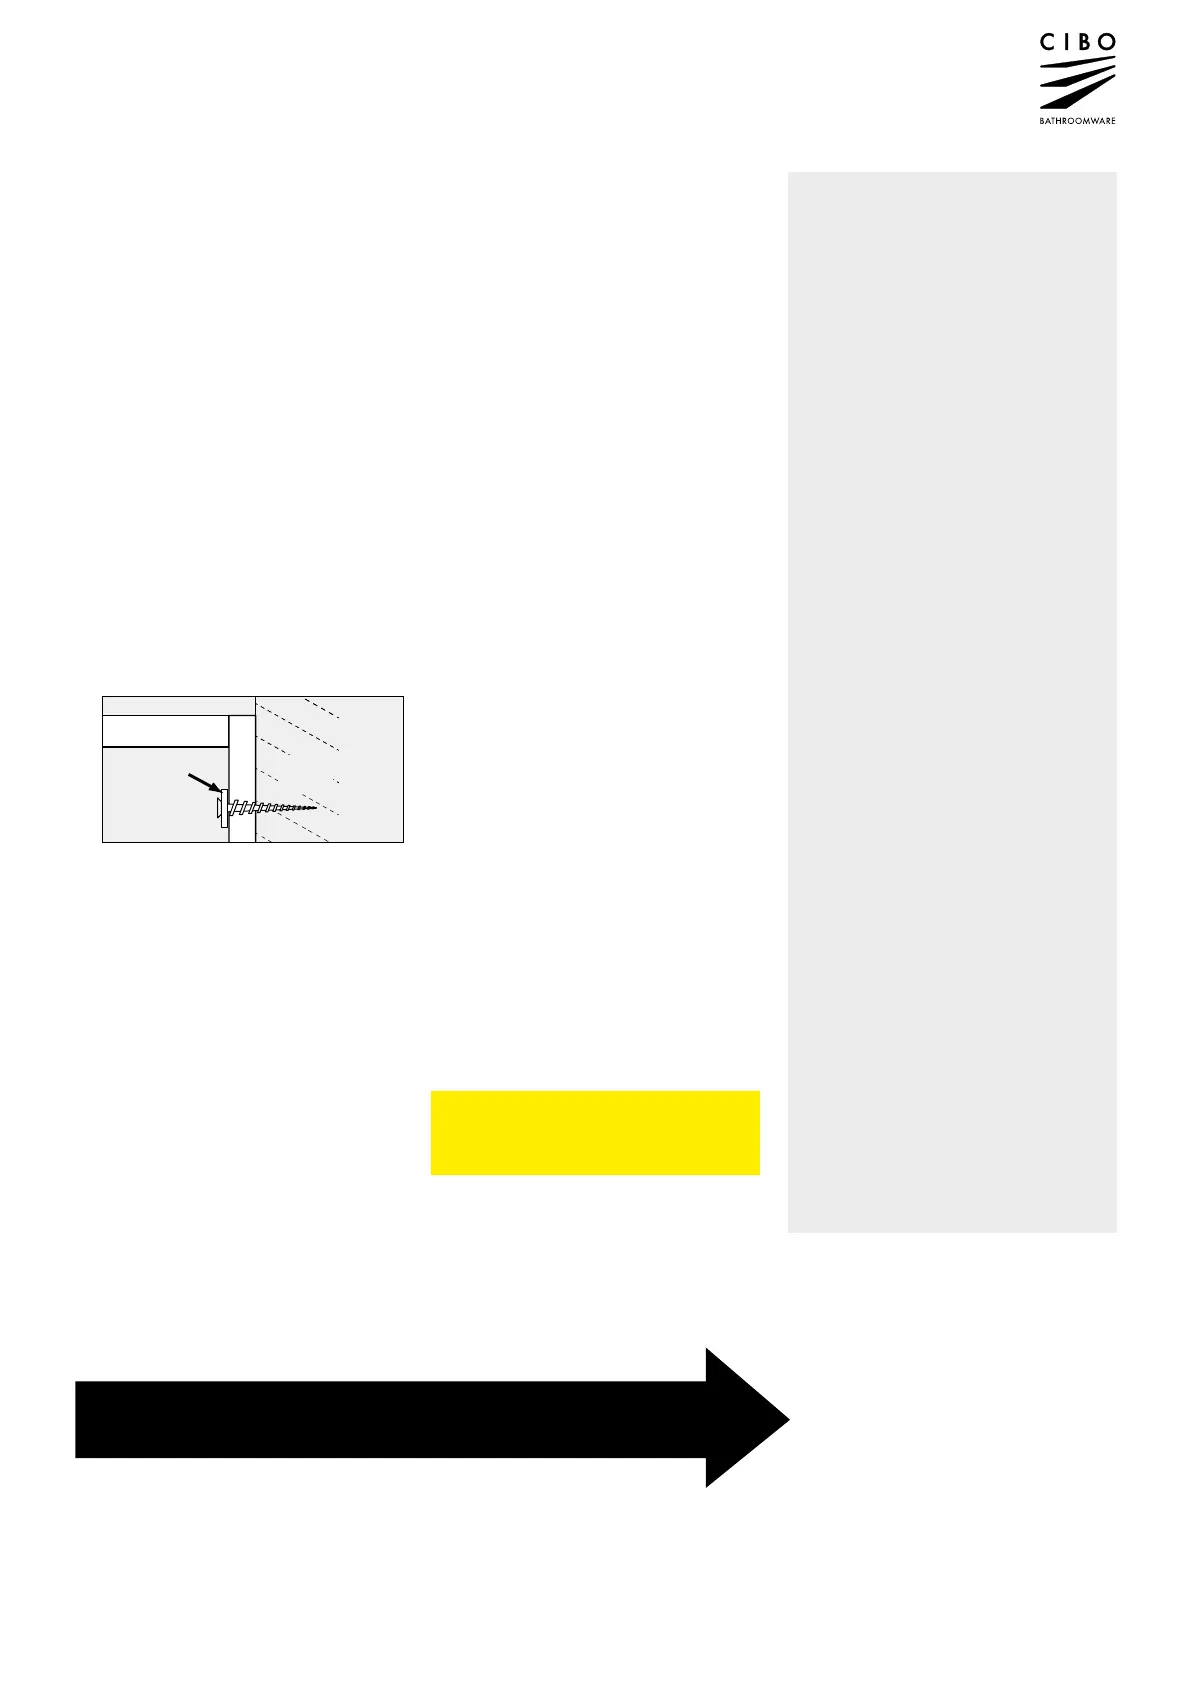
Washer
Top Wall
Back
Timber
Studs
It is the installers responsibility to
determine what xing materials are
needed. Fixings should be made as
high as possible on unit, with more
emphasis placed on the top xings.
5 Detach the chocks (melamine feet)
from the underside of the vanity
(if applicable). They are simply
pinned into the carcass and may
be removed with a chisel and pliers.
IT IS THE RESPONSIBILITY OF THE
INSTALLER TO ADJUST THE DOOR(S)
AND/OR DRAWER(S) AFTER INSTALLATION.
6 Sweep debris from interior of unit
and remove bubble wrap/plastic
from drawer runners (if applicable).
Replace door(s) and/or drawer(s)
and adjust hinges if necessary.
7 If the top was removed in step 1,
now replace on unit ensuring front
and ends of top line up with front
and ends of unit. This may leave
gaps between top and wall. Fix
top to vanity with silicone.
8 The unit must be sealed (along
the back edge of top and down
the sides) against the wall with
bathroom quality silicone. The
best method of applying silicone
is to cut the appropriate sized tip
at a 65° angle and to evenly run
a bead around the unit ensuring
all gaps are lled. Seal around
the cabinet with silicone.
9 Spray soapy water on the
silicone joint (between the wall
and top) to stop silicone sticking
to wall, then wipe off excess
silicone and soapy water.
10 Pipes can now be connected,
and where necessary the
basin siliconed to the vanity.
Basins must be sealed
completely around the join.
2
For detailed drawer & door removal instructions please read on...
 Loading...