EasyManuals Logo

Cisco 110 Series User Manual

Cisco 110 Series
16 pages
To Next Page IconTo Next Page
To Previous Page IconTo Previous Page
Page #10 background imageLoading...
Page #10 background image
10 110 Series Unmanaged Switches
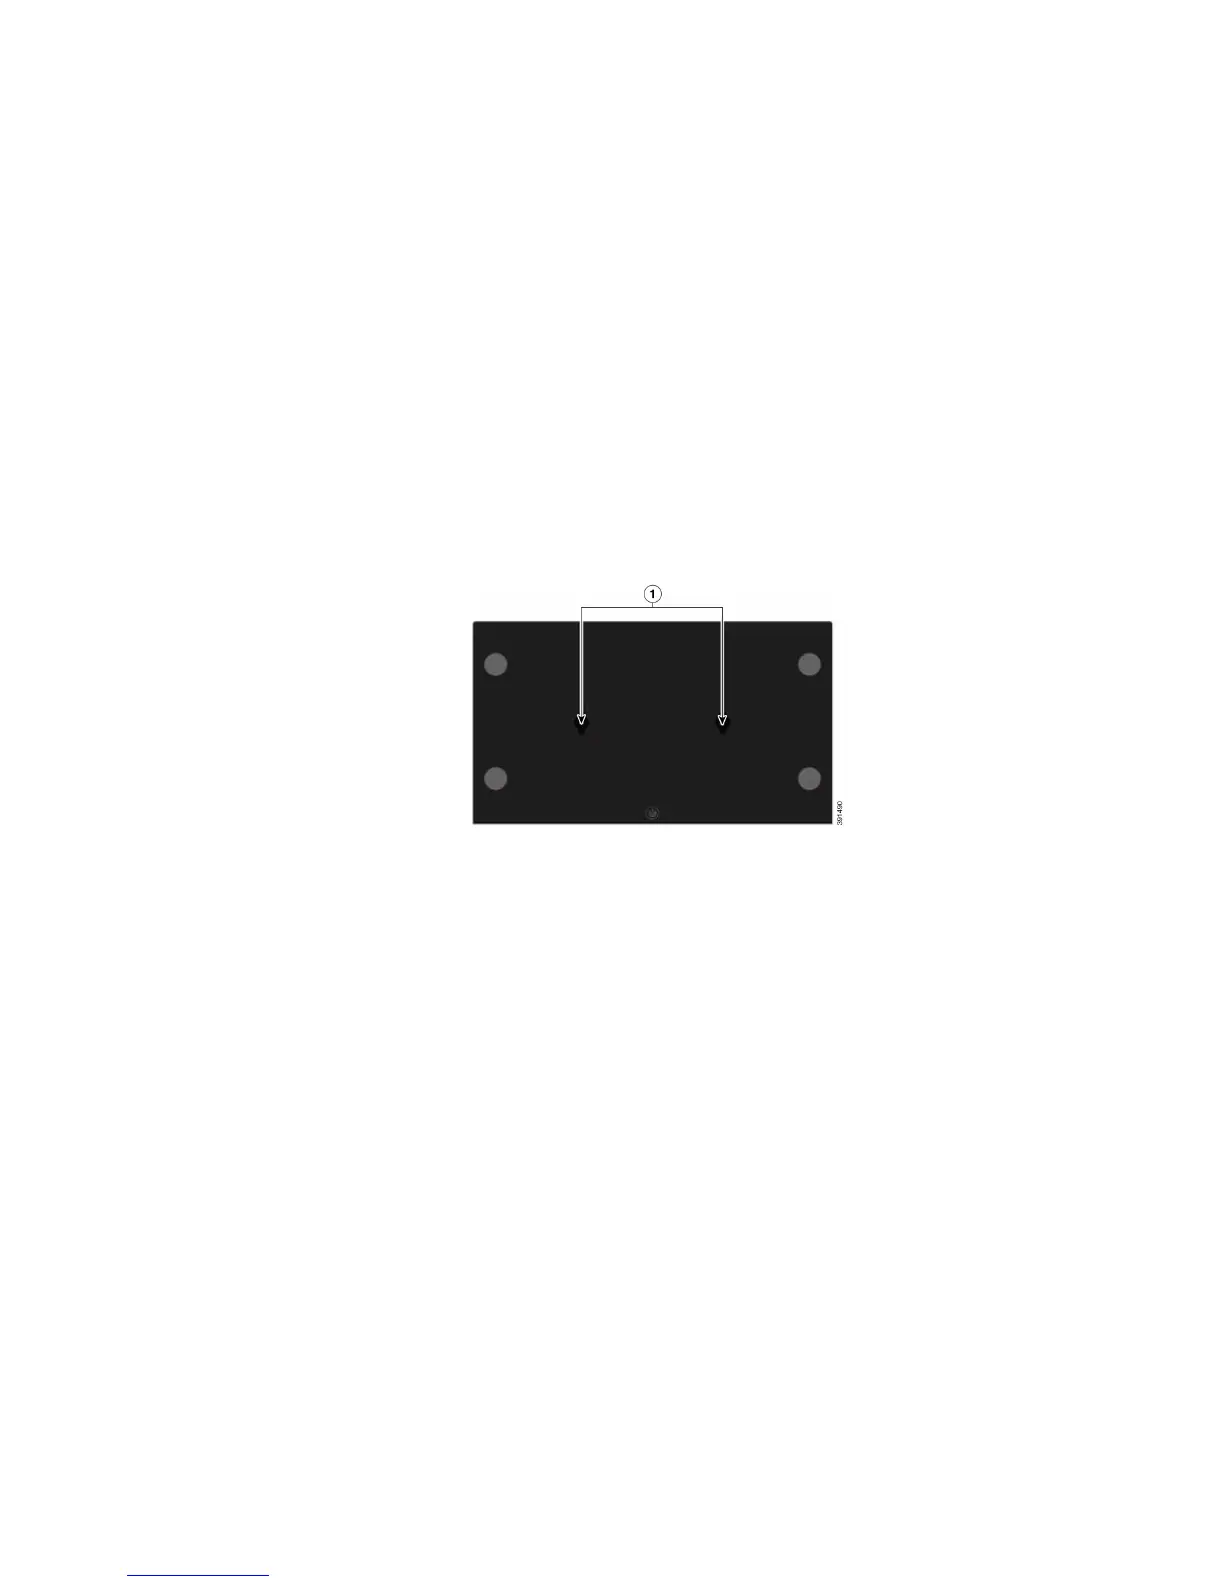
Wall Mount - Placement Options
To install the switch, either set it on its four rubber pads and place it on a flat surface, or mount it on a wall using the wall-mount slots on the
bottom panel of the switch.
To use the wall mount option, follow these steps:
Step 1 : Attach two screws to the wall such that the wall-mount slots of the switch lineup with the two screws.
SF110D-05 - The screws should be 1.7 in (43 mm) apart.
SF110D-08 - The screws should be 2.5 in (63.5 mm) apart.
SF110D-16 - The screws should be 2.5 in (63.5 mm) apart.
The wall-mount slots are two criss-cross slots on the bottom panel of the switch.
Step 2: Maneuver the switch to insert the screws into the two wall-mount slots.

Questions and Answers:

Question and Answer IconNeed help?

Do you have a question about the Cisco 110 Series and is the answer not in the manual?

Cisco 110 Series Specifications

General IconGeneral
Plug and PlayYes
Switching Capacity (8-port)16 Gbps
Switching Capacity (16-port)32 Gbps
Forwarding Rate (8-port)11.9 mpps
Forwarding Rate (16-port)23.8 mpps
Series110 Series
CategorySwitch
Speed10/100/1000 Mbps
Form FactorDesktop
Power over Ethernet (PoE)Available on some models
Energy Efficient EthernetYes
MAC Address Table8000 entries
Jumbo Frame Support9 KB
ManagementUnmanaged
Operating Temperature0°C to 40°C
Humidity10% to 90% non-condensing
Input Voltage100-240 VAC

Related product manuals