5
78-10157-01
Step 2 Connect the other end of the ISDN S/T cable to the ISDN wall socket.
Note If necessary, use the enclosed RJ-45-to-RJ-11 adapter to connect to an RJ-11 ISDN wall
jack.
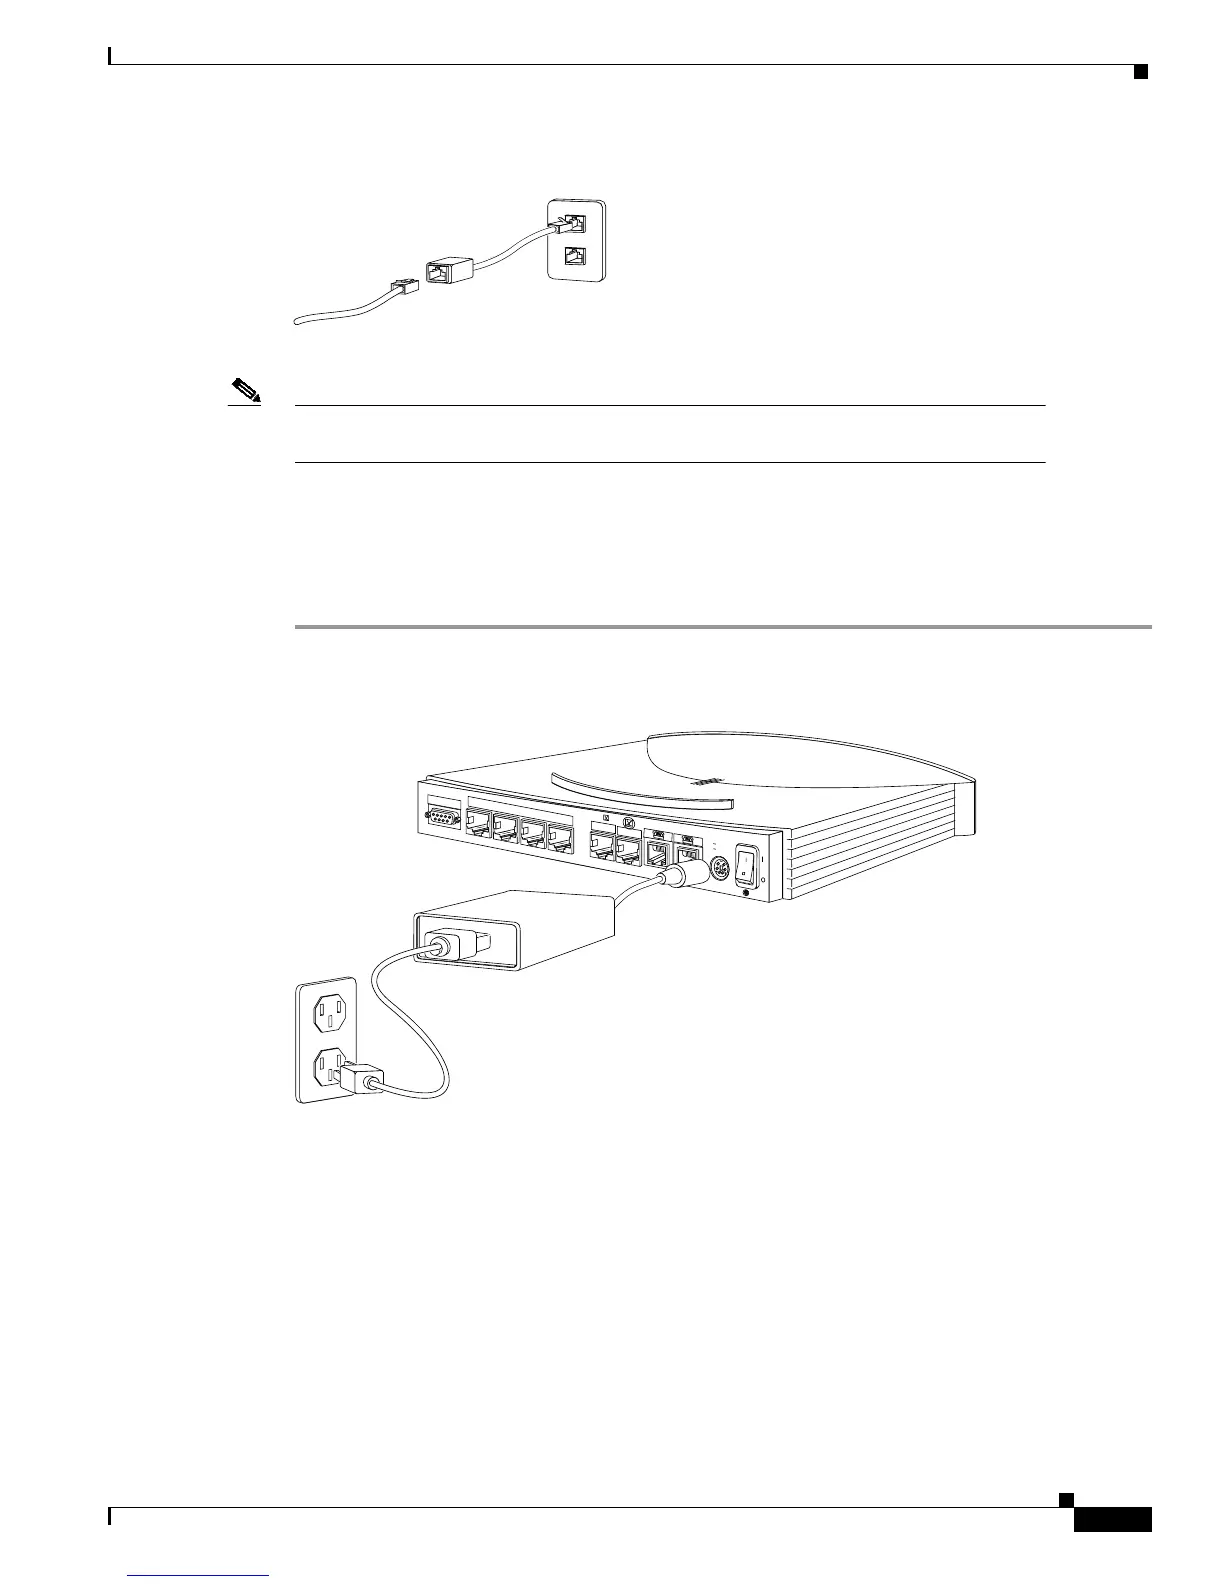
Connect the Power and Turn On the Router
This section describes the procedure for supplying power to the router.
Step 1 Connect the power supply cable to the round, black power connector on the rear panel of the router,
connect the power supply cord to the power supply, and connect the power supply cord to an electrical
outlet.
Step 2 Turn on the router by using the on/off switch on the rear panel. The green RDY LED (and the NT1
LED on the Cisco 772 and Cisco 776) on the front panel of your router turns on. Your router is now
ready to be set up.
If the green RDY LED is not on, refer to the “Troubleshooting Cisco 700 Series Routers” chapter in
the Cisco 700 Series Router Installation Guide.
30051
CONFIG
+5V ---1.5A +/-5%
-30V--- 0.2A +/-25%
S
0
ISDN S/T
CISCO 776
ETHERNET
1
2
3
4
BRI
???
30053

 Loading...


