Procedure
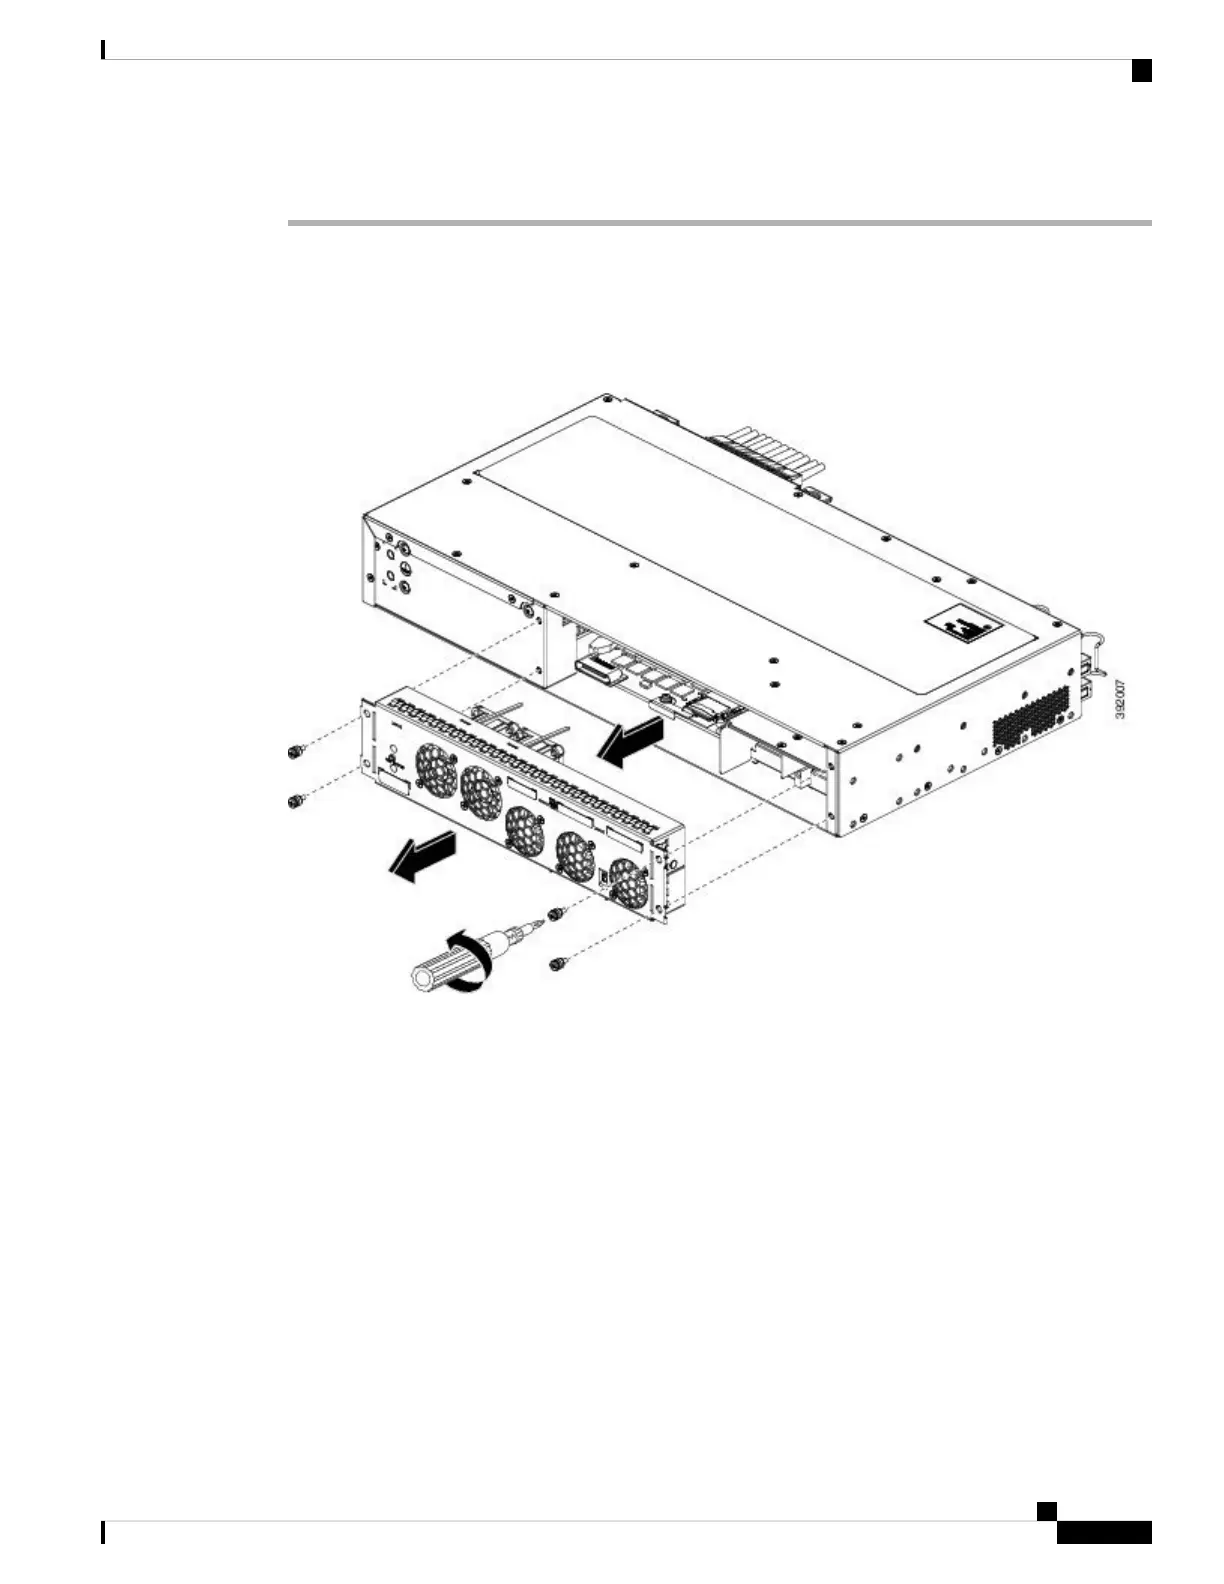
Step 1 Using a No. 2 Phillips screwdriver or your fingers, loosen the captive installation screws that secures the fan
tray to the chassis. Figure 3-18 shows the front of the Cisco ASR-920-24SZ-IM Router fan tray, including
the captive installation screws. Figure 3-19 shows the front of the Cisco ASR-920-24SZ-M, ASR-920-24TZ-M
Router fan tray, including the captive installation screws.
Figure 18: Removing the Fan Tray From Cisco ASR-920-24SZ-IM Router
Installing the Router
21
Installing the Router
Removing the Fan Tray
 Loading...