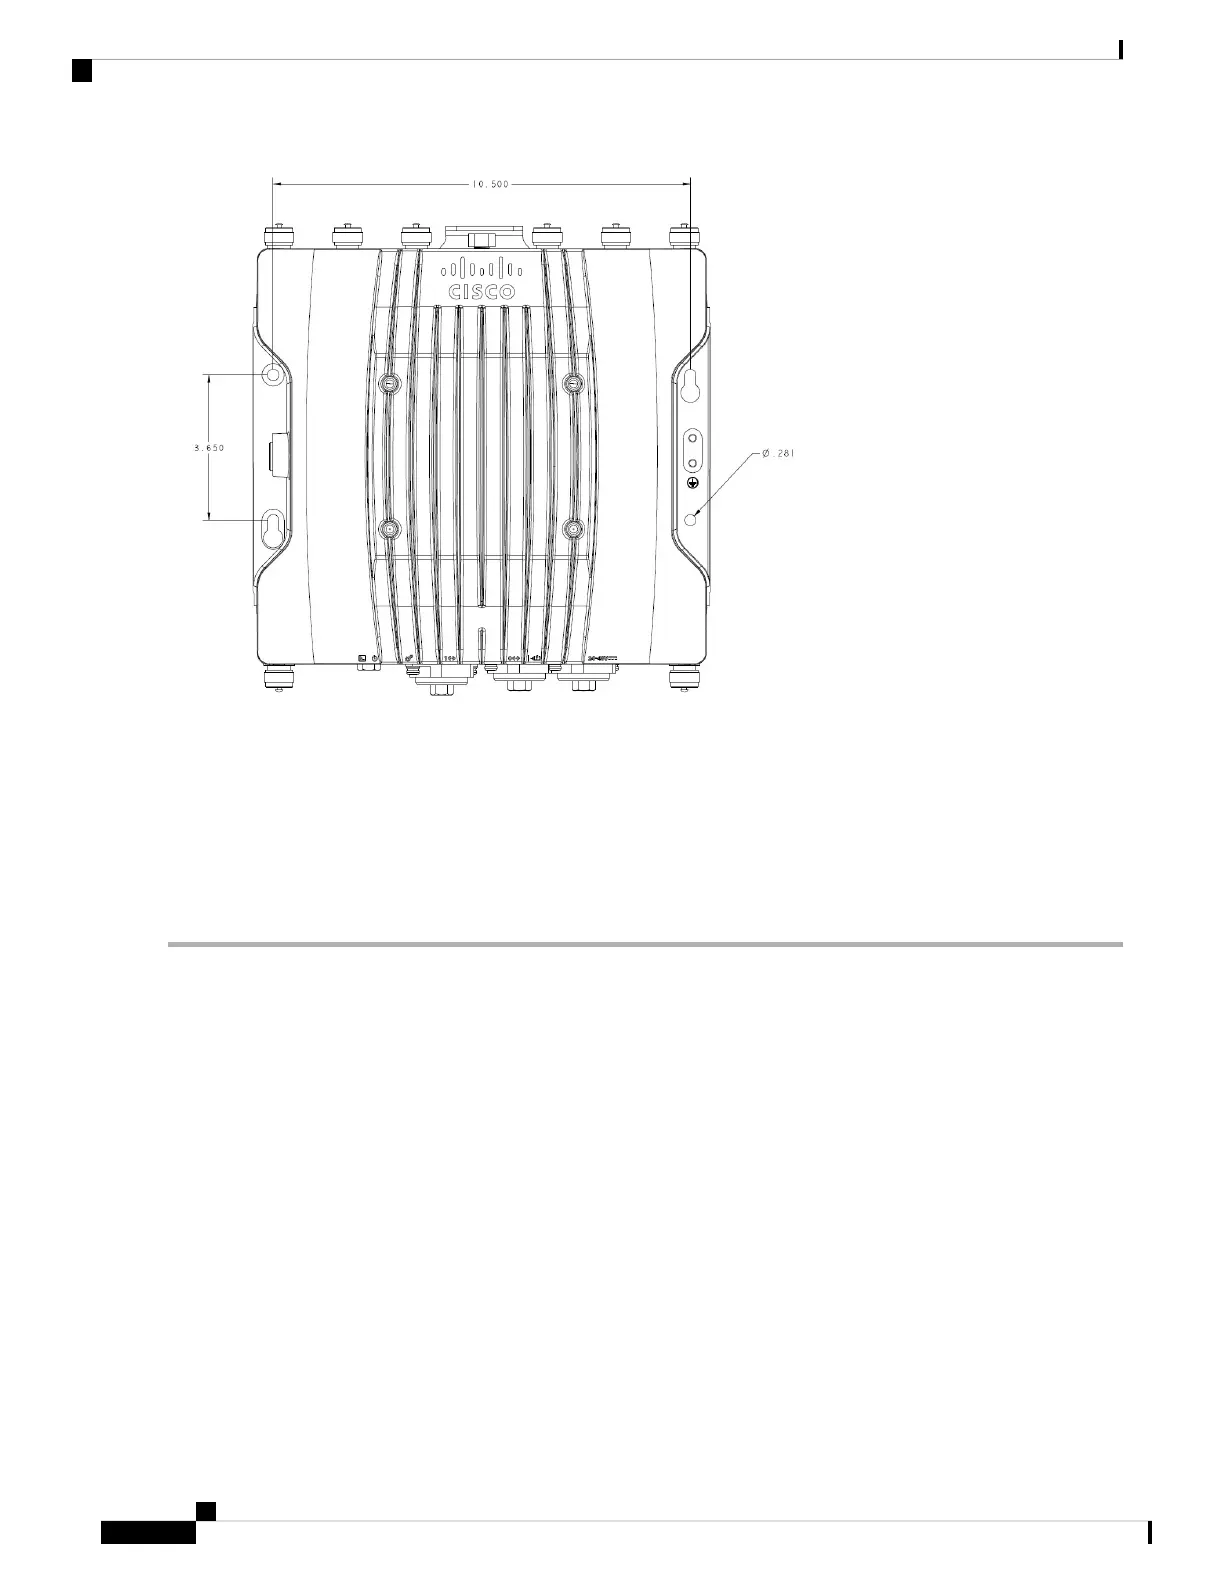
Step 3 Drill holes on the mounting surface for plastic wall anchors to suit 1/4-20 or M6 bolts, and add the appropriate anchors.
Step 4 Align the access point mounting holes with the suspended ceiling mounting holes.
Step 5 Insert a mounting screw in each of the four mounting holes and tighten.
Step 6 You can use the keyholes for “hands-free” installation.
Note
Ensure that the access point is firmly secured.
Using the DIN Rail Mounting Bracket
You can use DIN rail mounting in network or electrical closets or cabinets, or in wiring rooms that have
low-levels of shock and vibration. Figure 1: DIN Rail Mounting Assembly, on page 7 shows the DIN rail
and DIN rail mounting assembly.
Installation Overview
6
Installation Overview
Using the DIN Rail Mounting Bracket