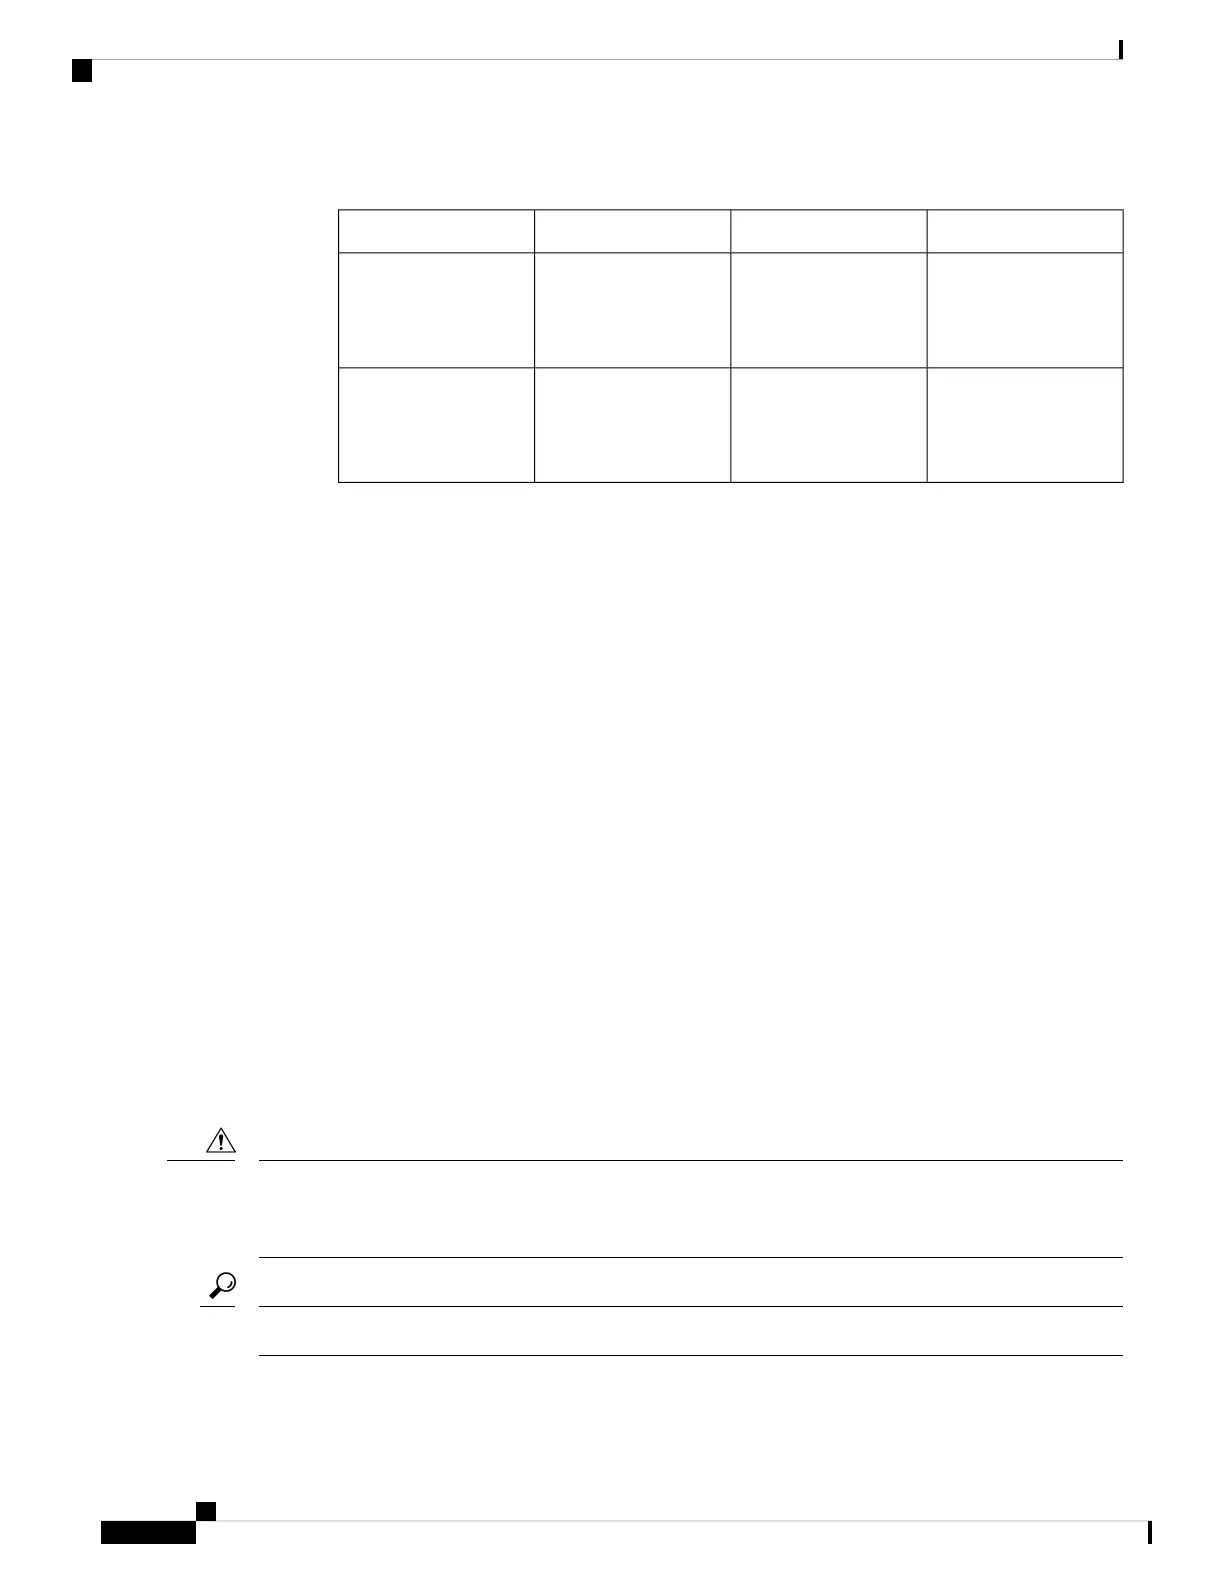
Table 1:
Circuit Breaker CurrentPower Supply CurrentN3500 Chassis PIDDC Power Supply PID
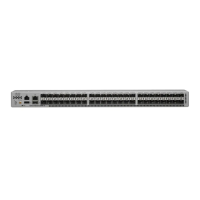
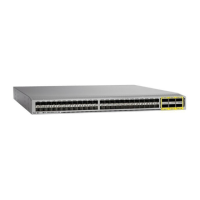
20A15-8AN3K-C3548XXX-10G
N3K-C3548XXX-10GX
N3K-C3524XXX-10G
N2200-PDC-400W
NXA-PDC-500W
NXA-PDC-500W-B
5A3AN3K-C3548XXX-10G
N3K-C3548XXX-10GX
N3K-C3524XXX-10G
NXA-PHV-500W
• There is adequate clearance around the rack to install the switch and to allow for unimpeded airflow.
• You have the following equipment in addition to the switch and the kits shipped with the switch:
• Eight customer-supplied 12-24 or 10-32 screws (required for attaching slider rails and mounting
bracket to the mounting rails)
• Number 1 and number 2 Phillips screwdrivers with torque capability
• 3/16-inch flat-blade screwdriver
• Tape measure and level
• ESD wrist strap or other grounding device (wrist strap can be found in the accessory kit)
• Antistatic surface large enough to place the switch
• Grounding cable (6 AWG recommended), sized according to local and national installation
requirements; the required length depends on the proximity of the switch to proper grounding
facilities
• Crimping tool large enough to accommodate the girth of the grounding lug
• Wire stripping tool
Unpacking and Inspecting the Chassis
When handling switch components, such as fan or power supply modules, wear a grounded ESD strap and
handle the modules by their carrier edges only. To ground the ESD strap, make sure that it is attached to an
earth ground, a grounded chassis, or a grounded rack.
Caution
Keep the shipping container in case the chassis requires shipping in the future.
Tip
Cisco Nexus 3500 Hardware Installation Guide
8
Installing the Chassis
Unpacking and Inspecting the Chassis
 Loading...