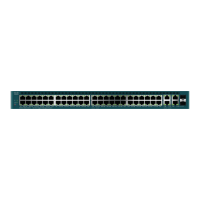
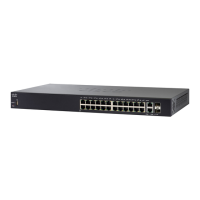
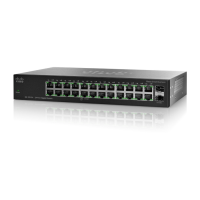
8 Cisco 350 Series Managed Switches
Configuring Your Switch Using the Web-based Interface
To access the switch with a web-based interface, you must know the IP
address that the switch is using. The switch uses the factory default IP
address of 192.168.1.254, with a subnet of /24.
When the switch is using the factory default IP address, the System LED
flashes continuously. When the switch is using a DHCP server-assigned IP
address or an administrator has configured a static IP address, the System
LED is a steady green (DHCP is enabled by default).
NOTE If you are managing the switch through a network connection and
the switch IP address is changed, either by a DHCP server or manually,
your access to the switch will be lost. You must enter the new IP address
that the switch is using into your browser to use the web-based
interface. If you are managing the switch through a console port
connection, the link is retained.
To configure the switch using the web-based interface:
STEP 1 Power on the computer and your switch.
STEP 2 Connect the computer to any network port.
STEP 3 Set up the IP configuration on your computer.
a. If the switch is using the default static IP address of
192.168.1.254/24, you must choose an IP address for the
computer in the range of 192.168.1.2 to 192.168.1.253 that is
not already in use.
b. If the IP addresses will be assigned by DHCP, make sure that
your DHCP server is running and can be reached from the
switch and the computer. You may need to disconnect and
reconnect the devices for them to discover their new IP
addresses from the DHCP server.
NOTE Details on how to change the IP address on your computer
depend upon the type of architecture and operating system that
you are using. Use your computers local Help and Support
functionality and search for “IP Addressing.”
STEP 4 Open a web browser window. If you are prompted to install an
ActiveX plug-in when connecting to the device, follow the prompts
to accept the plug-in.
STEP 5 Enter the switch IP address in the address bar and press Enter. For
example, http://192.168.1.254.
STEP 6 When the login page appears, choose the language that you prefer
to use in the web-based interface and enter the username and
password.
 Loading...