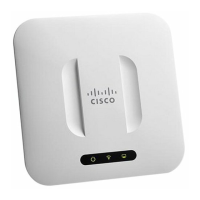
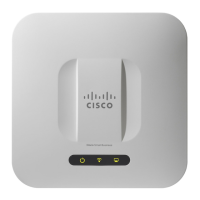
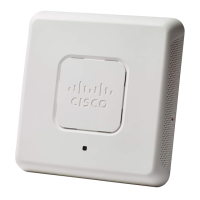
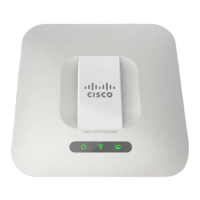
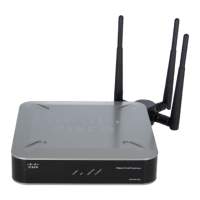
4 Cisco WAP125 Quick Start Guide
4 Connecting the Cisco WAP125
You can perform the initial configuration using either a wired or wireless
connection. The default configuration of the Cisco WAP125 has the Wi-Fi radio
turned on.
To connect the Cisco WAP125 to the wired network:
STEP 1 Connect the Ethernet cable to the Ethernet port of a switch, a router, or a PC.
STEP 2 Connect the other end of the network Ethernet cable to the Ethernet port of
the Cisco WAP125.
STEP 3 If PoE is not provided, plug in the supplied power adapter to provide power to
the Cisco WAP125.
NOTE The system provides a one-time-only access to configure the access point using
a wireless connection.
This wireless default configuration will not allow traffic between WiFi and Ethernet;
users will need to go through the setup wizard to resume the traffic between WiFi
and Ethernet.
To connect the Cisco WAP125 to the network wirelessly:
STEP 1 Use wireless clients to locate the WAP125’s SSID (CiscoSB-Setup).
STEP 2 Use the ‘cisco123’ passkey to access the access point.
After installation, all lights should be active. Refer to Verifying the Hardware
Installation for details about the different lights on the Cisco
WAP125.
5 Verifying the Hardware Installation
To verify the hardware installation, complete the following tasks:
• Check the cable connections.
• Check the state of the indicator light.
The WAP125 is out of power.
 Loading...

