iDP3550/3551 Service Manual
10 CITIZEN
(3) Assembling the Auto Cutter (See Fig. 1)
1) Securely insert the claws of the hook L and hook R into the square holes on the printer mecha-
nism.
2) Securely mount the cutter BK R on the auto cutter unit with the supplied screw (M2.6 ×6).
3) Temporarily mount the cutter BK L on the auto cutter unit with the supplied screw (M2.6×6).
Insert the projections "A" and "B" of the cutter BK L and R into the round holes on the printer
mechanism to mount the auto cutter unit. Engage both ends of the lock lever with the notches
"C" and "D" of the hook L and R, and then s ecurely tighten the screw to fix the cutter BK L.
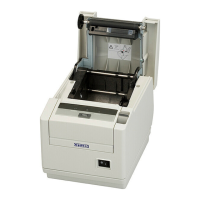
(4) How to Open the Auto Cutter (See Fig. 2.)
Push the handle and open the auto cutter.
3.2 Reassembly Procedure
Reassemble each part in the reverse order of the disassembly procedure described in Section 3.1.
Handle
Fig. 2
 Loading...