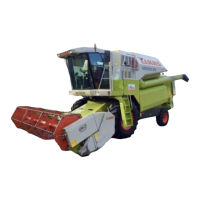
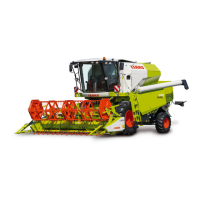
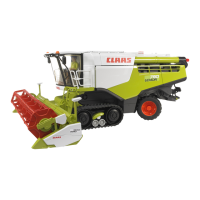
1.3.4 RHB MEDION 340 - 310 - 299 216.0
General repair instructions
Taper fittings on hydraulic lines
Installation:
Apply some oil to the O-ring on the sealing cone.
Tighten the union nut a third of a turn beyond the point
where resistance is felt.
Important: Back up the threaded joint with
a spanner!
Any deviating tightening torques reduce the
rated pressure resistance and the service life
of the screw fitting. This results in leaks and
the tube slipping out.
Welding Work
When carrying out electric welding work on
the machine, observe the following points:
1. Disconnect the battery isolating switch!
2. Disconnect the monitor connector.
3. Remove the electric plug-in type modules located
in the central terminal compartment.
4. Disconnect the electric connectors between the
engine and the main wiring loom.
5. Always connect the ground clamp of the welders
in the immediate vicinity of the welding point.
Some advice for speedy and correct repair
work:
– Mark machine parts prior to disassembly to
ensure their correct left-to-right positions and bal-
ance when reassembled.
– Fit expansion pins with the slot facing the side
under load. When fitted with a quarter turn from
this position, they will get loose, fall out or shear
off.
– Replace split pins, locking wires, locking plates,
tab washers and lock washers when carrying out
repairs.
– Insert greasable ball and sliding bearings with
good grease.
– Align sprockets and V-belt pulleys toward each
other.
– Care for strict cleanliness when working on
hydraulic systems.
– Never mix different oil types.
– Run the machine or operate machine assemblies
at low speed after any repair.