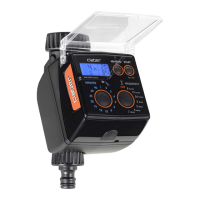
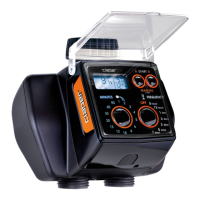
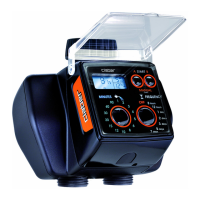
Tempo Select
Tempo Select
Pag. 2
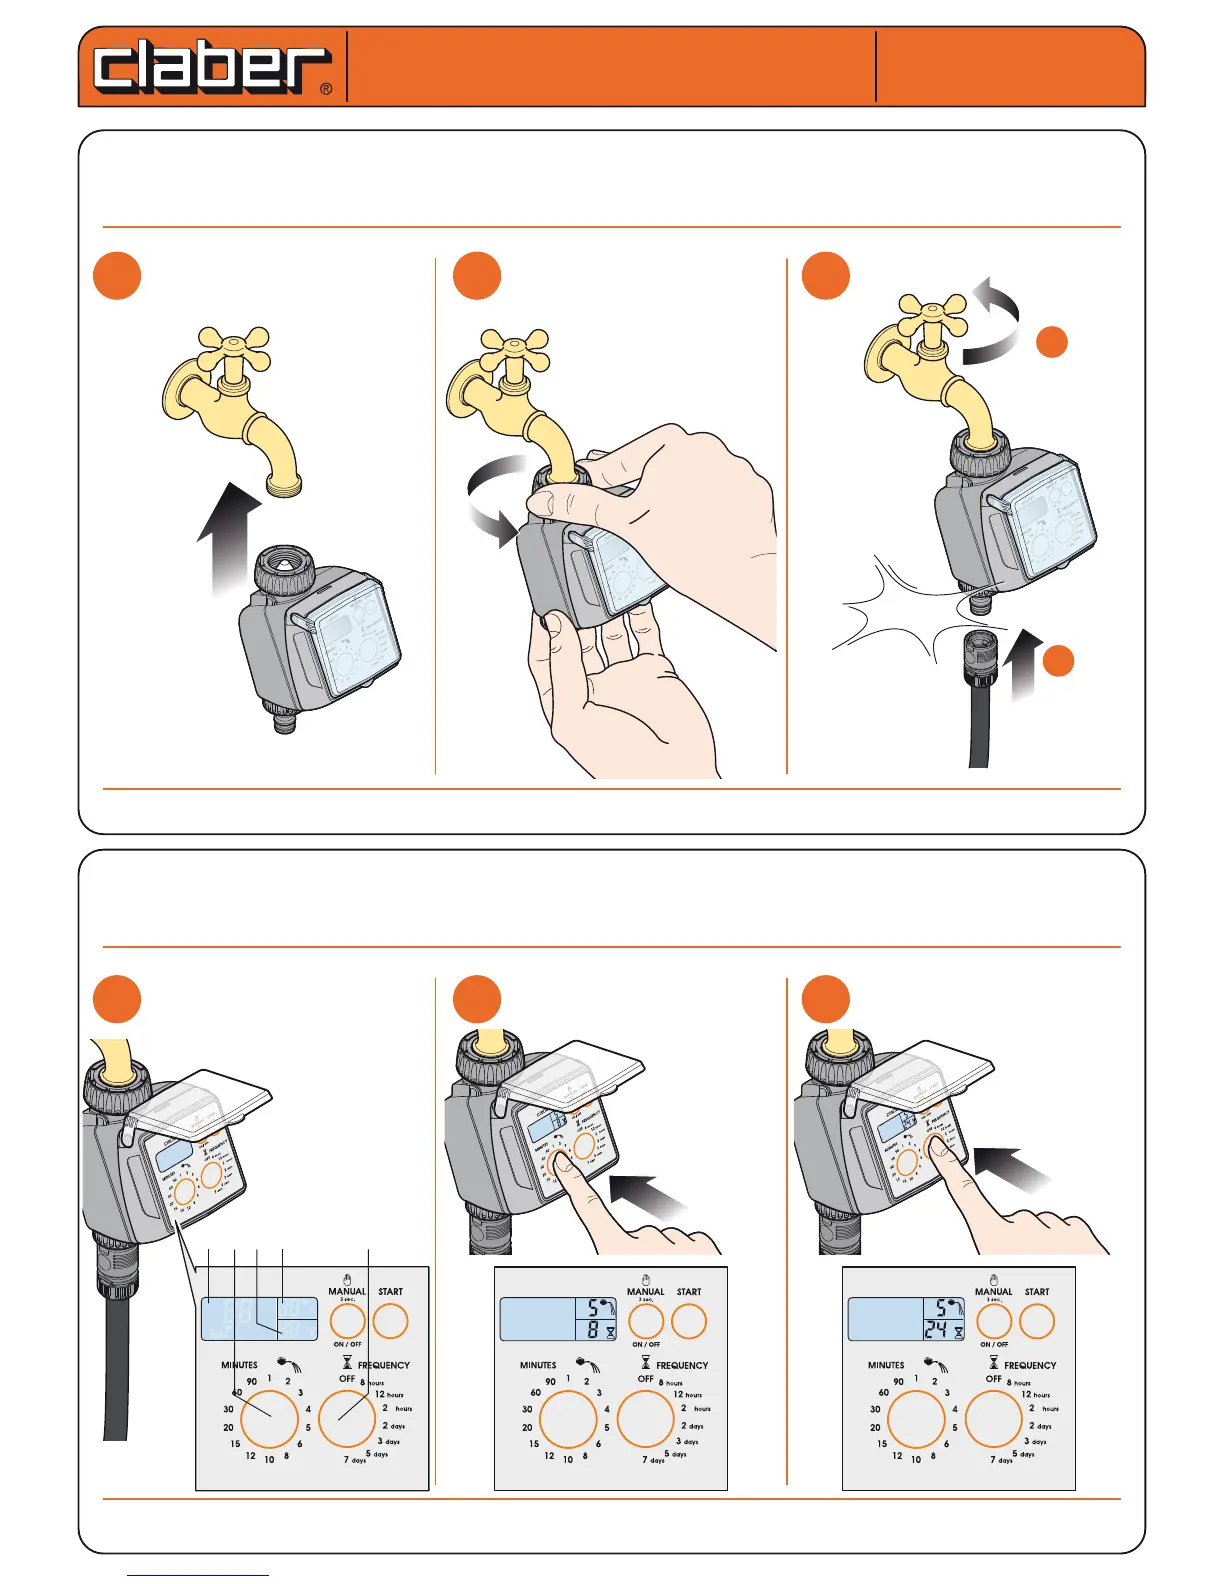
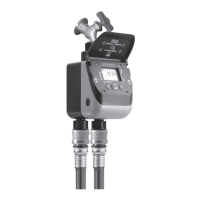
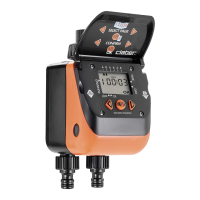
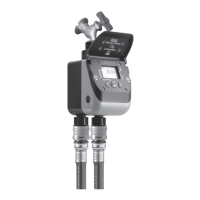
INSTALLATION. Fit the timer to a cold water tap, following these simple instructions. The spout of the tap should
have a 3/4" male thread (if not, use an adapter). Screw the clamp collar of the 3/4" female tting onto the tap. Cau-
tion: tighten the collar using hand pressure only. Do not use wrenches or other tools. Connect the watering line
to the quick-click or threaded tting, using the appropriate connector. Remember to turn on the water tap!
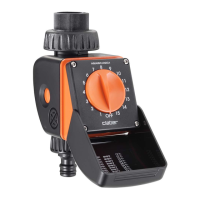
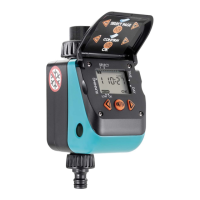
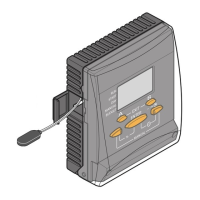
SELECTION OF WATERING PROGRAMME. Press any button once to light up the display. Press the “M” button once or
repeatedly (e.g. 5 times) until the required value is displayed in eld “D” (e.g. 5 min ). Set the watering frequency (interval
of time between successive watering cycles) by pressing the “F” button repeatedly until the required value is displayed in
eld “E” (e.g. 24h). The selectable intervals are: every 8, 12 or 24 hours, or every 2, 3, 4, 5 or 7 days.
For Tempo Select (cod.): 8486
For Tempo Select (cod.): 8486
User manual
User manual
m
h
m
4
m
h
m
4
44
44
44
1
1
2
2
3
3
1
1
2
2
3
3
3/4”
click!
a
a
b
b
ON!