10
Installation instructions & user manual
9120-34373 v4.00 Nov 2018 - ZIP DBX DEX
Technical support
Tel: 0345 6 005 005 email: service@zipindustries.co.uk www.zipwater.co.uk
INSTALLATION
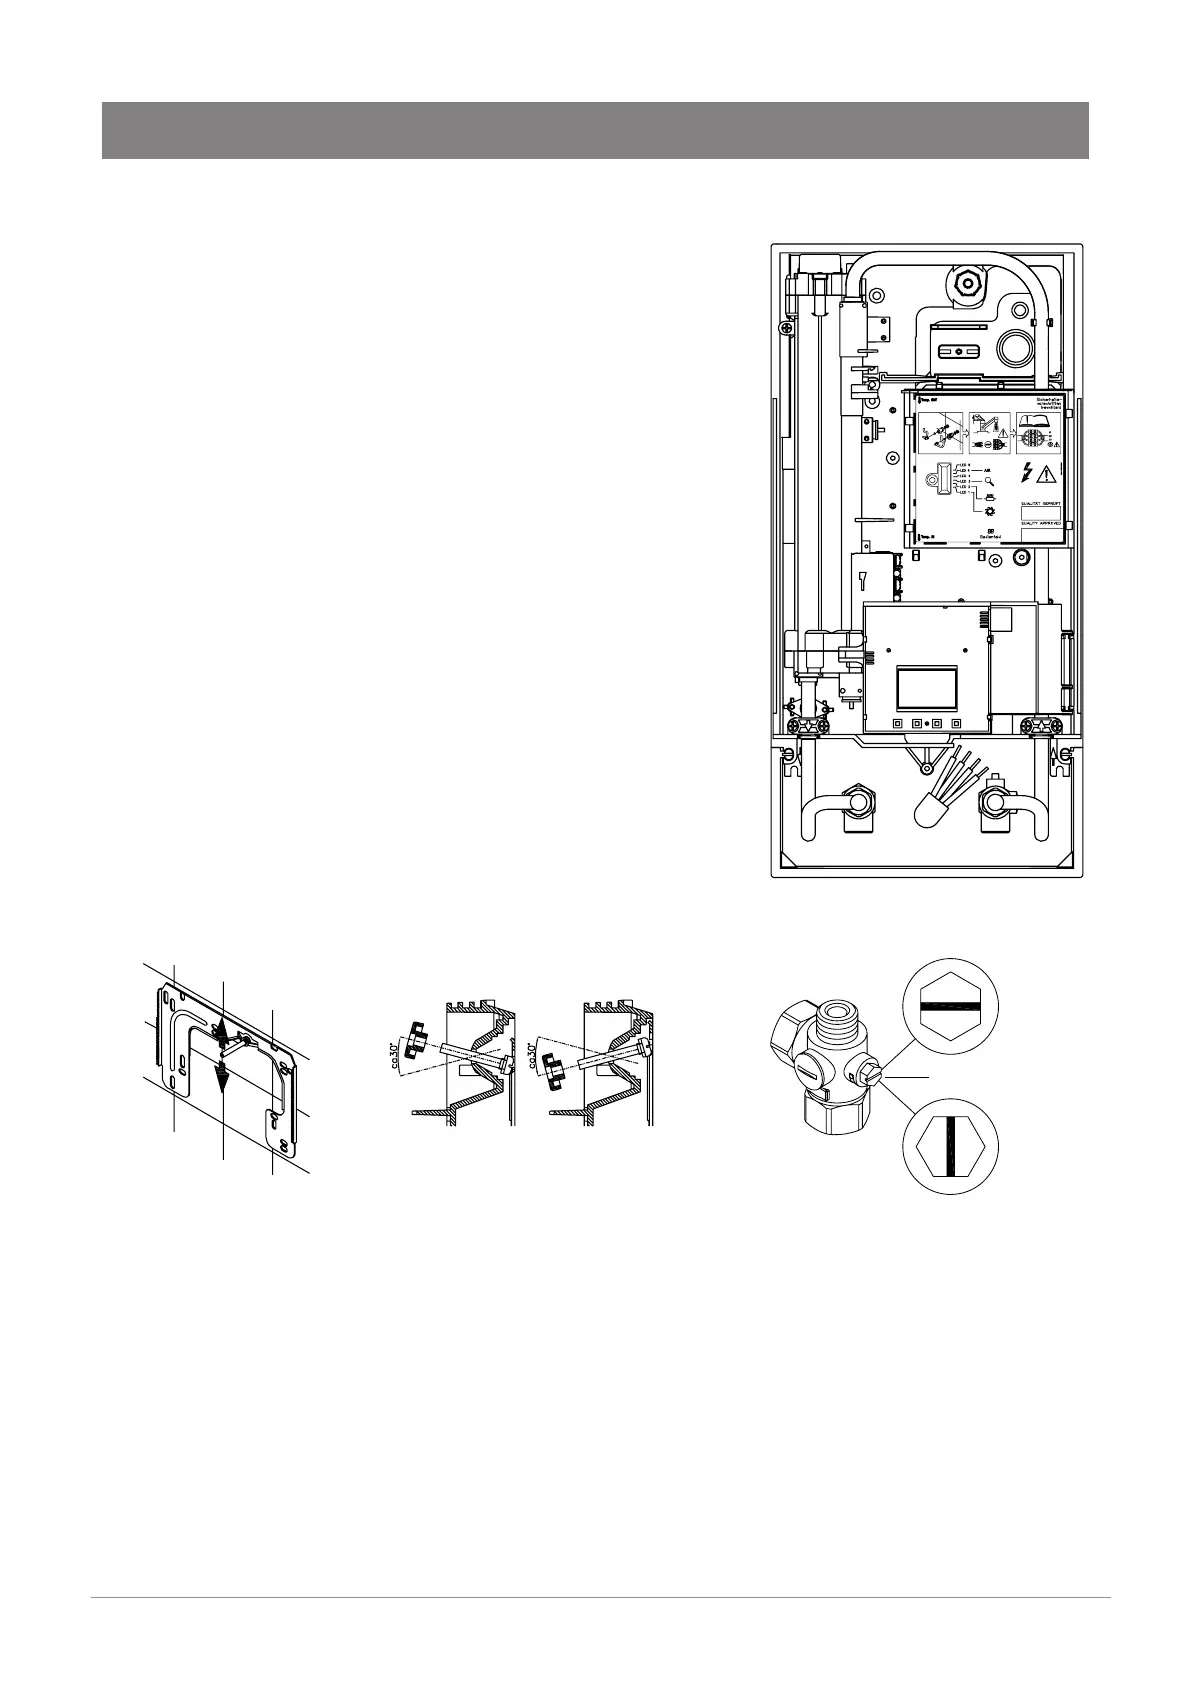
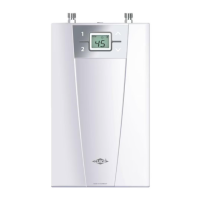
Installing the appliance
(a)
closed
open
Fig. 3
Fig. 4 Fig. 5
• Remove the appliance cover by first removing the fascia panel
then unscrewing the fixing screw.
• If the power supply cable is to be connected in the upper part
of the appliance follow instructions “Electrical connection from
above”.
• Place the appliance on the heater bracket so that the threaded
rod of the wall bracket fits in the corresponding hole of
the appliance. If necessary, slight corrections are possible
by carefully bending the threaded rod of the wall bracket.
However, it must be possible to screw on the water connection
pipes of the appliance without applying force.
• Screw the two ⅜ inch union nuts of the appliance‘s water
connection pipes, each with the ⅜ inch seal, onto the fittings.
• Screw the plastic knurled nut onto the threaded rod of the wall
bracket.
• Open the water supply line to the unit and slowly open
(position “open“) the shut-off valve (a) in the cold water
connection piece. Check all connections for leaks.
• Ensure that all air is removed from the water heater by
opening and closing the hot water tap until no more air
emerges.