13Installation instructions & user manual
9120-34373 v4.00 Nov 2018 - ZIP DBX DEX
Technical support
Tel: 0345 6 005 005 email: service@zipindustries.co.uk www.zipwater.co.uk
INSTALLATION
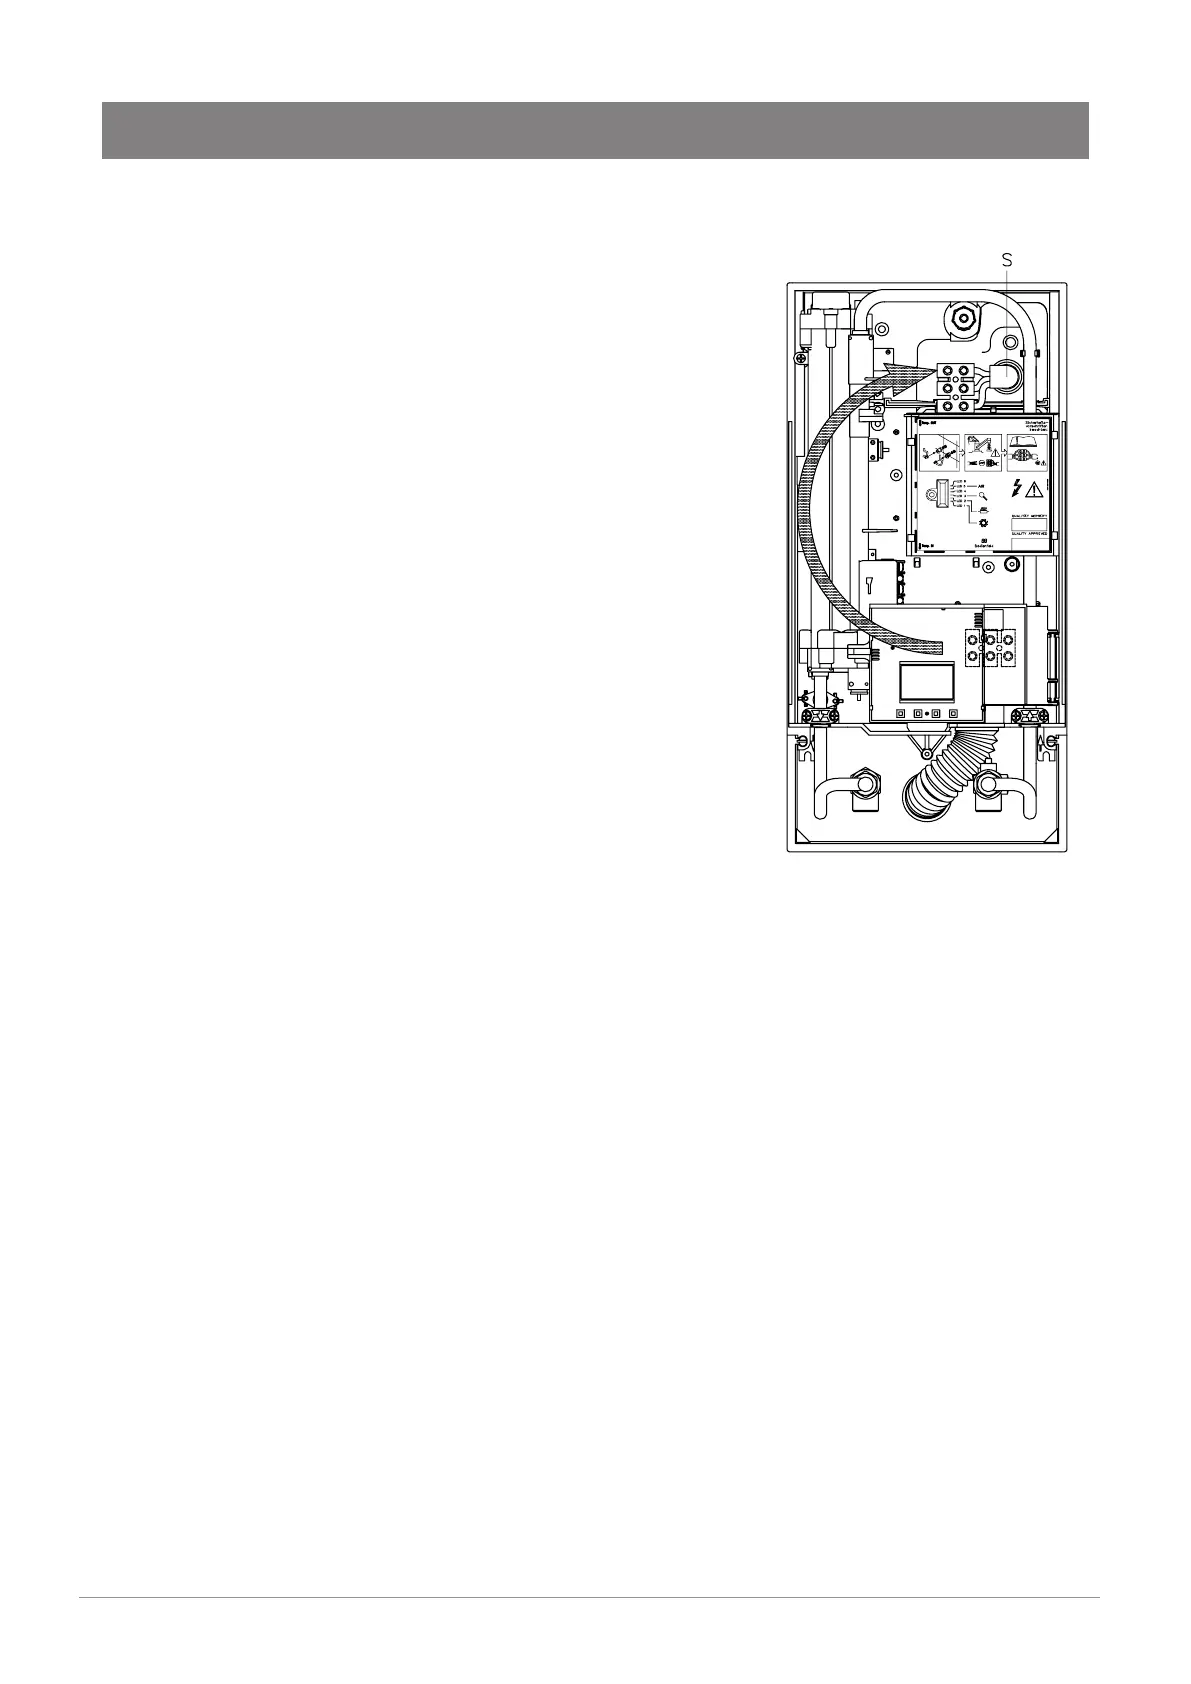
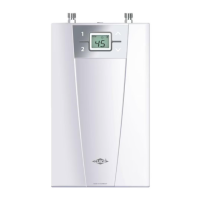
Fig. 10
Electrical connection from above
Check that the power supply is switched off prior to electrical
connection!
• Open the prepared breaking point (S) in the upper part of the
appliance by pressing with a blunt implement (e.g. srewdriver).
• Slit the grommet to match the cable size. The opening in the
grommet should be slightly smaller than the cross-section of the
cable in order to ensure optimum protection against water. Fit
the grommet into the opening. The protection grommet must be
used!
• Strip the cable roughly 6 cm above the point where it emerges
from the wall. Support the appliance while the cable is routed
through the grommet.
• Place the appliance on the wall bracket so that the threaded
rod of the wall bracket fits in the corresponding hole of the
appliance.
• Open the control panel rightwards.
• Unscrew the fastening screw of the connecting terminal. Move
the terminal block to the upper position, & screw into place.
• Strip the cables and firmly secure them in the connecting
terminals according to the wiring diagram. The appliance must
be earthed.
• Re-fit the control panel and lock it on the heating element.
• Re-fit the appliance cover and secure with the fixing screw
before re-fitting the fascia panel.