6
ENGLISH
General Function Explanation Continued
+12V Constant Power Source
This should be connected directly to your battery with a large gauge wire. Clarion
recommends at least 8 AWG wire be used. This wire should be protected with a fuse as
close as possible to the battery. A water-resistant fuse holder with a minimum 30 Amp
fuse is recommended for proper operation.
Remote Turn-On Connection
When +12V is applied to this terminal, the amplifi er will turn on. When installing the
amplifi er with an after market source unit, this wire is typically Blue with a White stripe.
Some OEM source units have a wire that behaves similarly.
Ground Connection
This is the most critical connection to be made during the installation of the amplifi er. The
ground wire should be at least the same gauge as the +12V Constant Power connection.
It should be as short as possible and connected to a completely bare metal location on
the chassis of the vehicle. All the paint, primer, undercoating or anything else that could
hinder current fl ow must be removed before the ground connection is made. Failure to
ensure proper grounding of the amplifi er may result in limited performance, noise or other
undesirable conditions.
Input RCA Connections
The RCA Input connections should be connected
to the RCA Pre-amp outputs of an after market
head unit. If you are using a signal source that only
has speaker level outputs, adapters are included
with each amp. On the XC1120, please connect
the Speaker Level input Jack and set the Preamp/
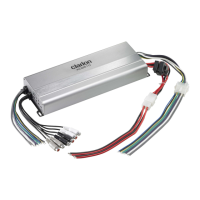
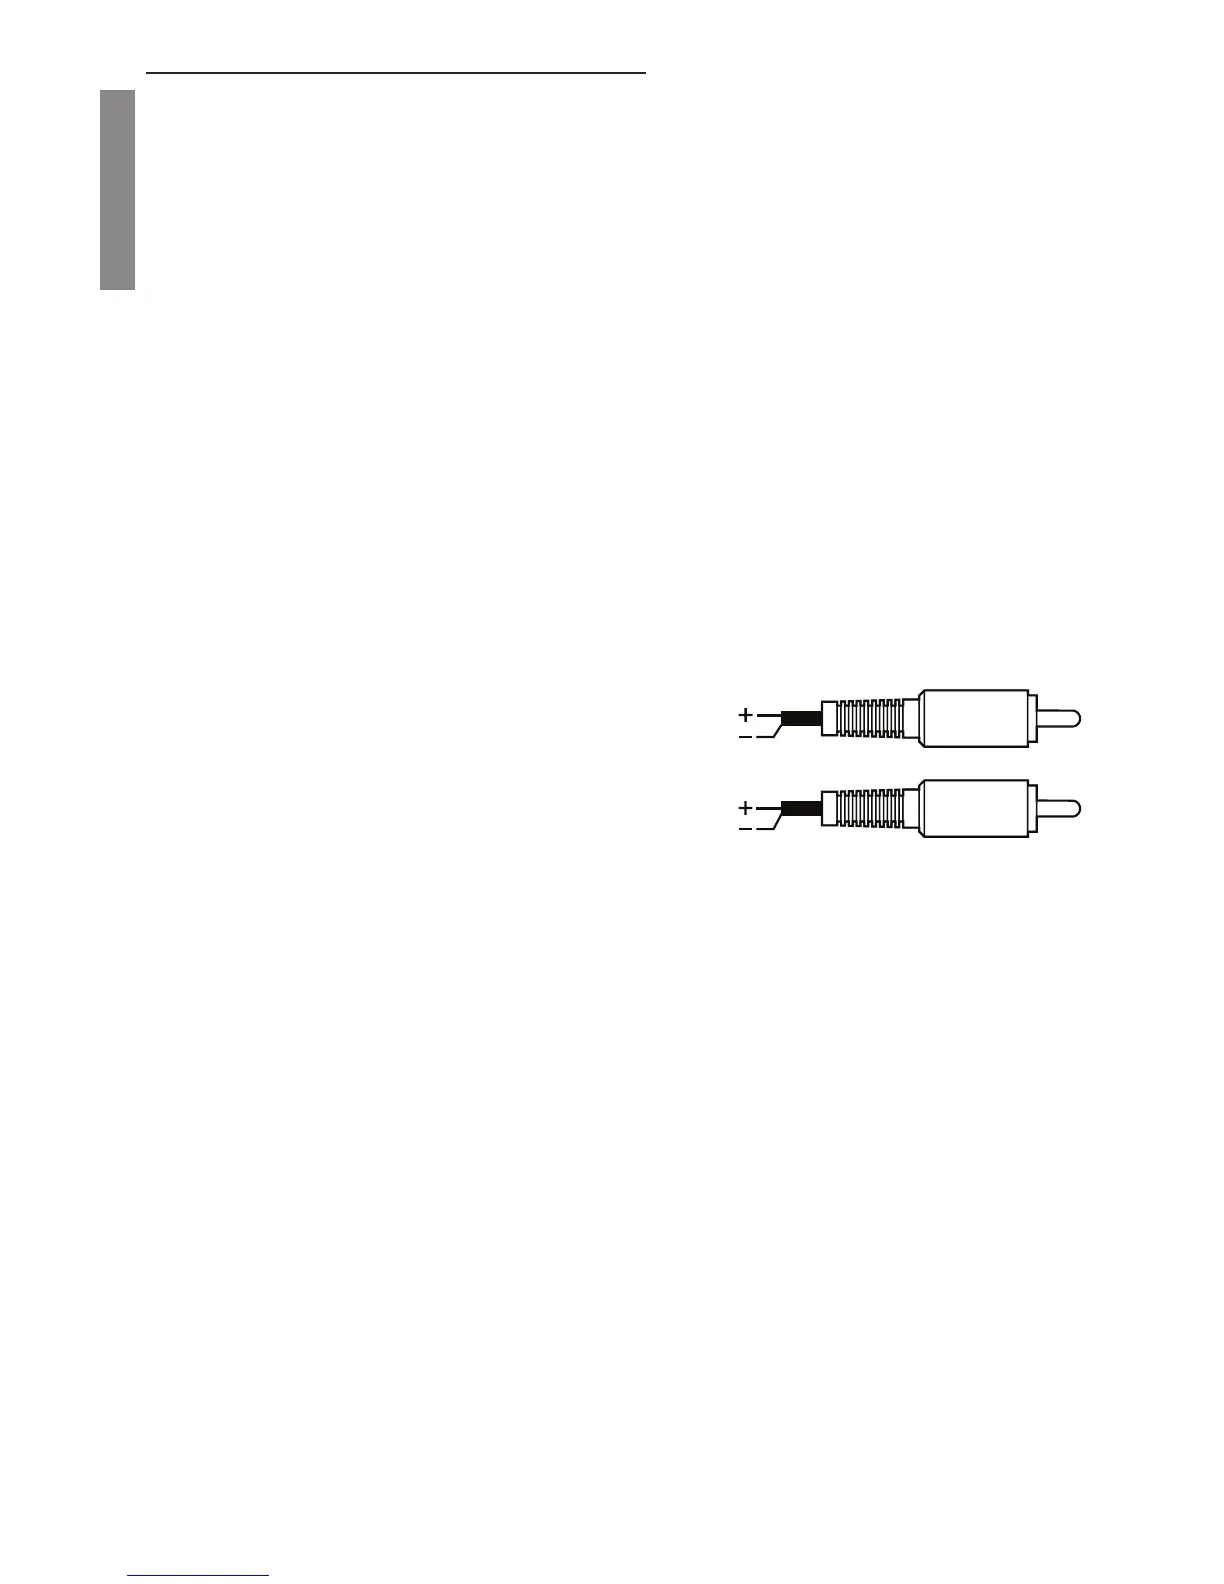
Speaker switch to Speaker. On the XC1420, please use the included RCA pigtails and
wire them according to the adjacent image. Note, there are electronic components in
these connectors used to attenuate the signal. Do not substitute conventional RCA
terminals for these or damage may occur.
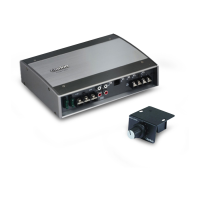
Remote Level
The XC1120 amplifi er is compatible with the optional BC2 remote subwoofer level control.
This control can be mounted in the front of the vehicle to allow the user to adjust the
output of the amplifi er to match his or her musical tastes. The provided cable should be
attached at this point.
Crossover Frequency Control
This adjustment allows the use to alter the -3dB frequency of the crossover. The crossover
control is selectable between 60Hz or 90Hz. The XC1120 has a third setting of 250Hz that
should be used with a source unit or processor with it’s own low-pass fi lter. To use the
XC1420 amplifi er for full-range audio, set the Crossover frequency control to “Full”
Power / Protect LED
This LED will illuminate Green when the amp is powered up. In the event that the internal
protection circuitry is activated due to a short circuit, over-temperature or low voltage
condition, this LED will illuminate Red.
Red
White
Red
Black
White
Blue
 Loading...