19
© Copyright 2020. All rights reserved.
Figure 11
Figure. 2
Figure. 1
9. Connect the L-tubes to the casing and secure with hose bands.
Secure the chamber blocks. (Figure 11).
10. Reset the safety slide switch if necessary (page 17).
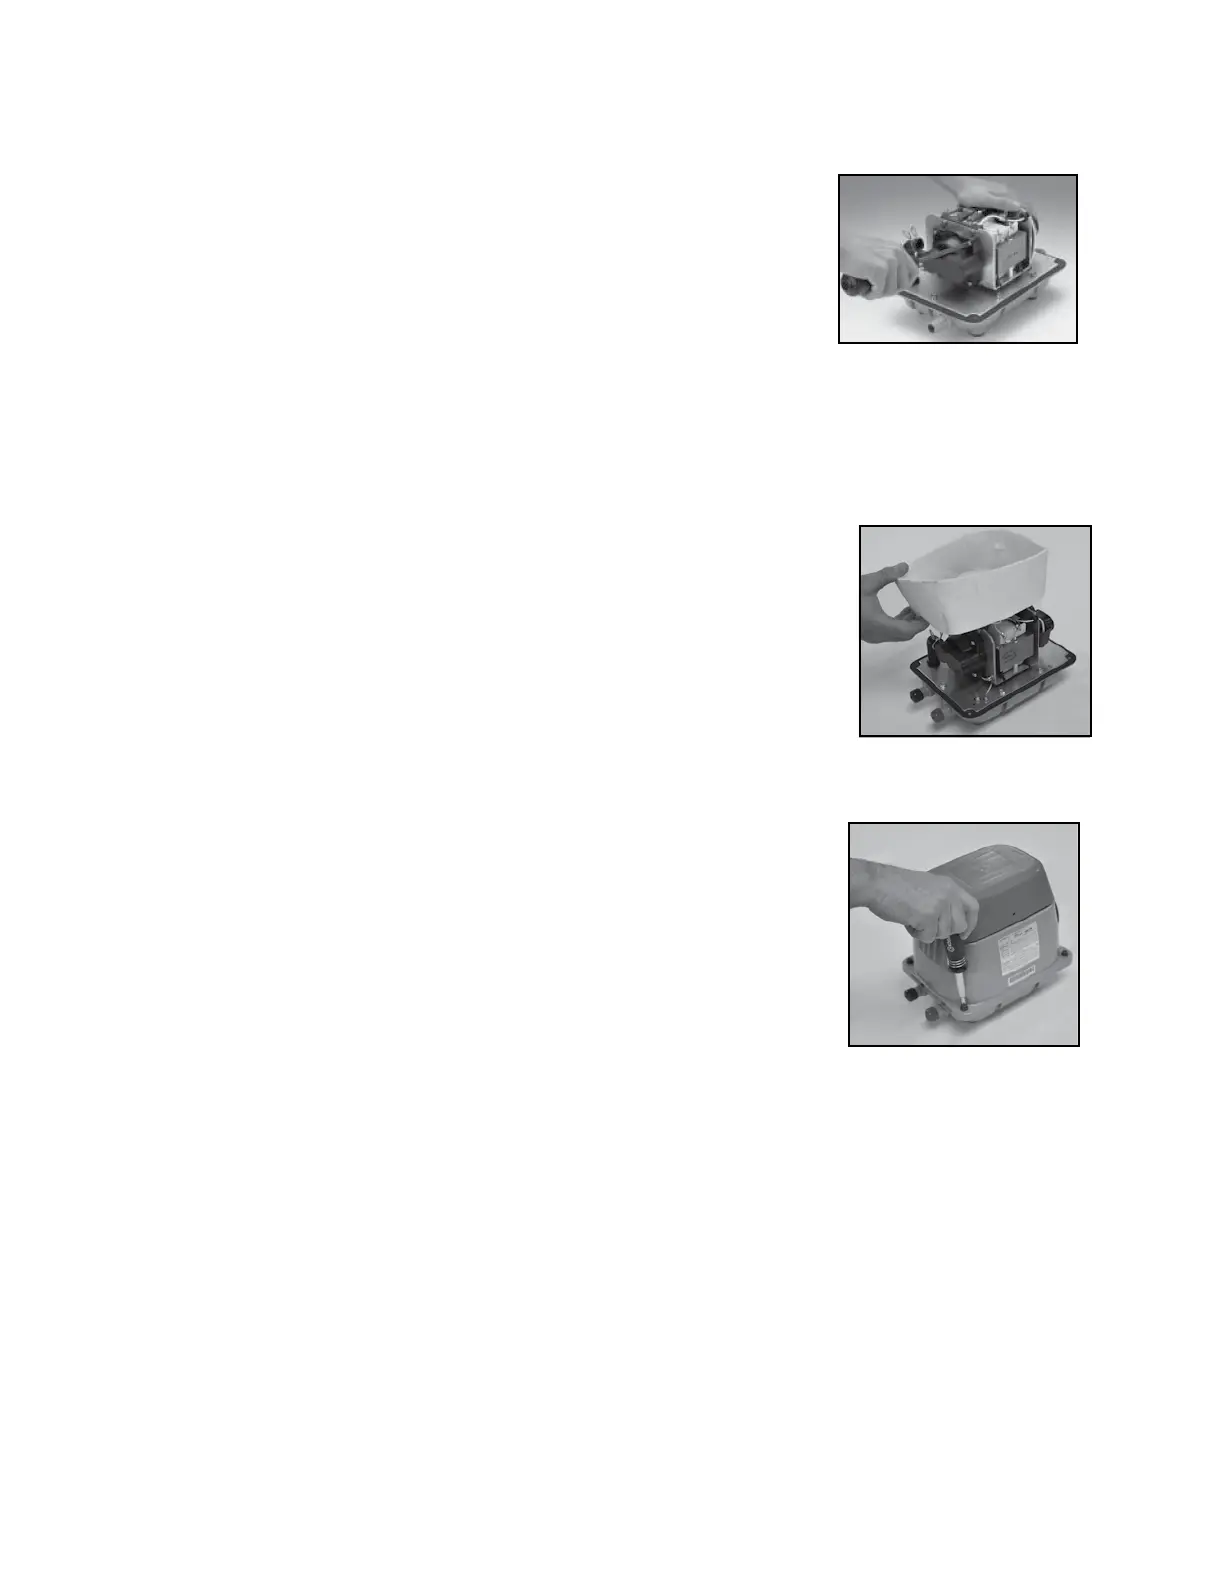
11. Install the sound absorber.( Figure 2)
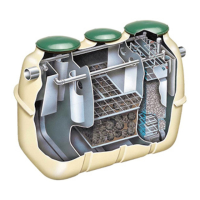
12. Replace the housing cover and secure it with the screws removed
earlier (Figure 1)
HIBLOW Diaphragm Replacement