Do you have a question about the Classeq DUO 2 and is the answer not in the manual?
Overview of the machine's control panel, buttons, and indicators.
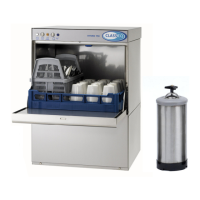
Lists all items included with the machine upon delivery.
Provides detailed technical specifications, dimensions, and capacities for various models.
Details electrical supply requirements and standards.
Explains the necessary electrical connection procedures and standards.
Instructions for safe earth bonding and equi-potential connection.
Information regarding the machine's mains electrical plug type.
Details the required specification for the mains electrical cable.
Procedure for altering the machine's electrical rating, requires qualified personnel.
Guidelines and procedures for connecting the machine to the water supply.
Specific details about the water supply hose and its connection.
Specifies limits for incoming water temperature and pressure.
Instructions for connecting the drain and waste water hose.
Lists the tools recommended for installation.
Steps for safely connecting the machine to the electrical supply.
Detailed instructions for connecting the water supply hose correctly.
Procedures for securely connecting the drain hose to the waste plumbing.
Specific drain connection requirements for gravity drain models.
Specific drain connection requirements for drain pump models.
Guide for setting up chemical dosing tubes and weights.
Instructions for configuring the integrated water softener.
Procedure to prime the chemical dispensing system.
Information on adjusting the chemical dosing rates.
Notes on pre-set and recommended water temperatures for washing.
Overview of the machine's design for commercial use.
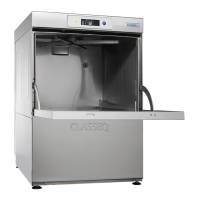
Identifies and explains all controls on the machine's fascia.
Step-by-step guide to powering on the machine correctly.
Explains the initial heat-up process and readiness indicators.
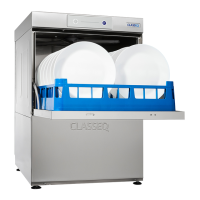
Instructions for loading and initiating a wash cycle.
Information on the machine's automatic and manual draining processes.
Specific draining procedures for gravity drain type machines.
Specific draining procedures for drain pump type machines.
Essential steps to take before commencing any cleaning procedures.
Detailed instructions for cleaning the internal components of the machine.
Instructions for cleaning the external surfaces of the machine.
Information and advice on preventing and dealing with lime scale buildup.
Troubleshooting steps for when the machine fails to fill with water.
Troubleshooting steps for when a wash cycle fails to initiate.
Troubleshooting steps for when the machine does not rinse effectively.
Troubleshooting steps for slow water filling.
Troubleshooting steps for issues with the machine not reaching correct temperatures.
Troubleshooting steps for when the machine fails to drain water.
Troubleshooting steps for improving the quality of wash results.
Troubleshooting steps for resolving machine overfilling problems.
Troubleshooting steps for excessive foam in the wash water.
Troubleshooting steps for when the machine does not power on.
Troubleshooting steps for when the machine cannot be switched off.
Detailed information on the integrated water softener and its function.
Instructions for refilling the salt reservoir for the water softener.
Guide on how to change the machine's electrical rating.
Specific steps to change the rating to 220-240V, 13A.
Specific steps to change the rating to 220-240V, 20A.
Steps to change the rating to 380-415V, 3-phase, 13A.
Instructions for adjusting the chemical dosage pump settings.
Provides contact information for customer support and service.
| Brand | Classeq |
|---|---|
| Model | DUO 2 |
| Category | Dishwasher |
| Language | English |