26
Electrical connections
3.4 Assembling the panel
d
IT IS PROHIBITED TO
– place the panel face down on the floor,
against a wall or on an uneven surface.
– hit or crush the deflector.
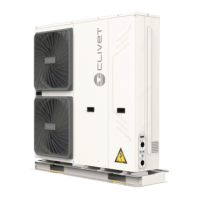
1 Remove the air intake grille.
– Push the two tongues towards the centre at the
same time to unlock the grille catch
Fig. 36
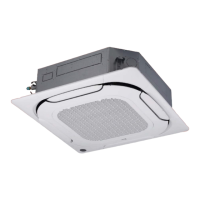
– Lift the air intake grille about 45° and detach it from
the main body.
Fig. 37
l
WARNING
One panel air vent is shorter than the other
three. During installation, position the panel so
that the shortest vent is in line with the shortest
louver on the unit body.
2 Remove the installation covers in the four corners by
sliding them outwards.
Fig. 38
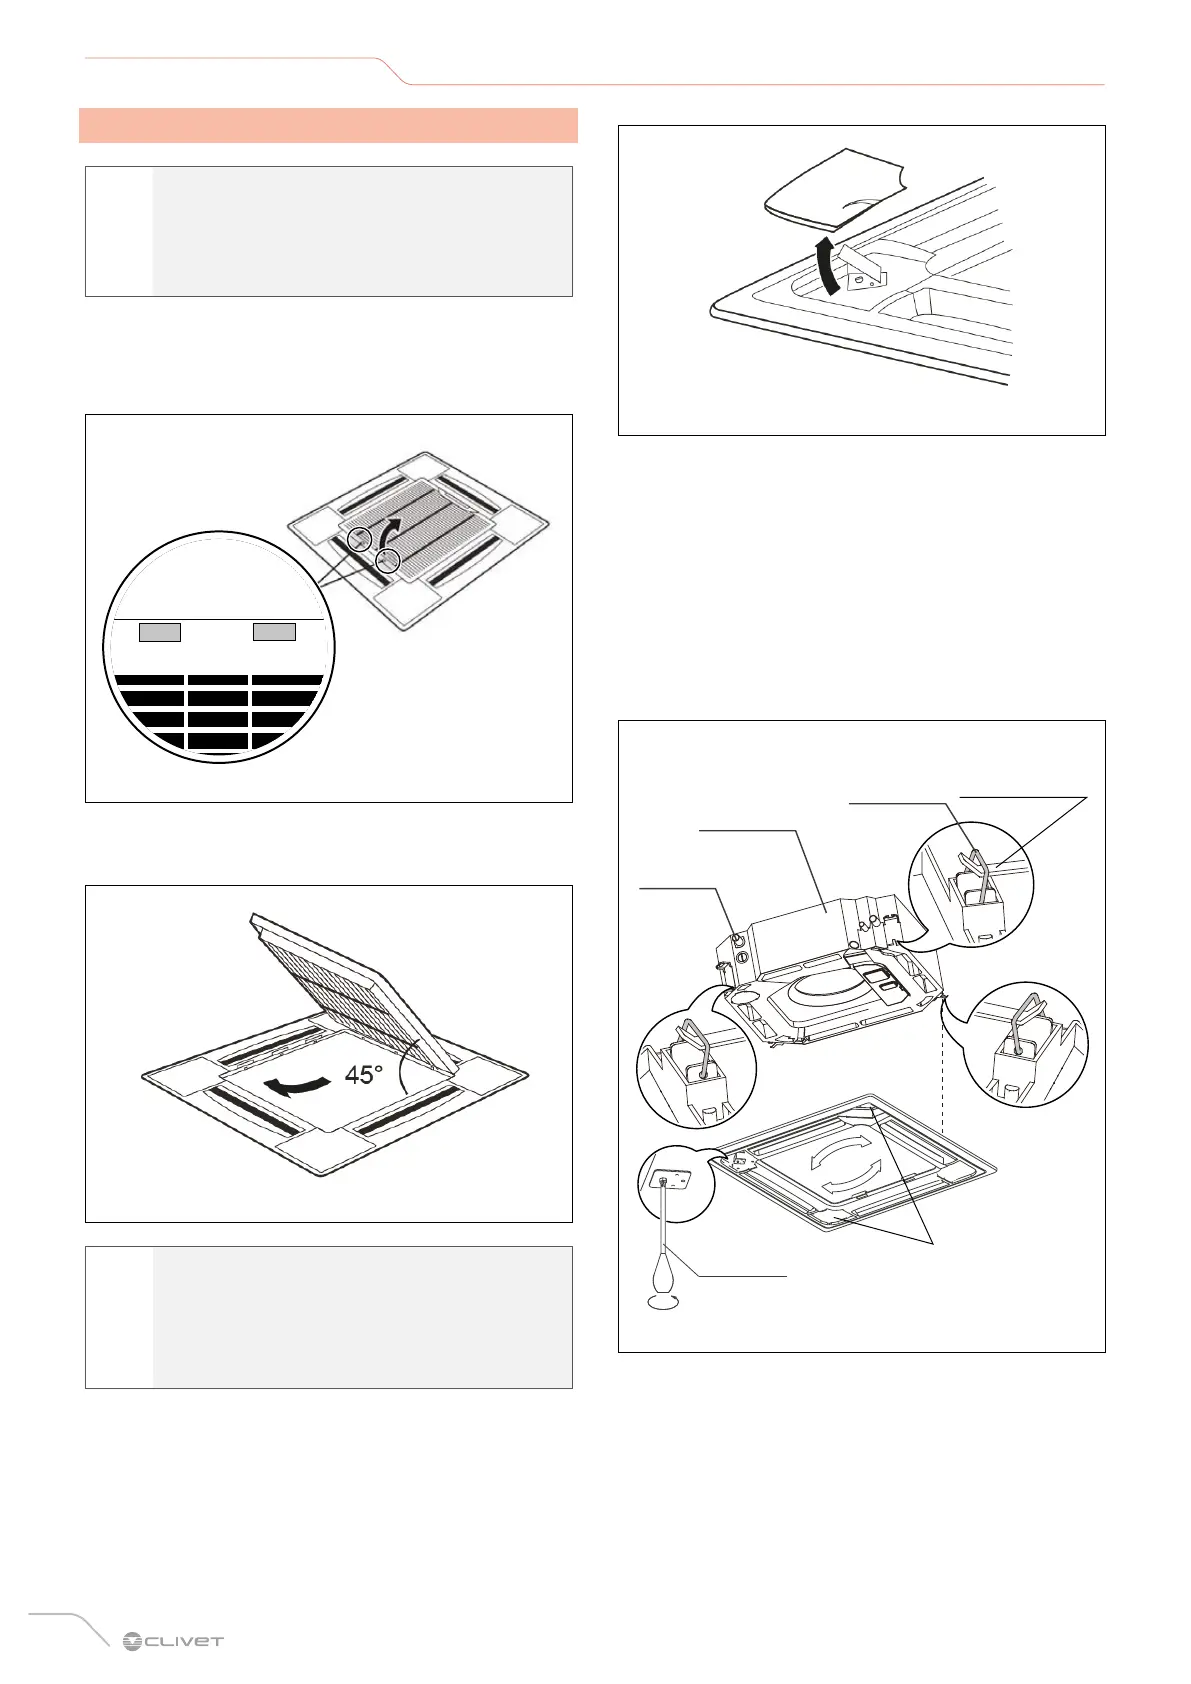
3 Install the panel
– Align the panel with the main unit body, taking into
account the position of the pipes and the drain side.
– Attach the four panel rings to the indoor unit hooks.
– First hang the swing motor side of the panel
and hook the drain pan hook onto the opposite
side. Then hang the two remaining hooks on the
corresponding suspension bracket of the indoor
unit casing.
Pipe side
Hook for water
drain pan
Fin motor
Ring
Screwdriver
Drain
side
Fig. 39
– Electrically connect the motor and display: insert
the swing motor cable into the housing on the
panel and connect the connection cables from the
swing motor and the display box from the panel to
the corresponding connectors on the unit casing.
Use a protective sleeve to wrap the connection
terminals. Use a reliable fastener and reinforce the
safety insulation of the terminals.
 Loading...