5 Clover Mini Feature Guide English 6
Paper roll release
pull tab
Reset button
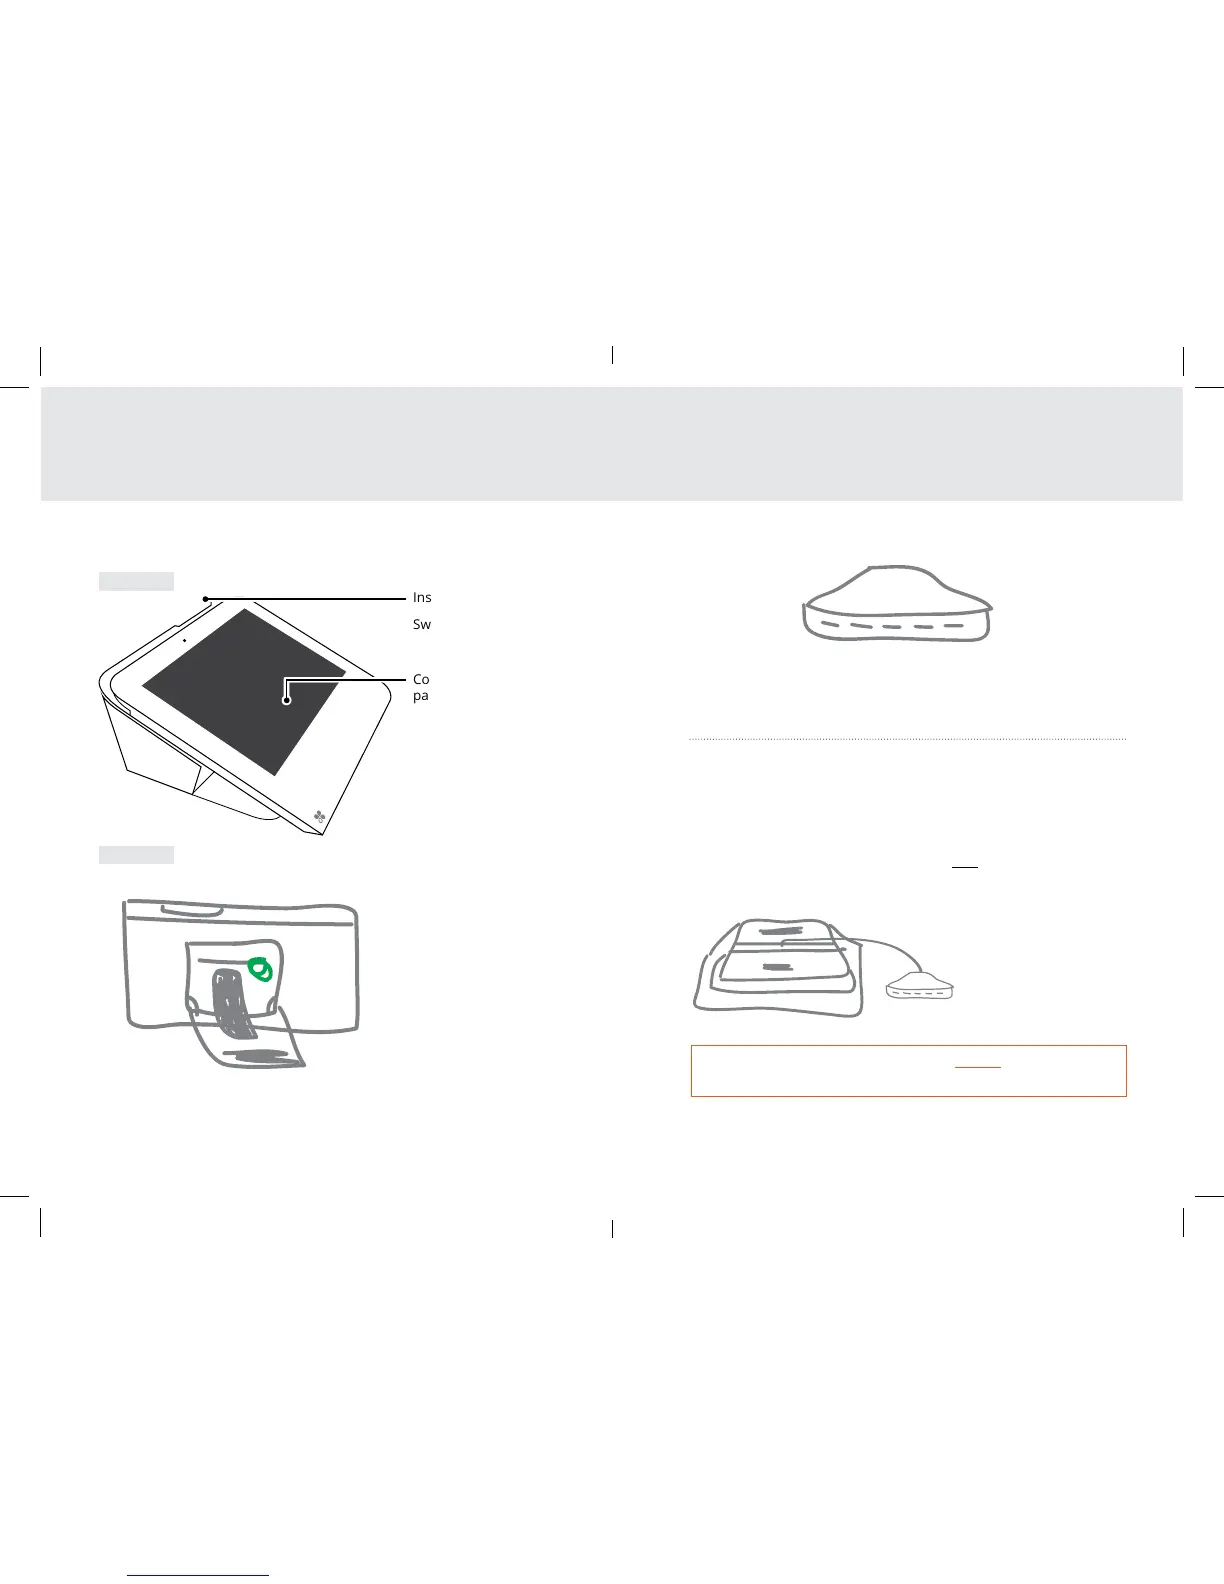
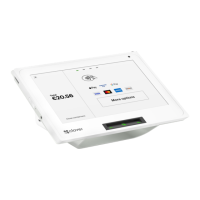
Insert payment
Contactless
payment reader
Microphone
Audio jack
Speaker
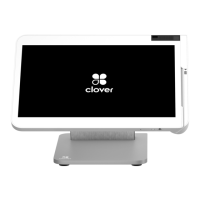
Front facing
camera
Swipe payment
SIM card slot
Charging port
Switching Hub connector’s direction:
1 Turn Clover Mini over to access underside
2 Use provided screwdriver to loosen green screws
3 Switch connector to desired direction
4 Tighten green screws (be sure to not overtighten)
For more pairing options visit clover.com/setup.
Ethernet
(optional)
Type A USB
ports
Type B USB
port
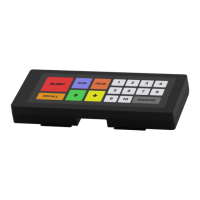
Cash drawer
(optional)
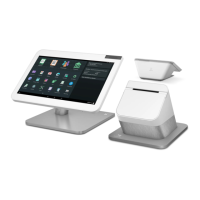
Receipt door
HubClover Mini
Front
Back
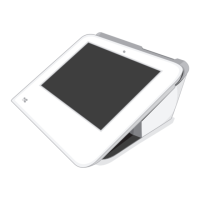
Get to know Clover Mini
REVERSE SO
AUDIO AND
MIC EASIER
Green screws on Hub connector must always be tightened to
ensure reliable connection.