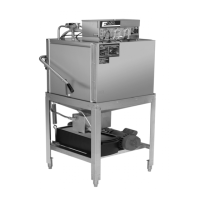
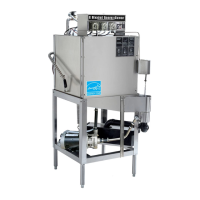
GL-X REAR VIEW
1
STEP
WALL DRAIN
FLOOR DRAIN
1"AIR GAP
Connect the drain hose to wall or floor drain.
The floor drain must have a 1 inch air gap
between drain hose and floor drain.
HARD WIRE
POWER SUPPLY
2
LEVELING
LEGS
3
GL-X
Quick Setup
Instructions
DRAIN VALVE
DRAIN HOSE
1
1/2" WATER
INLET
4
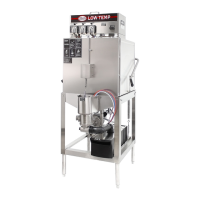
Insert tube stiffener with chemical tubing into
corresponding chemical dispensers.
5
STEP
BLUE RED
WHITE
5
CHEMICAL
TUBING
5
TUBE
STIFFENER
11-2016
WARNING: Electrical and plumbing
connections need to be made by a
licensed service person and comply
with all Federal, State and Local
Health, Electrical, Plumbing and
Safety codes.
2
STEP
DO NOT USE POWER CORD OR GFI OUTLET.
This unit MUST BE hard-wired to a dedicated
appropriatley size circuit breaker.
GFI
GFI
Connect dishmachine to hot water source,
recommended 140
0
(120
0
minimum temperature
required) using a 1/2"connector.
4
STEP
Level dishmachine by adjusting leveling legs.
Dishmachine must be level front and back to
ensure proper performance.
3
STEP
PN: 10130.04