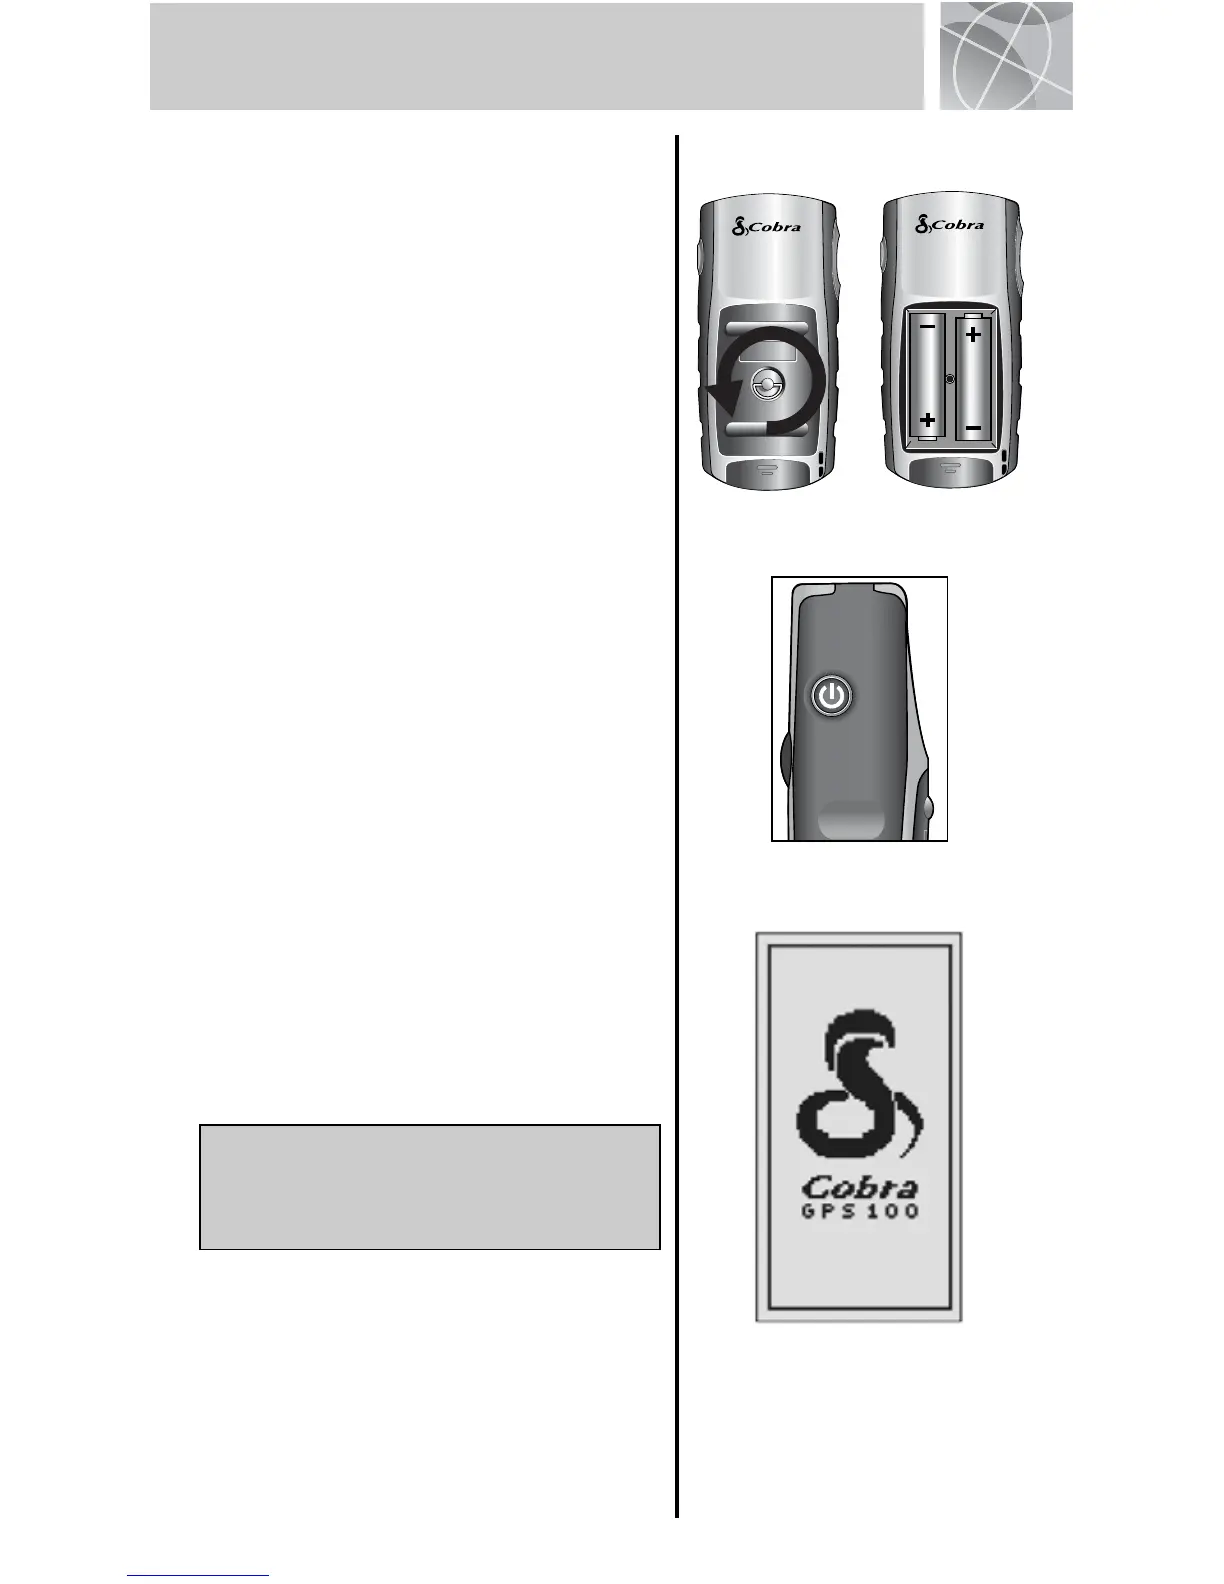
Installing Batteries
The GPS 100 operates on 2 AA batteries (not
included). To install batteries, twist the D-ring
connector counterclockwise (anticlockwise) and
remove the battery compartment cover. Insert
two AA batteries, ensuring correct polarity
alignment. Replace the battery compartment
cover and twist the D-ring clockwise to lock.
As an optional power source, an Automotive
Power Adapter (not included, see “Optional
Accessories,” in the owner’s manual) can be used
with your GPS 100.
Getting Started
In order to navigate using your GPS 100, you first
must acquire a “fix” on your current position. To
do this, take your GPS 100 outside making sure
you have a clear view of the sky. Press and hold
the POWER button for 2 seconds . A start-up
screen appears , followed by a second screen
that shows you that your unit is attempting to lock
on to signals from GPS satellites. Once satellite
signals have been acquired and locked, the screen
will automatically switch to the Map page, and the
unit is ready to use.
NOTE: When you use the GPS 100 for the
first time, it will take up to approximately 50
seconds to lock on to the GPS satellites.
Turning on the Display Backlight
When the unit is turned on, pressing and releasing
the POWER button will turn on the display backlight.
The display will remain lit for 15 seconds as long
as no other buttons have been pressed.
1
BASIC OPERATION
POWER Button
Startup Screen
 Loading...