Installation continuedInstallation
7 8
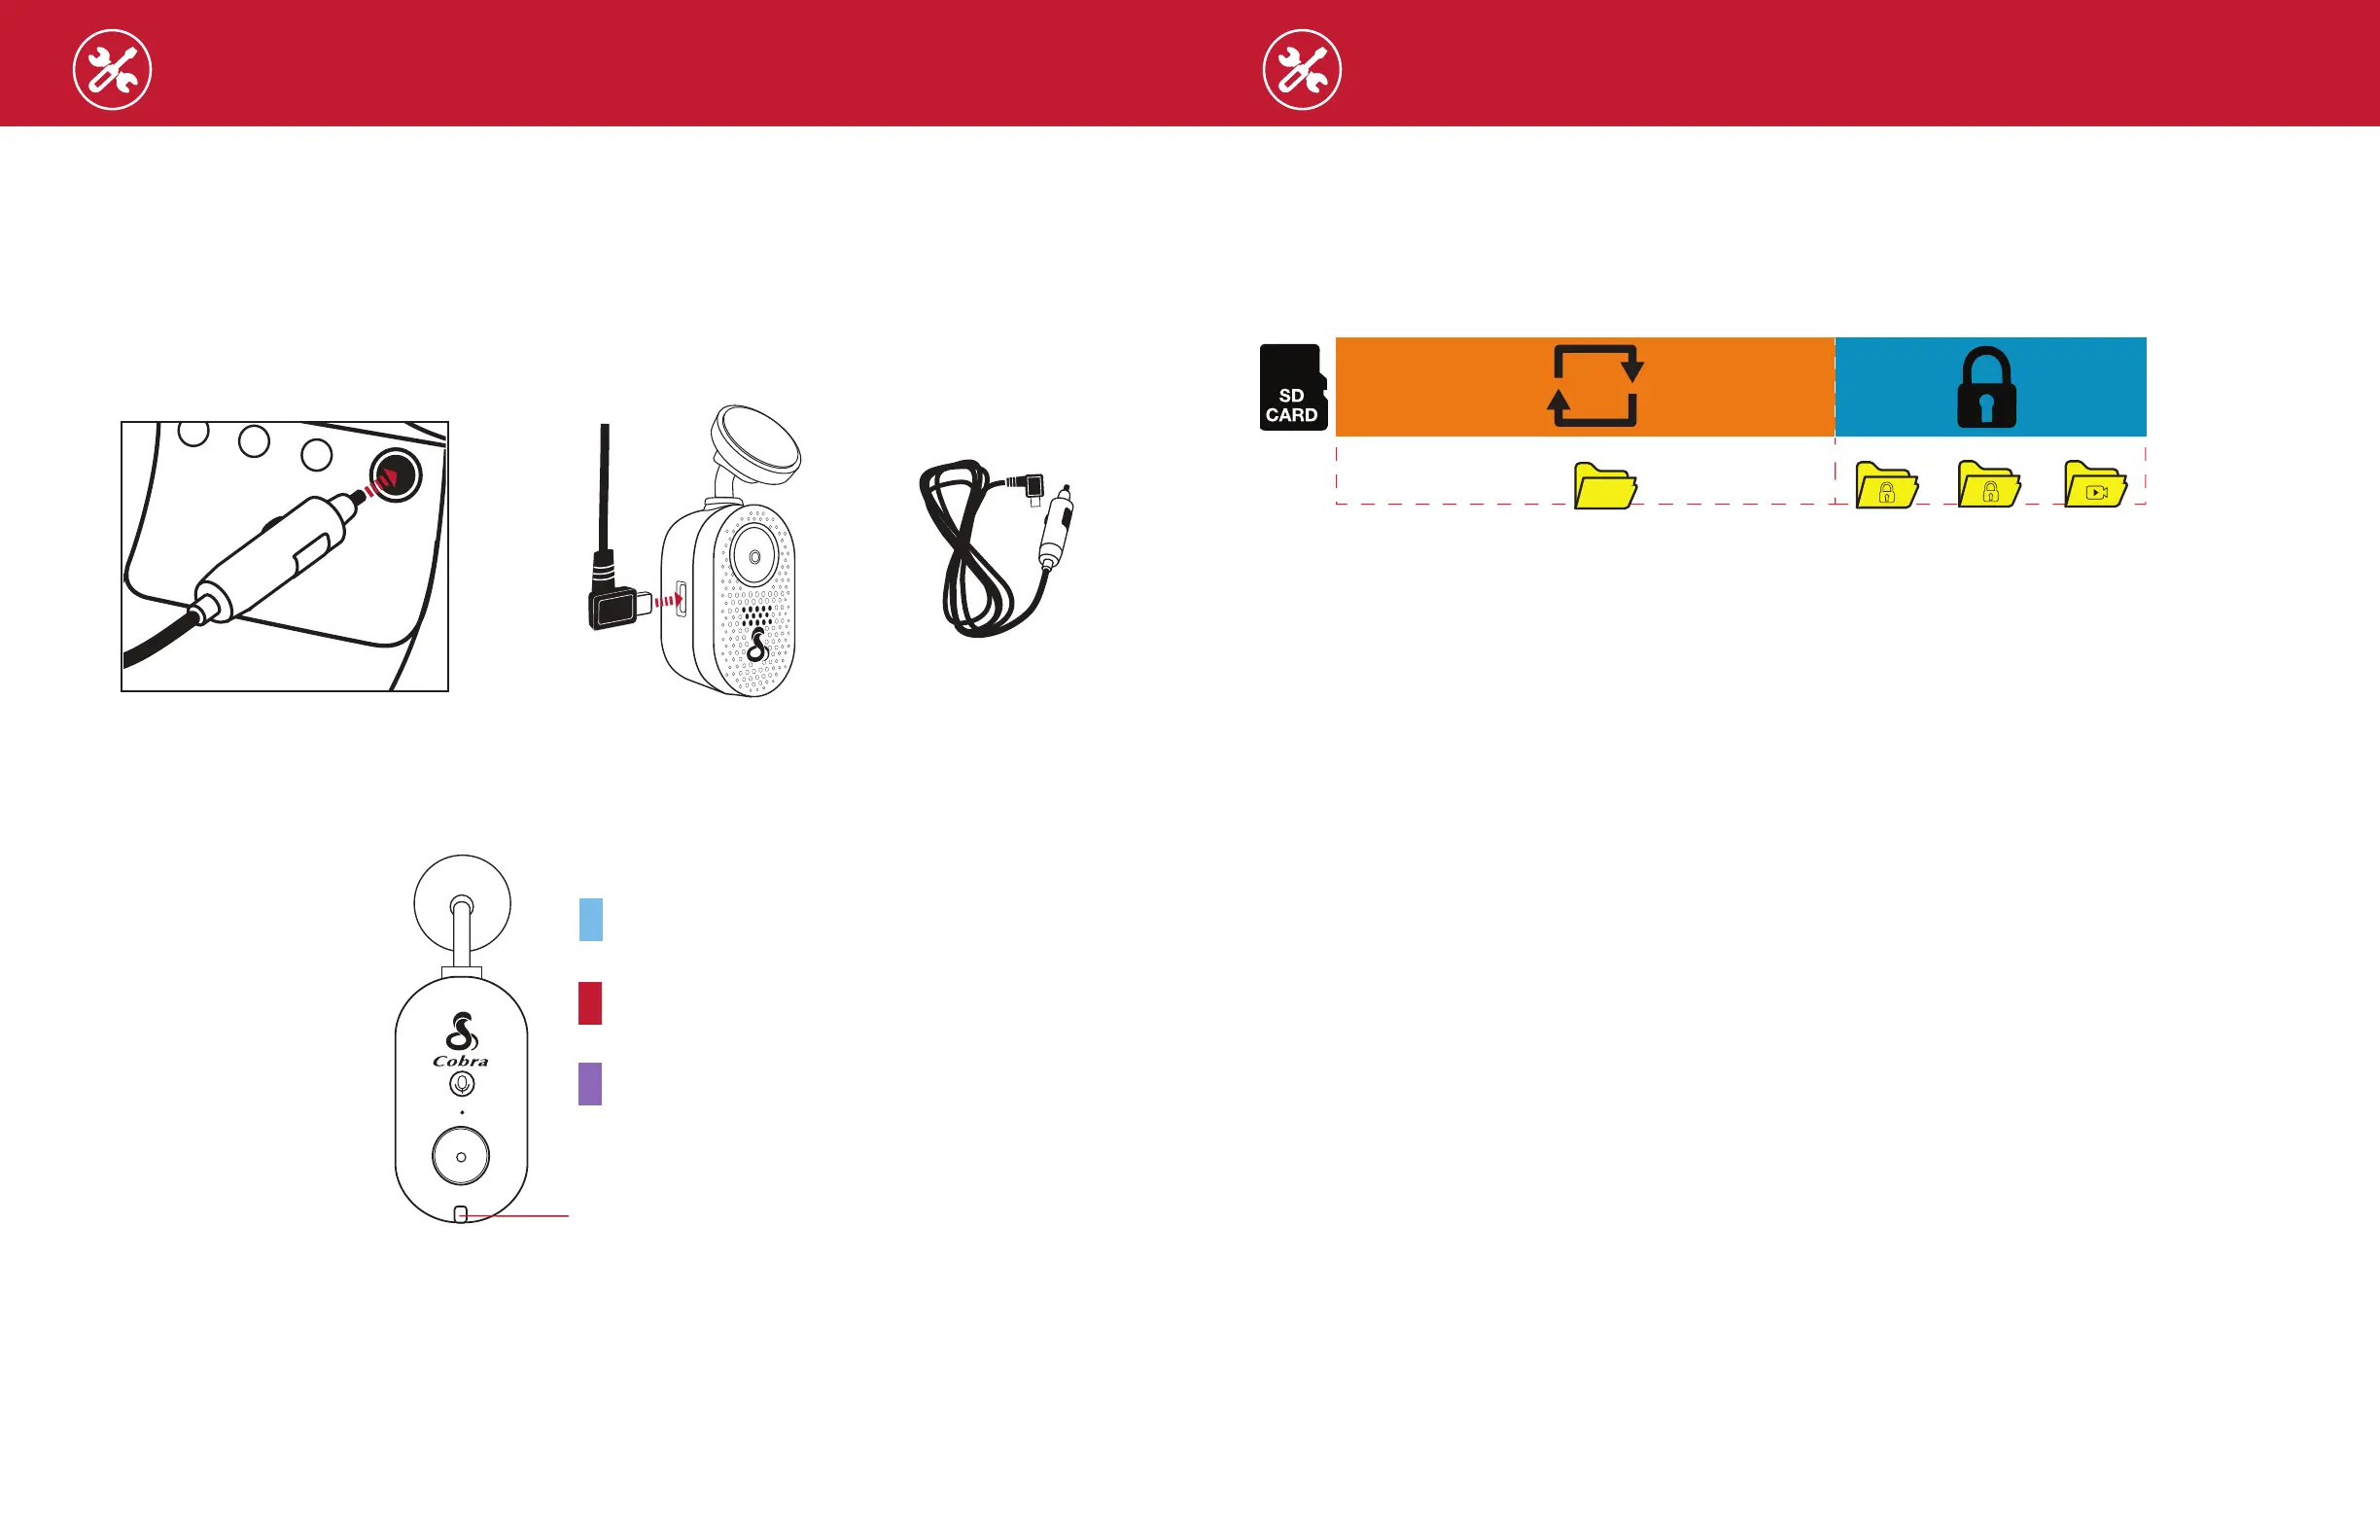
POWER
Plug one end of the supplied 12V vehicle power adapter into your vehicle’s 12V power port and the
other end into the USB-C port. The unit will automatically turn on and start recording. To manually
power on the device PRESS AND HOLD the Action Button.
Note: Hardwire Kits are available at www.cobra.com for a more permanent installation that allows for
discrete routing of the power cable and recording while your vehicle is o. See page 4 for more details.
DRIVE!
Your dash cam is designed for easy operation. Once powered on, it will immediately start loop
recording. As the SD card lls up, the oldest footage is erased to make space for new recordings. To
keep any important footage from being deleted, simply press the Action Button, and it will be locked.
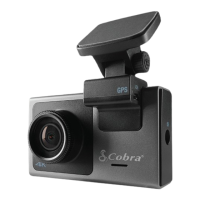
Connect the USB-C cable into the dash cam and
plug the power adapter into the vehicle’s 12V port
Vehicle Charger
POWERING ON THE DEVICE
The device will power on automatically when plugged in and can also be powered by pressing the
Action Button until the display activates (when connected to power).
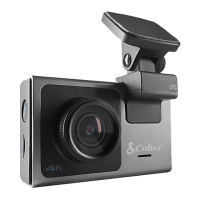
CONTINUOUS LOOP RECORDING
Once the SD card is full, the dash cam will continuously overwrite the oldest footage recorded with
recent recordings. To protect a clip so that it will not be overwritten, press the Action Button so that
the clip is moved into the locked content partition.
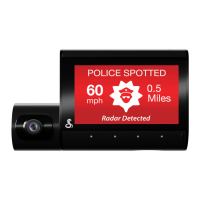
EMERGENCY RECORDINGS
An Emergency Recording is triggered when the Action Button is pressed or when the G-Sensor
registers a signicant impact (hard braking or collision). Emergency Recordings create locked les
that are not overwritten by Continuous Loop Recording. To ensure that important footage is not lost
surrounding an incident, the adjacent video clip is locked if the incident happens within 30 seconds of
the beginning or end of a clip.
THE SD MEMORY CARD
The SC 120 comes with a SD memory card. To remove the SD card, press rmly on the card to push
it further into the slot until you hear a click. The card will pop out upon release. Extract the card and
replace it if necessary by inserting a new card into the slot and pressing until it locks in place.
This dash cam supports SD cards up to 256GB. Before using, be sure to format the card in-dash
cam. We recommend using Class 10 high-endurance cards from reputable brands for continuous
video recording in a dash cam.
For the latest compatible SD cards, check www.cobra.com.
VOLUME ADJUST
The dash cam allows you to select “Volume” in the setting menu to adjust the volume of notications
and voice announcements. You can also make volume adjustments using the Drive Smarter
®
app.
INITIAL SETUP
Upon initial power-up, the device will display the video stream and initiate loop recording automatically.
To optimize functionality, it is recommended to pair the dash cam with the Drive Smarter
®
app
for downloading the latest rmware and ensuring the dash cam is up-to-date. Please refer to
the CONNECTION INSTRUCTIONS for app-to-dash cam pairing.
NORMAL
EVENTS
FAVORITES
PHOTO
CAMERA
Dash cam automatically turns on and begins recording
Blue LED lights up when the
dash cam is powered up.
Red LED light flashes when
the dash cam is recording.
Purple LED light flashes
when the dash cam is
recording a locked video or
trip clips.
LED Status Light
Connect the USB-C cable into the dash cam and
plug the power adapter into the vehicle’s 12V port
Vehicle Charger