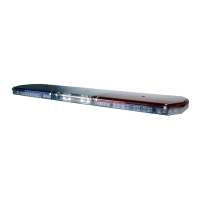
11
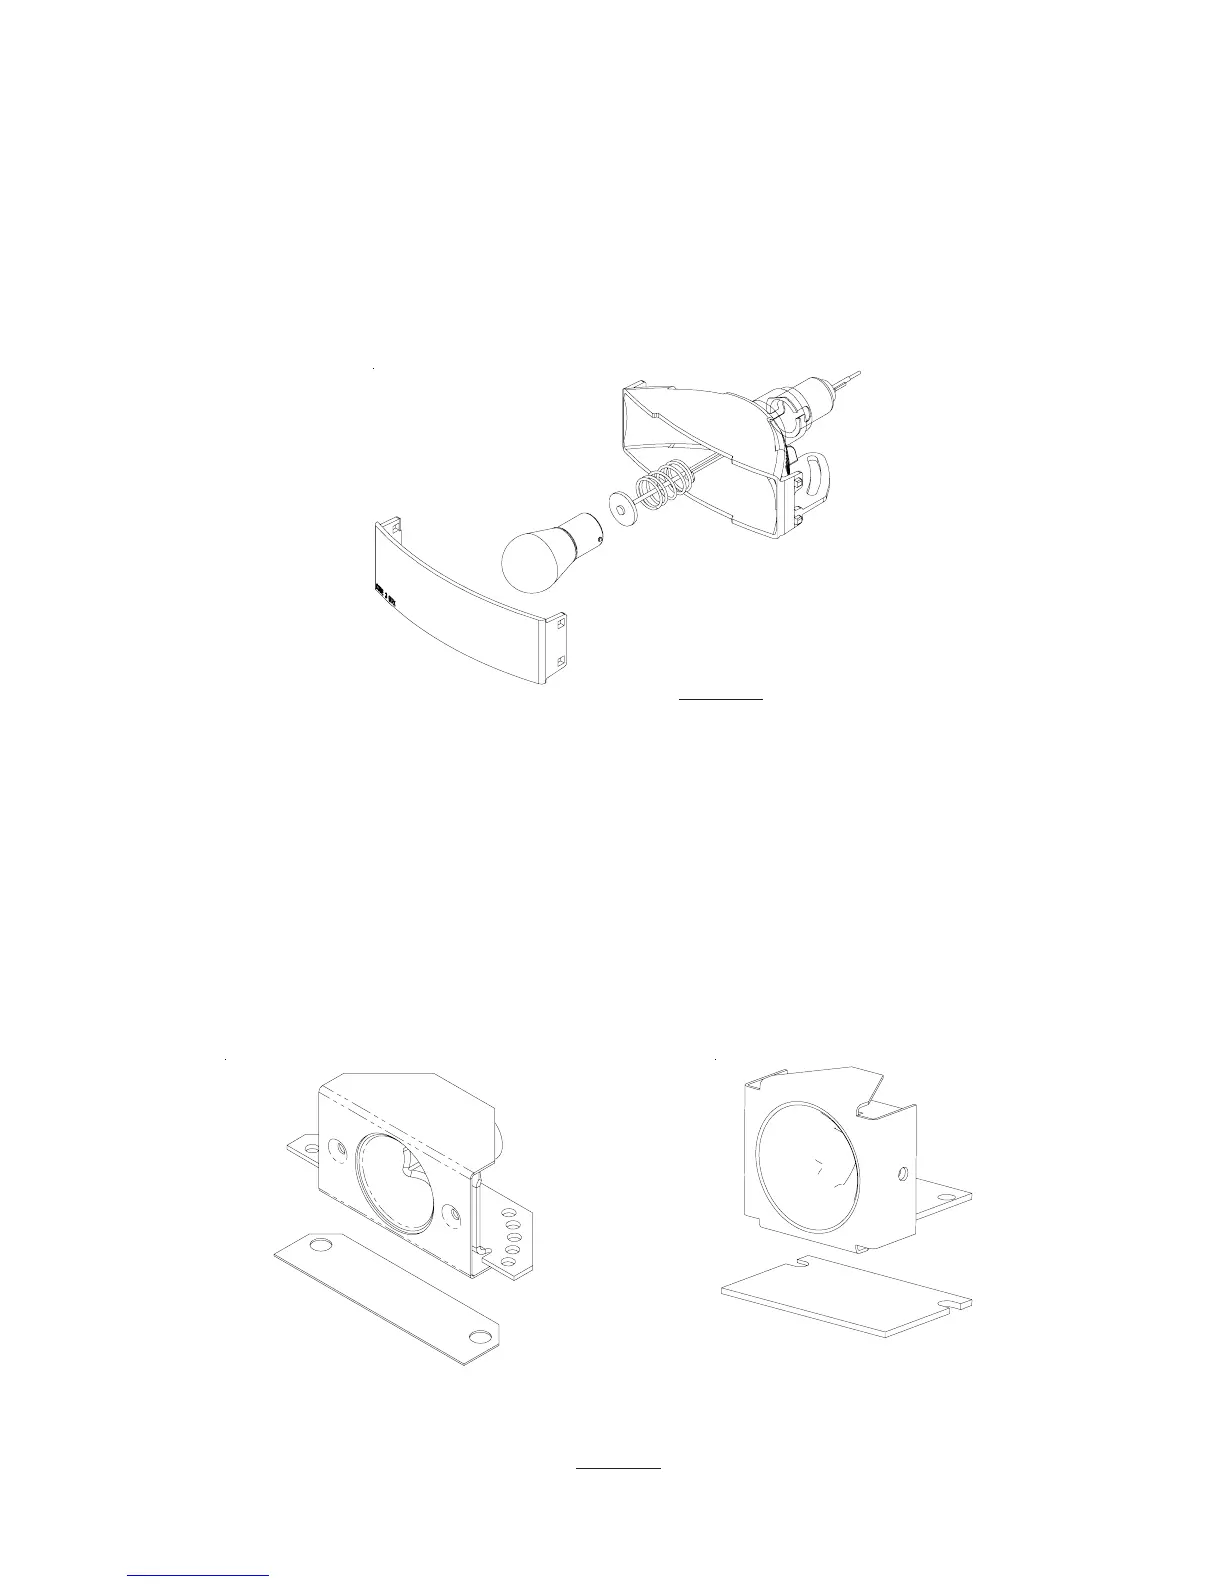
FIGURE 10
If attempting to clean the reflector, use only a mild glass cleaner and a very soft cloth. Do not attempt to use any wax type
products as these will burn onto the reflector.
Remove the reflector assembly by removing the appropriate fasteners, then remove the snap-on filter if necessary. In most
cases, these lamps will be a bayonet style, so simply push in and turn counterclockwise to remove.
FIGURE 11
MR11 Style Assembly
For MR11 style takedown or alley light assemblies refer to Figure 11 for lamp replacement. Remove the
lamp assembly by removing the appropriate fasteners, remove fasteners sandwiching MR11 in bracket, and
remove lamp. Replace the lamp and reassemble.
Caution: Be sure to replace the heat shield gasket with the foil side up when reinstalling
the takedown assemblies. Damage could occur without this gasket.
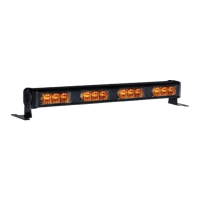
ALLEY ASSEMBLY for use with OPTIX™
ALLEY ASSEMBLY for use with LED X™