920-0505-00 Rev. B
Page 9 of 12
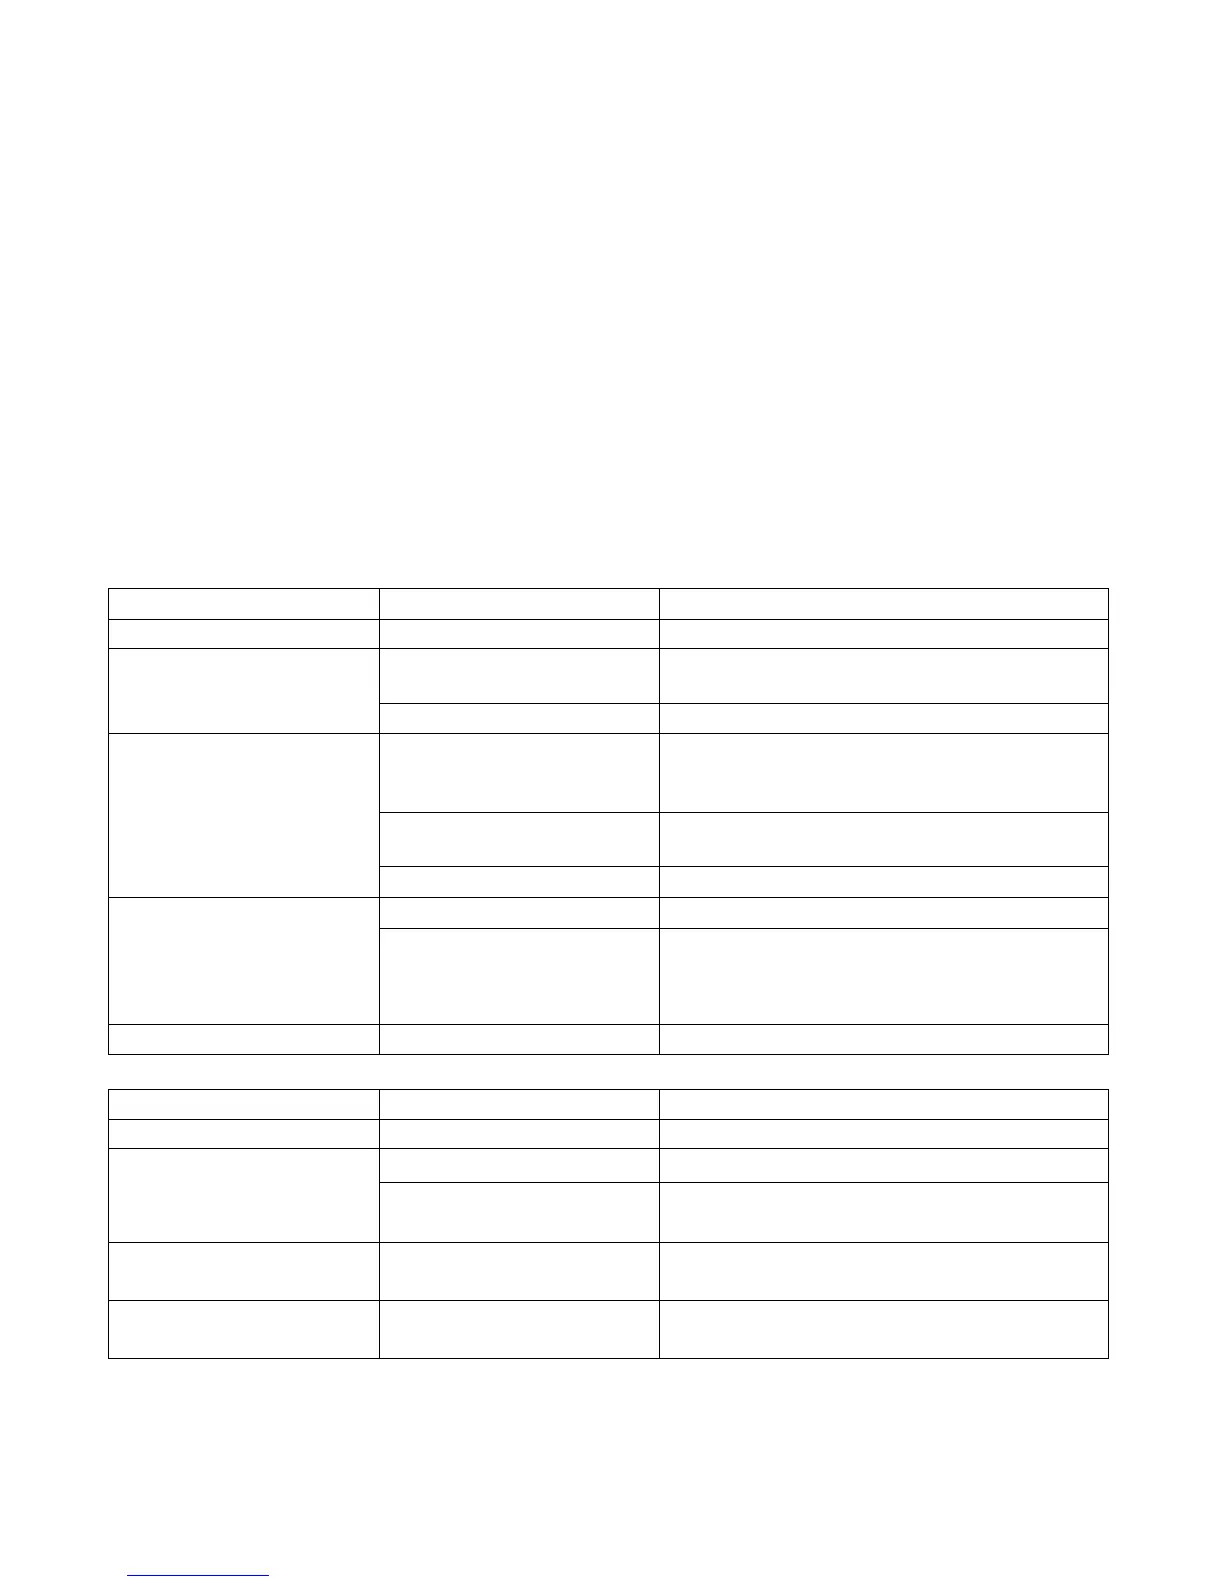
Control Box Issues
PROBLEM POSSIBLE CAUSE SOLUTION
Fuse Blows ¹ Wires short circuit Check power and ground for short circuits
Faulty unit
If fuse continues to blow after checking the
wiring replace the product
Unstable operation Wiring fault Check that wire colors match the label positions
on Junction Box
Output on Junction box is
not working
Junction box fuse blown
(excessive load)
Replace the Junction Box
¹
Note: Always replace the fuse with the same value as removed
Troubleshooting
Maintenance
Occasional cleaning of the lenses will ensure optimum light output. Take care when cleaning lenses, although very
impact resistant, polycarbonate scratches easily. Clean the lens and base with soap and water or a lens polish
using a microber or other lint free soft cloth. Do not use solvents as they may damage the polycarbonate.
Lens Removal and Installation
1. Identify the lens(es) to be removed - not all lenses need to be removed to access the internal components.
2. Unfasten the retaining screws from the lens(es) of the lightbar - the screws can be left captive in the lens.
3. Carefully lift the lens off the seal – choose a suitable location to temporarily store the lens so as to not scratch
the surface.
4. When reinstalling, gently apply pressure around the upper lens taking care not to damage the seal around the
lower lens set. Retorque the retaining screws to 18 IN-LB (2.0 N-M).
All products are thoroughly tested prior to shipment. However, should you encounter a problem during installation
or during the life of the product, follow the guide below for troubleshooting and repair information. If the problem
cannot be rectied using the solutions given below, additional information may be obtained from the manufacturer.
Contact details are at the end of this document.
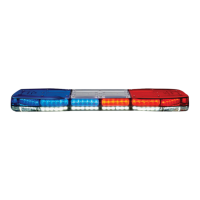
Lightbar Issues
PROBLEM POSSIBLE CAUSE SOLUTION
Lightbar does not function Poor power or ground
connection
Check power and ground connections.
Blown fuse Check wiring, replace fuse
One LED head does not
ash, but corresponding
indicator LED on control
module does ash.
Open circuit wiring from
control module to LED head
Connect a known-good LED head to the
problem output to ensure the control module is
working correctly. Repair or replace.
Poor ground connection at
LED head
Tighten or replace mounting screw.
Failed LED head Replace LED head
One LED head does not
ash, and corresponding
indicator LED on control
module does not ash when
appropriate pattern selected.
Wrong ash conguration Use C3Pro Conguration Programmer to correct
Failed control module Replace control module
Incorrect ash patterns Wrong ash conguration Use C3Pro Conguration Programmer to correct