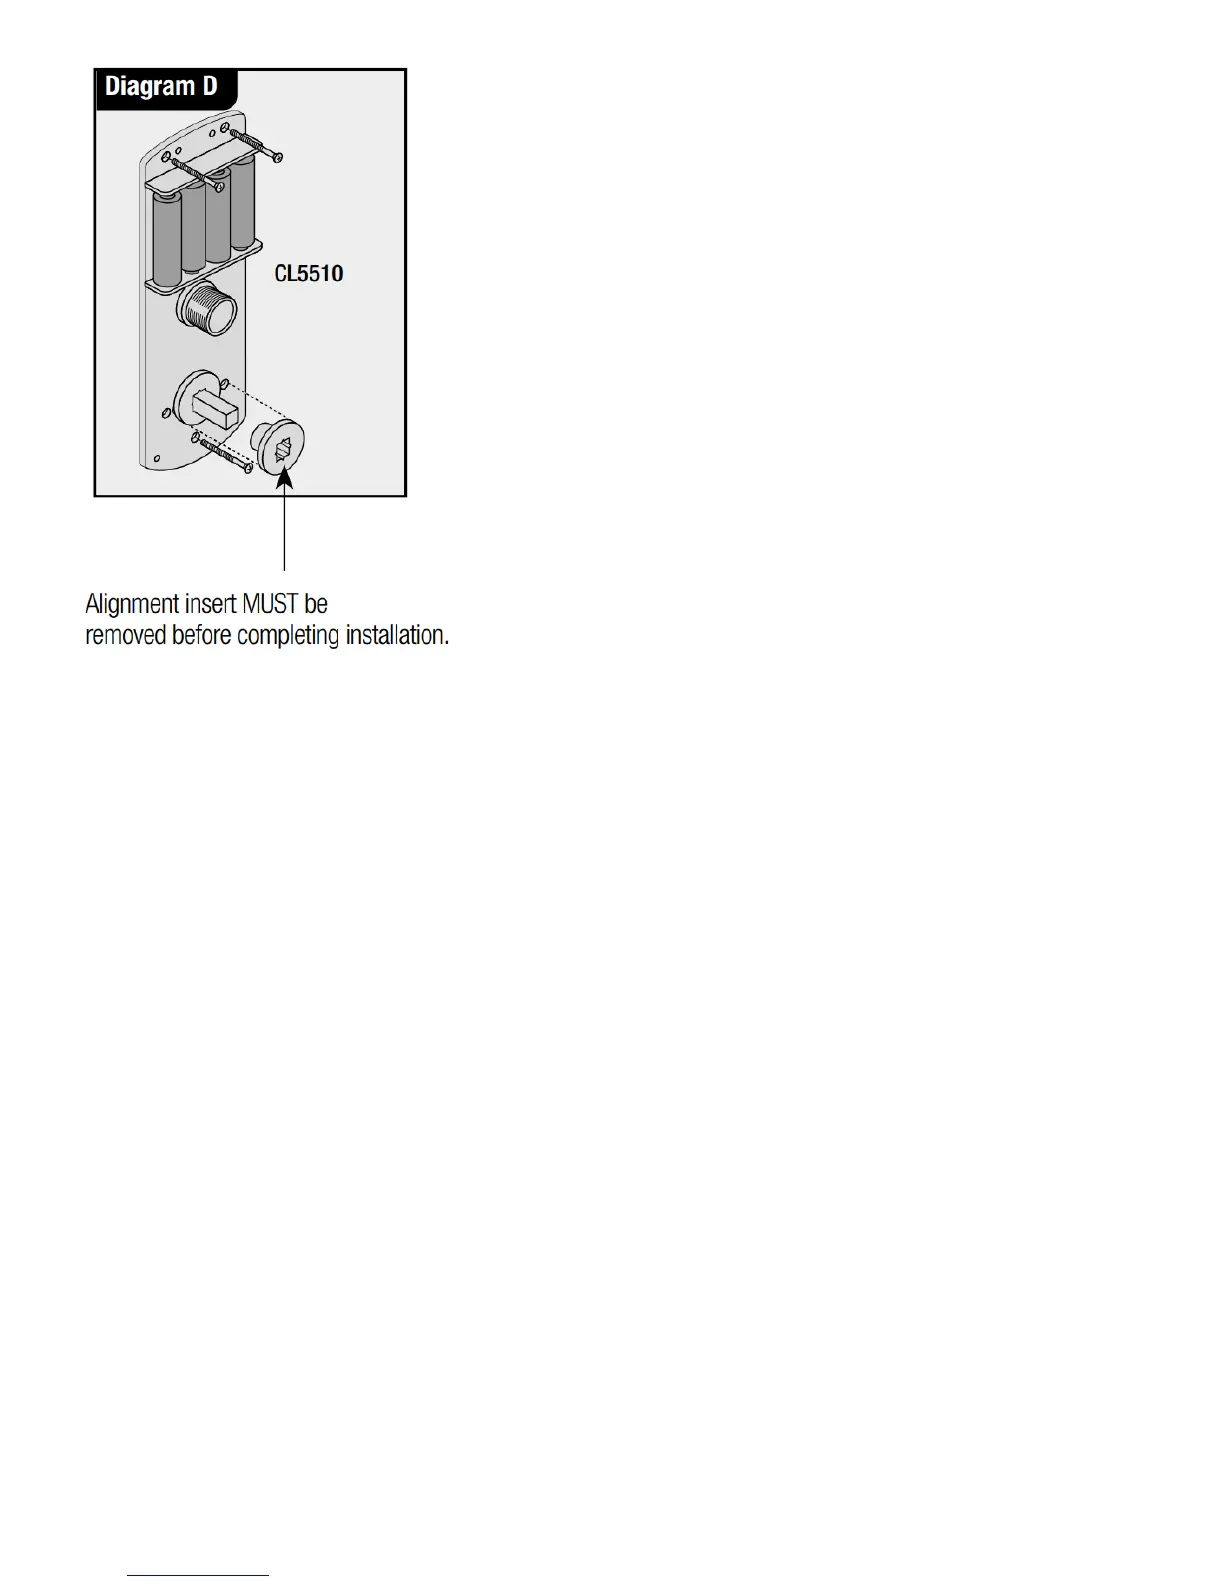
13.Check that the spindle turns freely, and the latch retracts and projects smoothly, with the alignment
insert in place. If it is tight, loosen the fixing bolts slightly and adjust the position of the fixing plate until
the spindle will turn freely. Tighten the fixing bolts. Test the spindle again. Do not over-tighten the bolts as
this may cause the door to distort and affect the lock function. PLEASE REMOVE THE ALIGNMENT
INSERT.
14.Connect the cables, storing any excess cable within the door. Screw end cap onto cable tube. Then
install the batteries.
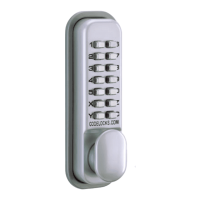
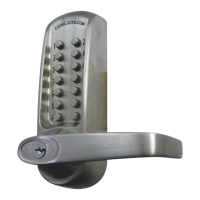
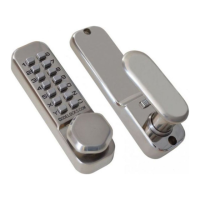
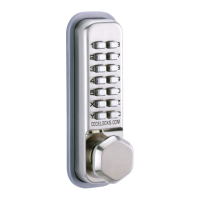
15. Fit the back plate over the fixing plate using the four socket head screws.
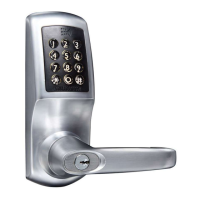
16. Fit the cylinder cover and outside handle to the front plate.
17. Fit the inside handle to the back plate.
18. The inside handle will now retract the latchbolt. The outside handle will turn freely without retracting
the latch. Enter the factory Master Code #12345678. The keypad will flash blue and the outside handle will
now retract the latch.
19. Fitting the strike plate
Position the strike plate on the door frame so that the aperture lines up with the flat of the latchbolt, and
NOT the plunger. Mark the positions of the fixing screws and draw around the aperture of the strike plate.
Chisel out the aperture to 15mm (⁄”) deep to receive the latchbolt. Fix the strike plate to the surface of the
frame using only the top fixing screw. Gently close the door and check that the latchbolt enters the
aperture easily, and is held without too much ‘play’. When satisfied, draw around the outline of the strike
plate, remove it and cut a rebate to enable the strike plate to lie flush with the surface. Re-fix the strike
plate using both screws.