36
6 Maintenance And Adjustment
G500 Series
Cleaning The Print Head
Dirt on the print head or ribbon, or glue residue from the label stock may result in inadequate print quality. The printer
cover must therefore always be closed during printing. Keeping dirt and dust away from the paper or labels ensures a
good print quality and a longer lifespan of the print head.
Cleaning Steps
Here is how you clean the print head.
1. Switch off the printer.
2. Open the printer cover.
3. Release the printing mechanism and lift it.
4. Remove the ribbon.
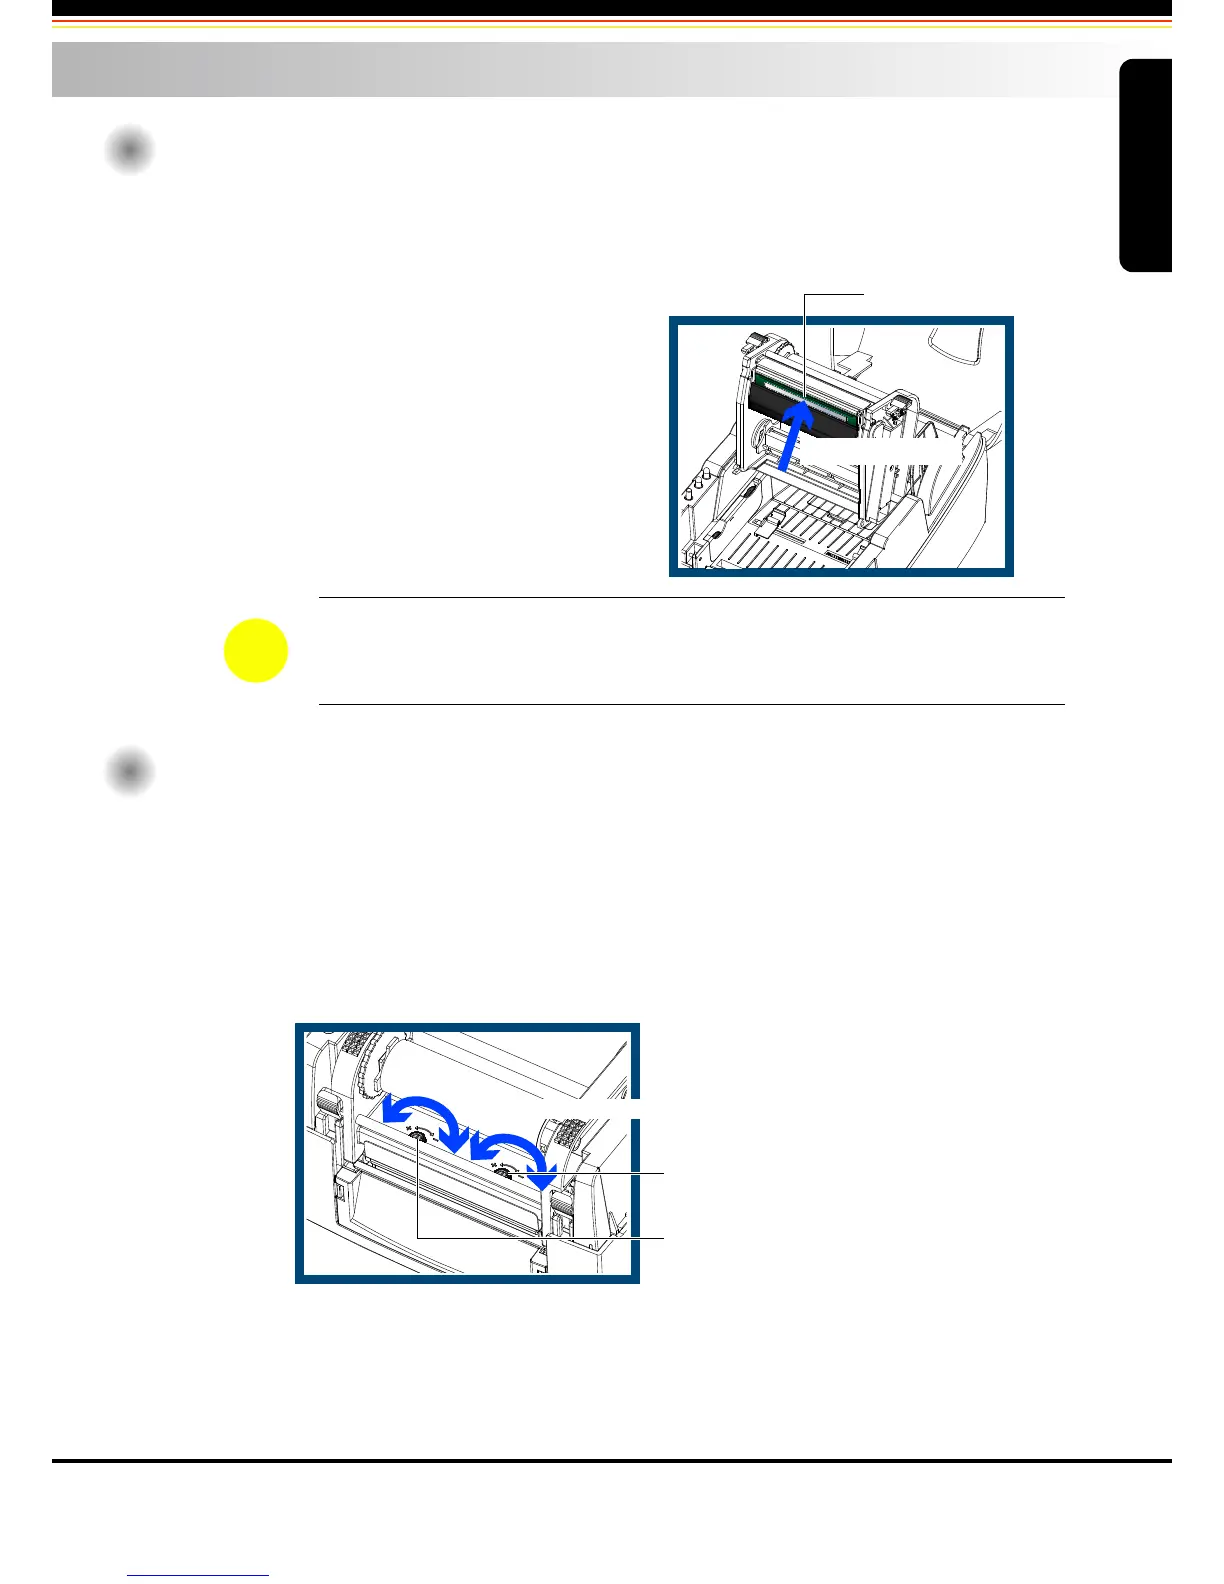
5. To remove any label residue or other dirt from the
print head (see blue arrow), please use a soft
lint-free cloth dipped in alcohol.
Adjusting The Print Head Pressure
When printing on special media (with varying material thickness), the print quality may suffer. You will then need to
adjust the print head pressure.
Adjustment Steps
1. Open the printer cover.
2. Remove the ribbon.
3. Use a screw driver and slowly turn the adjustment screws for the print head to increase or reduce the print
head pressure.
6-1
Maintenance and Adjustment
The print head should be cleaned once a week.
Please make sure that there are no metal fragments or other hard particles on the soft cloth
used to clean the print head.
NOTICE
PRINT HEAD
To clean the print head
6-2
Turn the adjustment screws
SCREW ( RIGHT )
Screw for adjusting the print head pressure on right side
SCREW ( LEFT )
Screw for adjusting the print head pressure on left side