Pag. 14
Selezionare con i pulsanti U e V (fig.23) la parola [BEEPER] e premere EN
-
TER .
In questo modo avremo la possibilità di determinare serendere attivo o disat-
tivare il BEEP alla pressione di ogni pulsante. Effettuare la scelta con i tasti S e T
nella sezione EDIT KEYPAD (fig.23).
Premere ESC per uscire dalla funzione.
****** BEEPER ******
Status:ON
Status:OFF
Figure 26
•
Passo 7 - BEEPER - Configurazione cicalino interno
•
Step 7 - BEEPER - BEEPER setting
Select by means of the U and V push-buttons(fig. 23) the word [BEEPER]
andpressENTER. In this way you will have the possibility to enable or disable the
BEEPpressing any push-button. Choose by means of the S and T buttons on the
EDIT KEYPAD section (fig. 23). Press ESC to exit from the function.
•
Passo 8 - PASSWR - Impostazione PASSWORD
•
Step 8 - PASSWR - PASSWORD setting
* PASSWORD MODIFY *
New Password:
Figure 27
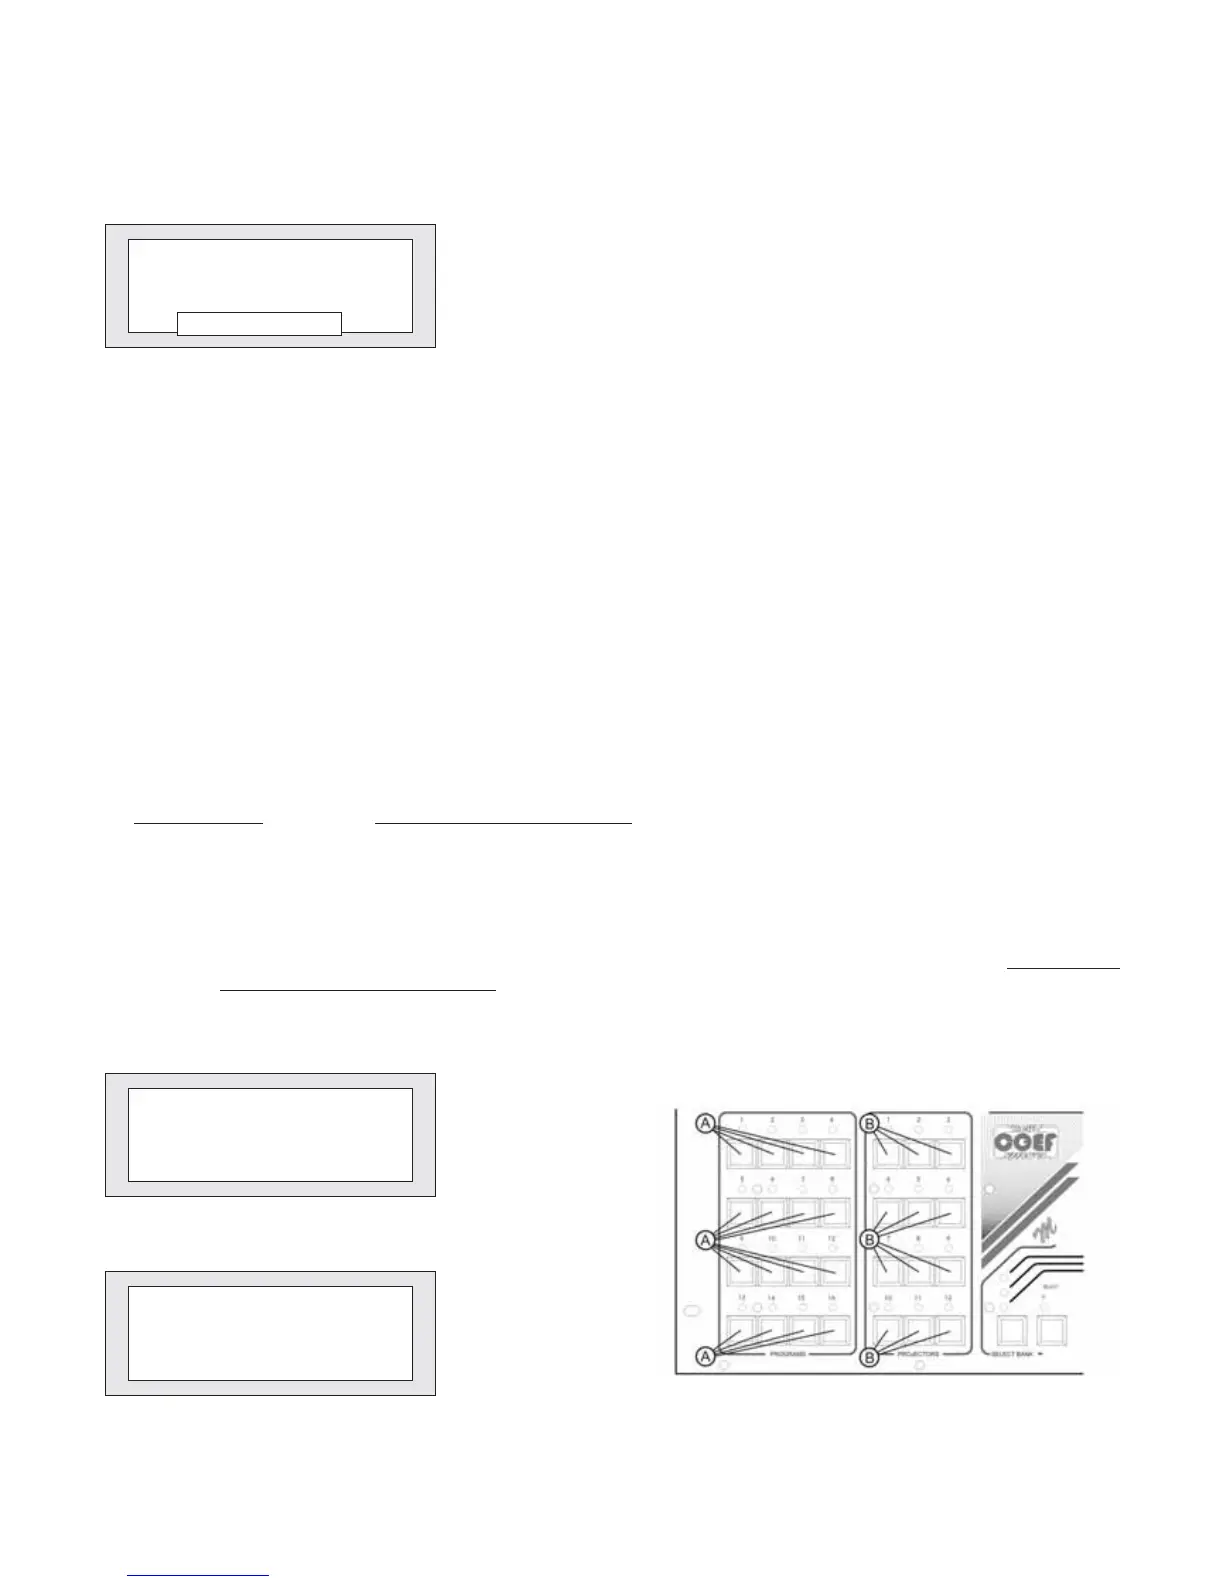
Selezionare con i pulsanti U e V (fig.18) la parola [PASSW] e premere ENTER . Come mostrato dalla fig.27 il display chie-
derà di immettere 4 numeri con i pulsanti della sezione PROGRAMS (part. Afig.29). Automaticamente il sistema chiederà poi
la ripetizione della PASSWORD inserita per verificarne la correttezza; un doppio BEEP confermerà l’avvenuta memorizzazio-
ne. ATTENZIONE!
E’importante non generare password casuali che non sarà possibile ricordare, perchè difficilmente sbloc-
cherete il sistema.
Select by means of the U and V push-buttons the word [PASSW] and press ENTER. As shown in fig. 27, the display will
ask you to set 4 numbers by means of the PROGRAMS section push-buttons (part. A, fig. 29). Automatically the system will
ask you to repeat the inserted PASSWORD to verify its correctness; a double BEEPwill confirm it’smemorized. ATTENTION!
It’s important: don’t generate casual passwords because you could forget them, so you could hardly be able to unlock the sy-
stem!
* PASSWORD VERIFY *
Repeat Password:
Figure 28
Figure 29