Pag.13
•
Passo 6 - RS232 - Configurazione porta RS232
•
Step 6 - RS232 - RS232 port configuration
*SETUP/2*
BEEPER PASSW FORM.
[AUDIO] RS232 -----
Figure 22
Passare alla sezione SETUP2 come precedentemente indicato.
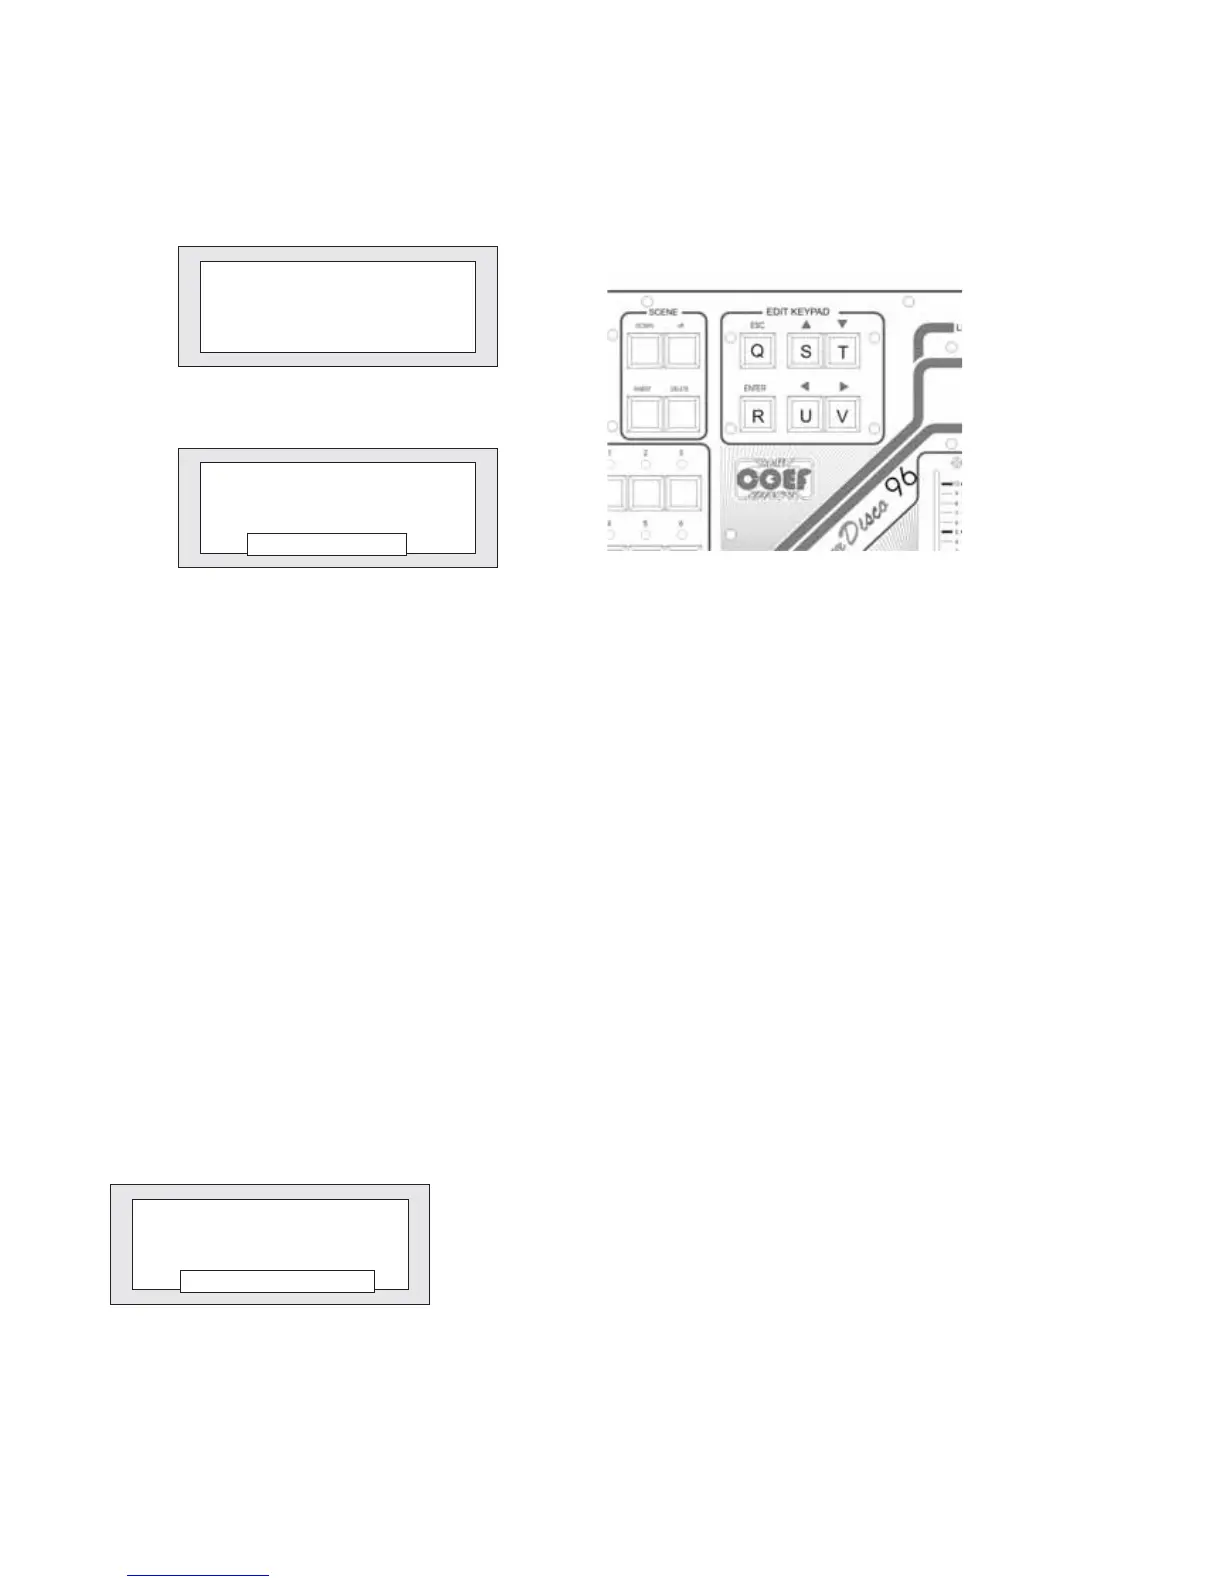
Selezionare con i pulsanti U e V (fig.23) la parola [AUDIO] e premere ENTER .
In questo modo avremo la possibilità di determinare il tipo di sorgente AUDIO che piloterà il cambio scena automatico del
programma in esecuzione. Scegliere tra l’ingresso microfonicoe l’ingresso PIN RCAcon i tastiS e T nella sezione EDIT KEY-
PAD (fig.23).
Premere ESC per uscire dalla funzione.
Figure 23
****** AUDIO ******
Input:MIC
Input:LINEA
Figure 24
Go to SETUP2 function.
Select by means of the U and V push-buttons (fig. 23) the word [AUDIO] and press ENTER.
In this way you will have the possibility to select the kind of AUDIO source that will pilot the automatic changing of the sce-
ne of the program in execution. Choose between the microphone input and the PIN RCA one by means of the S and T push-
buttons in the EDIT KEYPAD section (fig. 23). Push ESC to exit the function.
•
Passo 5 - AUDIO - Configurazione Audio IN
•
Step 5 - AUDIO - Audio IN Setting
****** RS232 ******
Status:DISABLED
Status:ENABLED
Figure 25
Selezionare con i pulsanti U e V (fig.23) la parola [RS232] e premere EN-
TER .
In questo modo avremo la possibilità di stabilire se rendere attiva o disatti-
vare la porta RS232 con i tasti S e T (fig.23). Il nuovo software permette ora il
salvataggio ed il recupero dei programmi attraverso il collegamento al Perso-
nal Computer per mezzo della porta RS232.
Premere ESC per uscire dalla funzione.
Select by means of the U and V push-buttons (fig. 23) the word [RS232]
and push ENTER. In this way you will have the possibility to decide to enable or
disable the RS232 port by means of the S and T push-buttons (fig. 23). With the
new software release, you can save and load the MasterDisco96 programs
and configuration by means of the RS232 port and the Personal Computer.
Press ESC to exit from the function.