Pag. 8
4 - SETUP SETUP
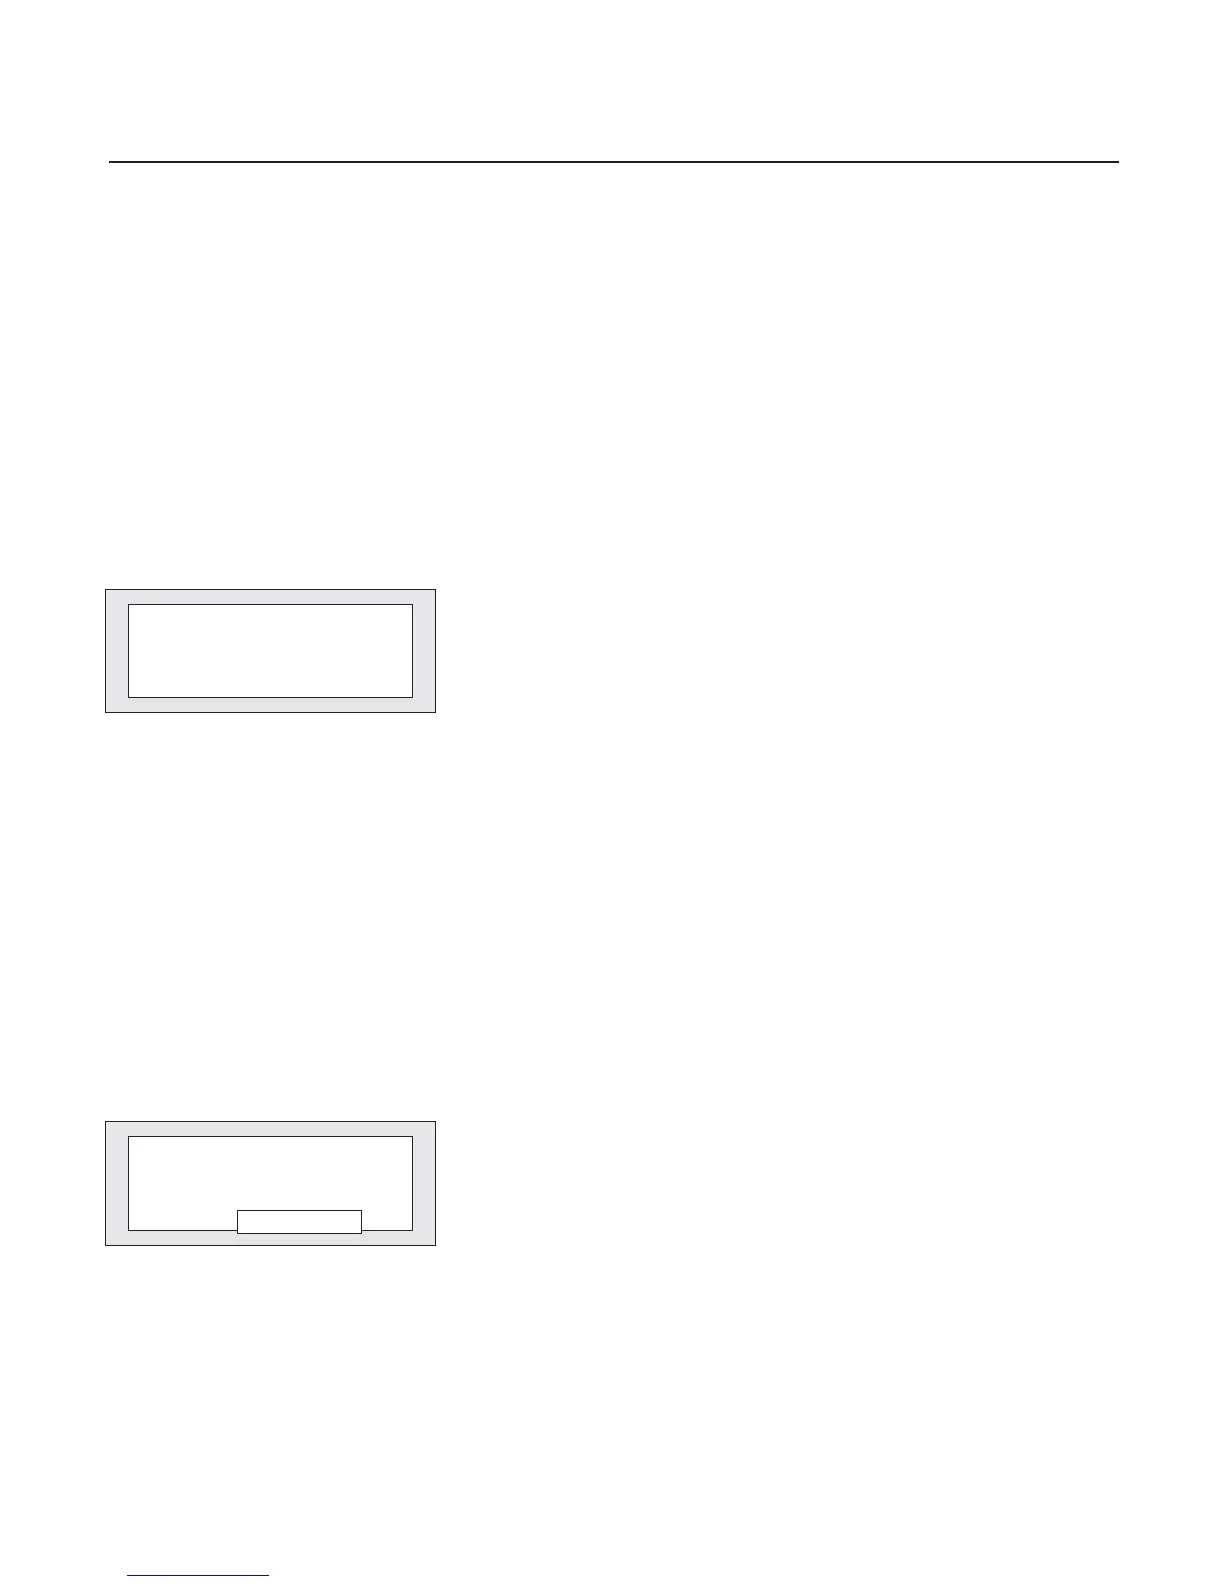
* SETUP/1 *
SETUP2 ----- -----
[JOY] ASSIGN TYPE
Figure 10
By “V” push-button (fig.9 pag.7) select [SETUP] section and confirm by EN-
TER (push-button R).
This stage is extremely important so that the functioning of the projectors
group connected to the console flew correctly, allowing fast and accurate set-
tings. The display will show a new menu (see fig. 10); let’s see it in details:
JOY:
ASSIGN:
TYPE:
SETUP2:
JOYSTICK setting
Assignment of the type of the projector to each push-button of the PROJECTORS section
Projectors and their channels configuration.
Go to [SETUP2] section
Selezioniamo con il tasto “V” (fig. 9 pag.7) la sezione [SETUP] e confermiamo con ENTER (tasto R).
Questa fase è di estrema importanza, affinchè il funzionamento del parco proiettori collegato alla console, funzioni in ma-
niera corretta, permettendo impostazioni veloci e sicure.
Il display mostrerà un nuovo menu (vedi Fig. 10); analizziamolo in dettaglio:
JOY:
ASSIGN:
TYPE:
SETUP2:
Assegnazione della modalità di funzionamento del JOYSTICK
Assegnazione del tipo di proiettore ad ogni pulsante della sezione PROJECTORS.
Configurazione di proiettori aggiuntivi.
Passaggio alla sezione [SETUP2]
***** JOYSTICK *****
Status:SPEED HIGH
SPEED LOW
Figure 11
Premendo ENTER (part. R fig.9) con la parola [JOY] evidenziata tra i cursori
lampeggianti, il diplay (fig. 11) ci fornirà altre indicazioni.
Selezioniamo per mezzo dei pulsanti S e T la velocità del Joystick (range 0-
255 digitale veloce o lento).
Uscire dalla funzione e memorizzare per mezzo del pulsante ESC.
Pushing ENTER (part. R, fig. 9) with the word [JOY] between flashing brackets, the display (see fig. 11) will give you other
indications and requests.
By means of the S and T buttons you will select the type of velocity for the JOYSTICK (range digital value 0-255 fast or
slow).
Pressing ESC you will exit from “JOY” (part. Q, fig.9).
•
Passo 2 - Settaggio JOYSTICK
•
Step 2 - Setting JOYSTICK