EasyManua.ls Logo

Cognex DataMan 100 - Removal Instructions Manual

Cognex DataMan 100
2 pages
Print Icon
To Next Page IconTo Next Page
Loading...
COGNEX
®
590-7042 © 2007 COGNEX Corporation
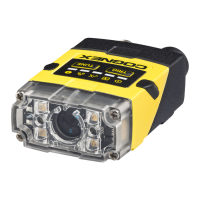
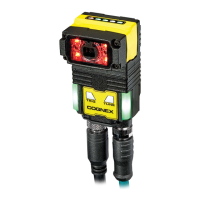
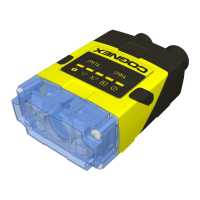
DataMan 100 SHD/C-Mount Kit Removal Instructions
105
40
65
105
40
65
105
40
65
105
40
65
105
40
65
105
40
65
105
40
65
40
65
105
40
65
105
40
65
105
40
65
105
40
65
105
40
65
105
40
65
105
40
65
105
40
65
105
40
65
105
40
65
105
40
65
105
40
65
105
40
65
105
40
65
105
40
65
105
40
65
105
40
65
105
40
65
105
40
65
105
40
65
105
40
65
105
40
65
COGNEX
COGNEX
105
40
65
105
40
65
105
40
65
105
40
65
105
40
65
105
40
65
COGNEX
COGNEX
105
40
65
105
40
65
105
40
65
105
40
65
105
40
65
105
40
65
105
40
65
105
40
65
105
40
65
105
40
65
105
40
65
105
40
65
105
40
65
105
40
65
105
40
65
105
40
65
105
40
65
105
40
65
105
40
65
105
40
65
105
40
65
105
40
65
105
40
65
105
40
65
105
40
65
105
40
65
105
40
65
105
40
65
105
40
65
105
40
65
105
40
65
105
40
65
105
40
65
105
40
65
105
40
65
105
40
65
105
40
65
105
40
65
105
40
65
1
2
3
4
5
6
7
1
23
4
105
40
65
105
40
65
105
40
65
105
40
65
105
40
65
105
40
65
5
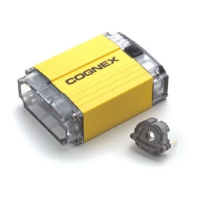
SHD: Unscrew and remove long screws, cover,
and SHD spacer.
C-Mount: Remove screws and SHD adapter.
SHD: Unscrew and remove SHD lens.
C-Mount: Replace light guide assembly (note
orientation).
Install original DataMan 100 lens.
Mount DataMan 100 at either 74 mm or 114
mm, measured from front of metal case to
target symbol. Alignment guide is printed on
back of this sheet.
Connect DataMan 100 to Setup tool. Enable
presentation mode.
Adjust focus for maximum sharpness.
1.
2.
3.
Align either 65 or 105 mark on lens ring to index
mark, then carefully press focus ange onto lens.
Avoid turning lens while pressing on focus ange.
Install four original screws.
Do not use long screws provided with SHD kit.
Tighten screws to 9 N-cm observing tightening
order shown here.

Other manuals for Cognex DataMan 100

Related product manuals