5
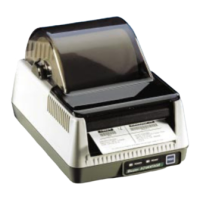
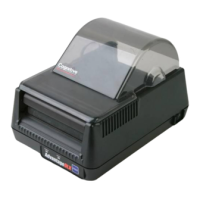
CONTROLS, INDICATORS, AND CONNECTIONS
Device name Primary function Use
ON/OFF switch Controls printer power ON - for normal operation
OFF - for storage
FEED button Advances print media PRESS - to advance media
PRESS and HOLD while turning
Note: Pressing feed while the printer ON - to print test label
printhead is open will wind PRESS to pause printing during
platen backwards ¼ turn batch mode operation
POWER indicator Glows when printer power OFF - printer power off
is ON GREEN - printer power on
READY indicator Shows printer status GREEN - Printer ready for data
OFF - Printer busy, or turned off
RED - Printer error, or paused
during batch mode operation
Ethernet Link light Shows Ethernet status ON - Ethernet link established
OFF - No link, or printer turned off
Power input Connects to power supply Connect to transformer provided
with printer
Serial port Data input
DB9 female connector for
connection
to host, RS-232 protocol
Parallel port Data input Centronics compatible connector
for connection to host
Ethernet port Data input RJ45 connector for Ethernet
connection to host
Printhead release Unlocks printhead Push toward rear of printer to
release printhead
Media cover Protects print media Lift to open
Squeeze at hinge and lift to remove
PRINTER SETUP
Printer power connection
1. Plug the output of the AC power supply provided with the printer
into the circular connector on the printer rear panel.
2. Plug the supply into an AC outlet having the proper voltage.
Important!
The required AC voltage is marked on the power supply.
Confirm that your AC voltage matches the power supply
requirements. Do not use any power supply other than the
one provided with the printer.