Do you have a question about the Coleman 2000005512 and is the answer not in the manual?
Choose a level site, avoid overhead power lines and trees. Secure tent with stakes and guylines for stability.
Position tent narrow end into wind, avoid dropping or bouncing the tent bag. Requires two people to assemble.
Stand the tent upright with the hub assembly at the top.
Unfold the tent arms downward until they lay flat on the ground.
Unfold arm joints at tent corners; tent raises as leg poles extend.
Extend telescoping leg poles until they snap into place.
Verify clips along tent edges are properly attached to frame poles.
Drive stakes through webbing loops at the tent base to keep the floor taut.
Attach and stake out guylines, adjusting sliders to ensure tightness.
Reverse setup steps: remove guylines/stakes, lower poles, fold arms, collapse tent.
Roll tent with pressure after collapsing to reduce size for the carry bag.
Ensure all components are clean, dry, and stakes are in a separate bag.
Condensation is normal; dry tent thoroughly before storage. Avoid tree sap and bird droppings.
Not for heavy rain/wind/snow. Keep flame/heat sources away; fabric may burn.
| Brand | Coleman |
|---|---|
| Model | 2000005512 |
| Product Type | Tent |
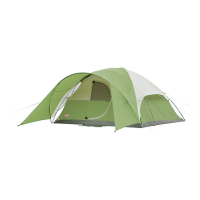
| Tent Type | Dome |
| Material | Polyester |
| Seasonality | 3-Season |
| Pole Material | Fiberglass |
| Center Height | 4 feet 11 inches |
| Water Resistance | WeatherTec system |
| Capacity | 4-person |