Do you have a question about the Coleman MAX 2000002251 and is the answer not in the manual?
Partially unfold the frame to facilitate draping the shelter top over it.
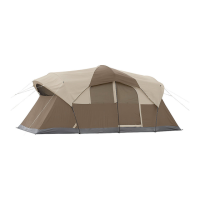
Drape the shelter top over the frame and attach hook & loop fasteners.
Pull up sliding mold on leg until push button snaps to ensure frame is fully extended.
Slide post upward until push button locks, raising each post one notch at a time.
Drive nail stakes through holes on the metal base of each frame post.
Stretch elastic strap on post cover and insert metal hook into post hole.
Secure post covers with metal stakes through grommets or web straps.
Extend guylines to ground until taut, then stake through loops to secure.
Wrap screen house around outside frame posts, under shelter post covers.
Fasten corner hooks on screen house over the top bar of the shelter frame.
Fasten center hook through shelter loops and back through screen loop.
Wrap elastic straps on side panels around frame and secure hoop into loop.
Drive nail stakes through holes on the metal base of frame posts.
Insert metal hook on elastic straps into post holes to secure screen house.
Insert metal hook on post cover elastic strap into remaining holes to secure.
Drive stakes through webbing loops at base of screen house and post cover.
Extend guylines to ground until taut, then stake through loops to secure.
Unzip corners, roll panels, and secure with cloth ties at the top.
Unzip center panel and use cloth straps to tie back openings.
Carefully remove stakes holding guylines and screen house by pulling hook ends.
Carefully remove nail stakes from the metal base of legs and store them.
Disconnect all corner and elastic straps connecting the screen house.
Press buttons and carefully lower each leg one notch at a time until frame is on ground.
Detach nylon fasteners to remove the shelter top from the frame.
Slide shelter top off the frame, fold it, and prepare for storage.
Press corner push buttons to push frame inward and completely close it.
Ensure shelter top and screen house are clean and dry before storing.
Place all metal stakes in the storage bag to prevent damage to fabric items.
Store the shelter in a clean, dry area.
Condensation forms due to humidity; minimize by providing good ventilation.
Avoid tree sap, bird droppings, or moisture drips, which damage fabric.
Always dry thoroughly and brush off dirt before storing to prevent damage.
Pull stakes by the stake itself, not the shelter, to prevent damage or injury.
Shelter poles should not be left telescoped together during storage.
Limit continuous setup to prevent UV damage and discoloration of material.
Not intended for heavy rain, wind, hail, snow; excess water can cause collapse.
Remove shelter top and sun wall during windy conditions to prevent damage.
Keep all flame and heat sources away from tent fabric; fabric may burn.
| Brand | Coleman |
|---|---|
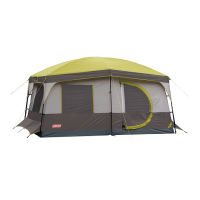
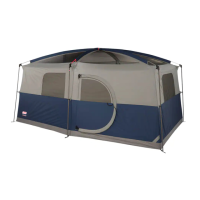
| Category | Tent |
| Setup | Freestanding |
| Number of Doors | 1 |
| Pole Material | Fiberglass |
| Season | 3-Season |
| Water Resistance System | WeatherTec System |
| Model | 2000002251 |
| Material | Polyester |
| Packed Size | 24 x 8 x 8 in |
| Floor Material | Polyethylene |
| Body Material | Polyester |
| Rainfly Material | Polyester |