English-10
Follow These Steps
1. Shut off the gas at the burner valve(s) and stay away!
2. Allow the re to burn itself out.
3. Once the re is out and the appliance has cooled, remove
the disposable cylinder.
4. Clean all parts and inspect for damage. Parts to check for
damage are the L.P. cylinder, regulator, burner valve(s)
and burner(s).
5. If any of the above mentioned components are damaged,
seek replacement from Coleman before operating the
grill again. Locate your nearest service center by calling
1-800-835-3278.
Note:
Some are-up adds a smoky avor and sears food. Exces- •
sive grease res can cause a potentially hazardous situa-
tion and damage the grill.
Avoid excessive are-ups by preheating the grill with the lid •
closed for 5 minutes on the high setting to burn off grease
from previous cooking.
Cook with the lid down and continually monitor cooking •
food to avoid grease res and are-ups.
Trimming excess fat from meat will reduce grease res and •
are- ups. Cook fatty meat in smaller amounts over indirect
heat on a low setting.
Be sure to follow the instructions in the section titled “Care, •
Maintenance, and Cleaning”.
Food Preparation Hints
Your grill can cook a variety of foods. For best results, follow
these instructions:
Trim excess fat from meat and poultry. Slash any remaining •
fat to stop curling, but take care not to cut the meat.
Frozen meat and poultry should be thawed prior to cooking. •
Frozen sh and vegetables will cook without thawing. •
Salt food • after cooking to help prevent drying out the food.
Brush naturally lean meats with cooking oil or margarine. •
Cook small pieces of tender foods in foil or on special •
delicate-food cooking grates (see the section titled
“Cooking Methods”).
Apply barbecue, tomato or sugar-based sauces no sooner •
than the last 10 m inutes of cooking.
Turn food with tongs or a spatula; piercing food (especially •
meat), tends to dry it out..
In Case of Grease Fire
Cooking Methods
Care, Maintenance and Cleaning
To open the grill lid, slowly lift the handle to avoid burning •
in case of a grease re are-up.
DO NOT expose any part of your body directly above the •
cooking area.
Direct method:
The heat source is directly below the food. •
Use for browning meat or cooking hot dogs and hamburg- •
ers, but check food frequently.
Use for skillet and stir-fry cooking, but limit the amount of •
oil and heat to be used.
Cook roasts, turkey or duck on low heat. Place meat with •
water in a foil pan with a corrugated bottom. Replenish
water as needed.
Indirect method:
Light only one side of the burner and place food on the •
opposite side for cooking.
Allow food to cook at a lower temperature which increases •
tenderness and reduces grease are-ups.
It is a good method for cooking foods that burn easily •
(vegetables, sh, etc.).
Cook casseroles in ovenware or foil pans much like •
cooking in a conventional oven.
Also try placing a pan of water above the lit burner side to •
help meat retain its juices. Replenish the water as needed.
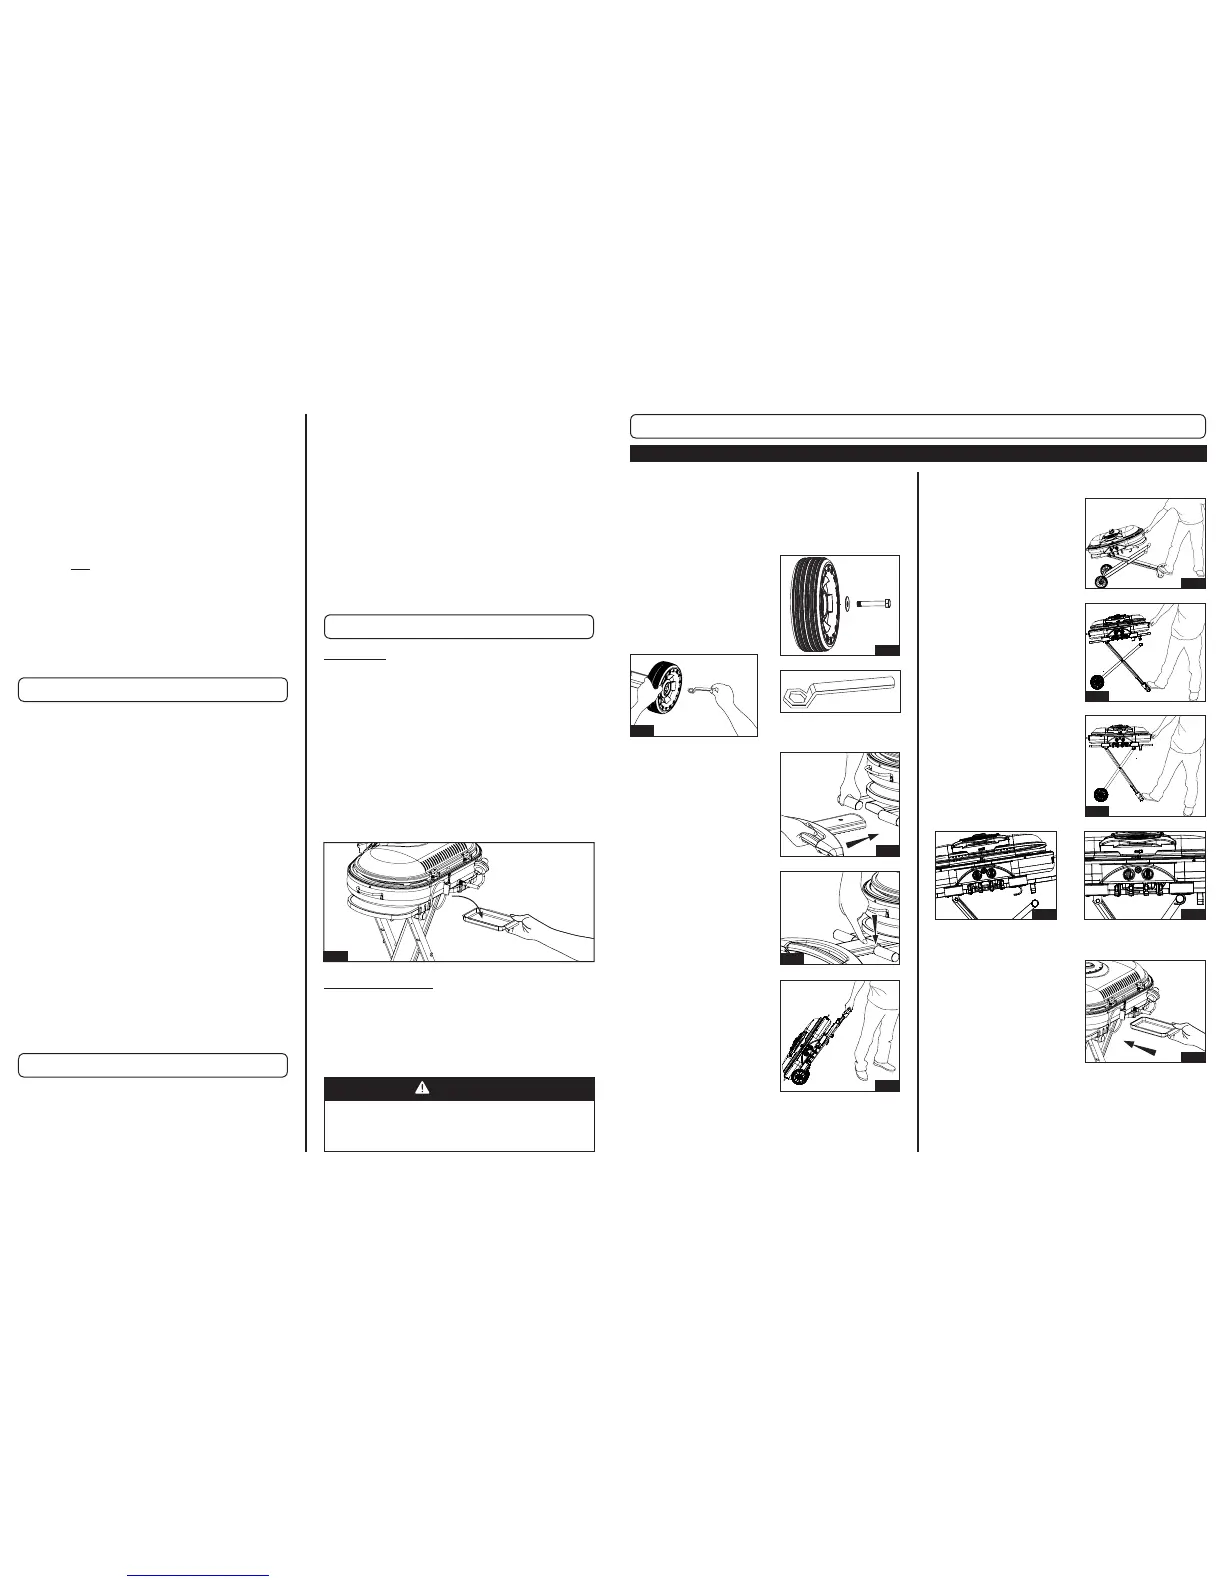
DRIP TRAY
The drip tray is located below the grill and should be cleaned
periodically to prevent heavy buildup of debris. (Fig. 32)
COOKING GRATES
The cooking grates can be cleaned immediately after
cooking is completed and after turning off the grill. Wear a
barbecue mitt and scrub the cooking grates with a damp
cloth. If the grill is allowed to cool down, cleaning the grates
will be easier if removed from the grill and cleaned with a
mild detergent.
Note: Allow the drip tray to cool before attempting to
clean.
Important: Do not leave the grill outside during
inclement weather unless it is covered (cover sold
separately). Rain water can collect inside of the grill, or
in the drip tray if left uncovered. If the drip tray is not
cleaned after use and the grill is left uncovered, the drip
tray will ll with water causing grease and water to spill.
We recommend cleaning and storing the drip tray after
every use.
CAUTION
All cleaning and maintenance should be done only when
the grill is cool & with the fuel supply turned off at the
cylinder. Disposable propane cylinders should be detached
from the grill during cleaning.
Fig. 32
Fig. 6
Español-5
IMPORTANTE: Saque todo el material de embalaje antes de ensamblar/usar.
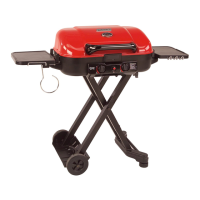
Ponga su pie en el asa ■
plástico para remolcar,
agarre la parrilla por el asa
y levántela hasta que el
estante esté completamente
extendido. (Fig. 8)
Baje la parrilla y deslícela ■
hacia atrás hasta que las
extensiones de las patas se
aseguren en los soportes en
la parte inferior del estante
de la parrilla.
(Fig. 10, Fig. 11 y Fig. 12)
Continúe halando la ■
parrilla hacia usted hasta
que el estante quede
completamente extendido.
(Fig. 9)
Instale la bandeja para ■
goteos debajo de la parte
trasera de la parrilla.
(Fig. 13)
Saque la parrilla, ruedas, asa y el regulador del cartón. ■
Inspeccione todo el empaque y saque todas las piezas. ■
Vea el cartón para saber que piezas están incluidas con su ■
unidad.
Ensamble las ruedas a la ■
base de la parrilla. Instale
cada rueda al eje usando
un perno y dos arandelas.
(Fig. 3, Fig 4)
NOTA: Use la llave provista.
Inserte el asa para remolcar ■
en el soporte del estante de
la parrilla. (Fig. 5)
Una y otra vez que el asa ■
está asegurada en su lugar,
la parrilla se puede mover
fácilmente a cualquier
lugar dentro del área del
campamento o su jardín
trasero. (Fig. 7)
Presione hacia abajo el ■
botón del asa para remolcar
y continúe presionando el
asa hasta que se acomode
en el primer agujero del
soporte. (Fig. 6)
Ensamblaje de la Parrilla
Instale la Bandeja para Goteos
Fig. 3
Fig. 4
Fig. 5
Fig. 7
Fig. 8
Fig. 9
Fig. 10
Fig. 11
Fig. 12
Fig. 13
Ensamble las Ruedas y el Asa para Remolcar Monte la Parrilla
 Loading...