EasyManua.ls Logo

Coleman 3000 SERIES User Manual

Coleman 3000 SERIES
19 pages
To Next Page IconTo Next Page
Page #1 background imageLoading...
Page #1 background image
i IIIII I II
®
ASSEMBLY
INSTRUCTIONS
3000
SERIES
WARNING:
THE EDGES OF SHEET METALPARTSCAN CAUSE INJURY
IF NOT HANDLEDWITH CARE.
USE ,EXTREME CAUTION!
I I
IMPORTANT!
TO ENSURE PROPER GAS FLOWs BURNER
CONTROL VALVES MUST BE "OFF" BEFORE
OPENING THE GAS CYLINDER VALVE,
I lU
Las lnstrucciones de Ensamlllajo on e,,pa_ol en la pallina 21.
11412077AX 01/01 (REV,010603)
Coleman Company, Inc.
410t Howard Bush Drive
Neosho, Missoud 64850
Internet site:
www.bbqhq, com
1-800-356-3612 _
Question and Answer IconNeed help?

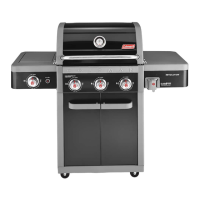
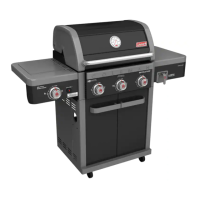
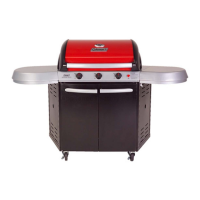
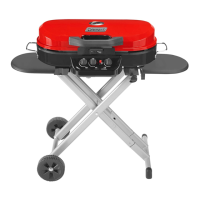
Do you have a question about the Coleman 3000 SERIES and is the answer not in the manual?

Coleman 3000 SERIES Specifications

General IconGeneral
BrandColeman
Model3000 SERIES
CategoryGrill
LanguageEnglish

Summary

Coleman Grill Assembly Introduction and Preparation

General Assembly Guidance and Warnings

Instructions for assemblers, users, and key safety warnings for handling.

Pre-Assembly Preparation and Parts Inventory

Steps before assembly, including grid seasoning, tools, and parts lists.

Step 1: Door Assembly

Attach Door Handles and Magnets

Attaching door handles to doors and door magnets to the bracket.

Step 2: Install Door Stops and Hinge Pins

Mount Door Stops and Hinge Pins

Securing door stops to the base and inserting hinge pins into doors.

Step 3: Door Alignment Adjustment

Adjust Door Alignment

Procedure to loosen screws and adjust door alignment for proper fit.

Step 4: Assemble Wheels and Basket

Attach Wheels and Axle Pins

Inserting axle pins into wheels and securing wheels to the base.

Install Grill Basket

Attaching the basket to the right end of the base and legs.

Step 5: Install Grease Drip Pans

Assemble Grease Pan Hangers and Drip Pans

Attaching grease pan hangers and securing drip pans underneath the grill.

Step 6: Install Disposable Grease Pans

Place Disposable Grease Pans

Inserting disposable grease pans into the grease pan hangers.

Step 7: Install Controls and Tent

Attach Control Knobs and Meat Probe Assembly

Placing control knobs, meat probe receptacle, and meat probe.

Install Perforated Tent

Placing the perforated stainless tent into the porcelain tent slots.

Step 8: Attach Handle and Grids

Assemble Front Handle to Grill Lid

Securing the front handle assembly to the grill lid with screws and nuts.

Place Cooking Grids and Warming Rack

Positioning the cooking grids and warming rack in the bottom casting.

Step 9: Assemble Right Side Table

Attach Right Side Table Assembly

Sliding and securing the pre-assembled right side table to the grill legs.

Step 10: Assemble Left Side Table

Attach Left Side Table Assembly

Sliding and securing the pre-assembled left side table to the grill legs.

Step 11: Install Main Burner Ignition System

Connect Main Burner Electrode, Switch Wires, and Battery

Attaching main burner electrode wires, switch wires, and battery to the electronic module.

Mount Electronic Module for Ignition

Securing the electronic module under the left side table bracket.

Step 12: Connect Gas Cylinder and Regulator

Assemble Cylinder and Retainer Wire

Setting the cylinder in the caddy and placing the retainer wire.

Attach Type 1 Regulator Fitting

Inserting and hand-tightening the regulator to the cylinder's fuel valve.

Step 13: Attach Side Burner Assembly

Mount Side Burner Assembly

Sliding and securing the pre-assembled side burner to the grill.

Install Side Burner Electrode

Threading electrode wires and securing the double electrode.

Step 14: Install Side Burner Ignition System

Connect Side Burner Electrode Wires

Attaching side burner electrode wires and main burner wires to the electronic module.

Mount Electronic Module for Side Burner

Securing the electronic module under the side bracket for the side burner.

Step 15: Assemble Side Burner Components

Attach Side Burner Valve

Securing the side burner valve to the base and ensuring orifice is in venturi tube.

Install Side Burner Grid and Control Knob

Setting the side burner grid and pushing the control knob onto the valve stem.

Grill Care and Safety Information

Warranty Details and Service

Overview of warranty coverage for different parts and service contact information.

Before Using Your Grill

Essential pre-use checks, including cylinder filling, leak testing, and safety precautions.

Care of Stainless Steel Parts

Instructions for cleaning and maintaining stainless steel components.

Related product manuals