Español-6
Quite el tapón plástico ■
del cilindro de propano y
enrosque el cilindro en el
regulador apretándolo con
la mano. (Fig. 15)
Asegúrese que las válvulas ■
estén en la posición de
“OFF” (Apagado) antes
de conectar el cilindro de
propano. (Fig. 14)
Presione el soporte del ■
cilindro que se encuentra
detrás de la parrilla y dele
vuelta hacia afuera.
(Fig. 16)
Enrosque el regulador en la ■
la parrilla apretándolo con
la mano. (Fig. 17)
Coloque el cilindro en el ■
soporte para el cilindro.
(Fig. 18)
Nunca haga funcionar la ■
parrilla con el cilindro de
propano al revés.
(Fig. 19)
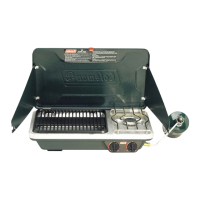
Coloque la rejilla de ■
la parrilla sobre cada
quemador. (Fig. 21)
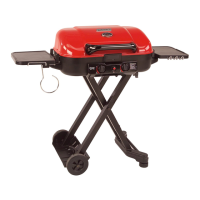
Para extender las mesas ■
laterales que se encuentran
debajo de la parrilla,
agárrelas y deslícelas hacia
afuera hasta que estén
completamente extendidas.
(Fig. 22)
ADVERTENCIA
NUNCA haga funcionar la parrilla con las mesas laterales en la
posición para ser guardada. Esto le ocasionará daño y anulará la
garantía.
NOTA: Su parrilla Serie 9949 está diseñada desde la fábrica
para usar un cilindro de propano desechable de 1 libra
(.45 kg).
ADVERTENCIA
Sólo debe usar cilindros marcados “Propano”.
PRECAUCIÓN
Enrosque solamente con la mano. NO use herramientas.
ADVERTENCIA
¡Este procedimiento DEBE ser realizado sólo al Aire Libre!
Lea y siga las direcciones en el cilindro.
PELIGRO
NUNCA guarde un cilindro de suministro de gas L.P. de •
repuesto bajo el armazón de la parrilla ni dentro de la parrilla
ni alrededor de ningún aparato que produzca calor.
El no seguir esta información exactamente podría resultar en una
explosión y/o fuego causando muerte o lesiones graves.
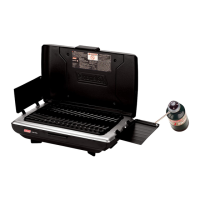
Instale el Cilindro de Propano de 1lb.
(.45 kg).
HIGH/LIGHT
LOW
OFF
HIGH/LIGHT
LOW
OFF
Fig. 14
Fig. 15
Fig. 16
Fig. 18
Fig. 19
HIGH/LIGHT
HIGH/LIGHT
LOW
LOW
OFF
Fig. 20
Fig. 21
Fig. 22
Para abrir la tapa, mueva ■
la palanca a la posición de
“Open” (Abierto) y hálela
hacia arriba. (Fig. 20)
Fig. 17
English-9
WARNING
Keep the grill area clean and free from combustible •
materials, gasoline and other ammable vapors, liquids,
and spare L.P. cylinders.
To avoid the possibility of tipping over the grill, NEVER •
place more than 20 pounds on the side table. A lled
4-quart aluminum pot weighs approximately 10 pounds.
DO NOT obstruct the ow of combustion and ventilation air. •
Keep the ventilation opening(s) of the L.P. cylinder •
enclosure free and clear of debris.
A barbecue grill becomes hot during use. DO NOT touch •
grates, or cooking surfaces.
Be sure to tighten all hardware (screws, nuts, bolts, etc.) •
at least once a year or before each grilling season.
Condition The Grill
Before using the grill for the rst time, or after storage, •
operate the grill 15 minutes on the high setting with the lid
closed, to burn away oil.
Once the oil has burned away, check the burner ame per •
the next step.
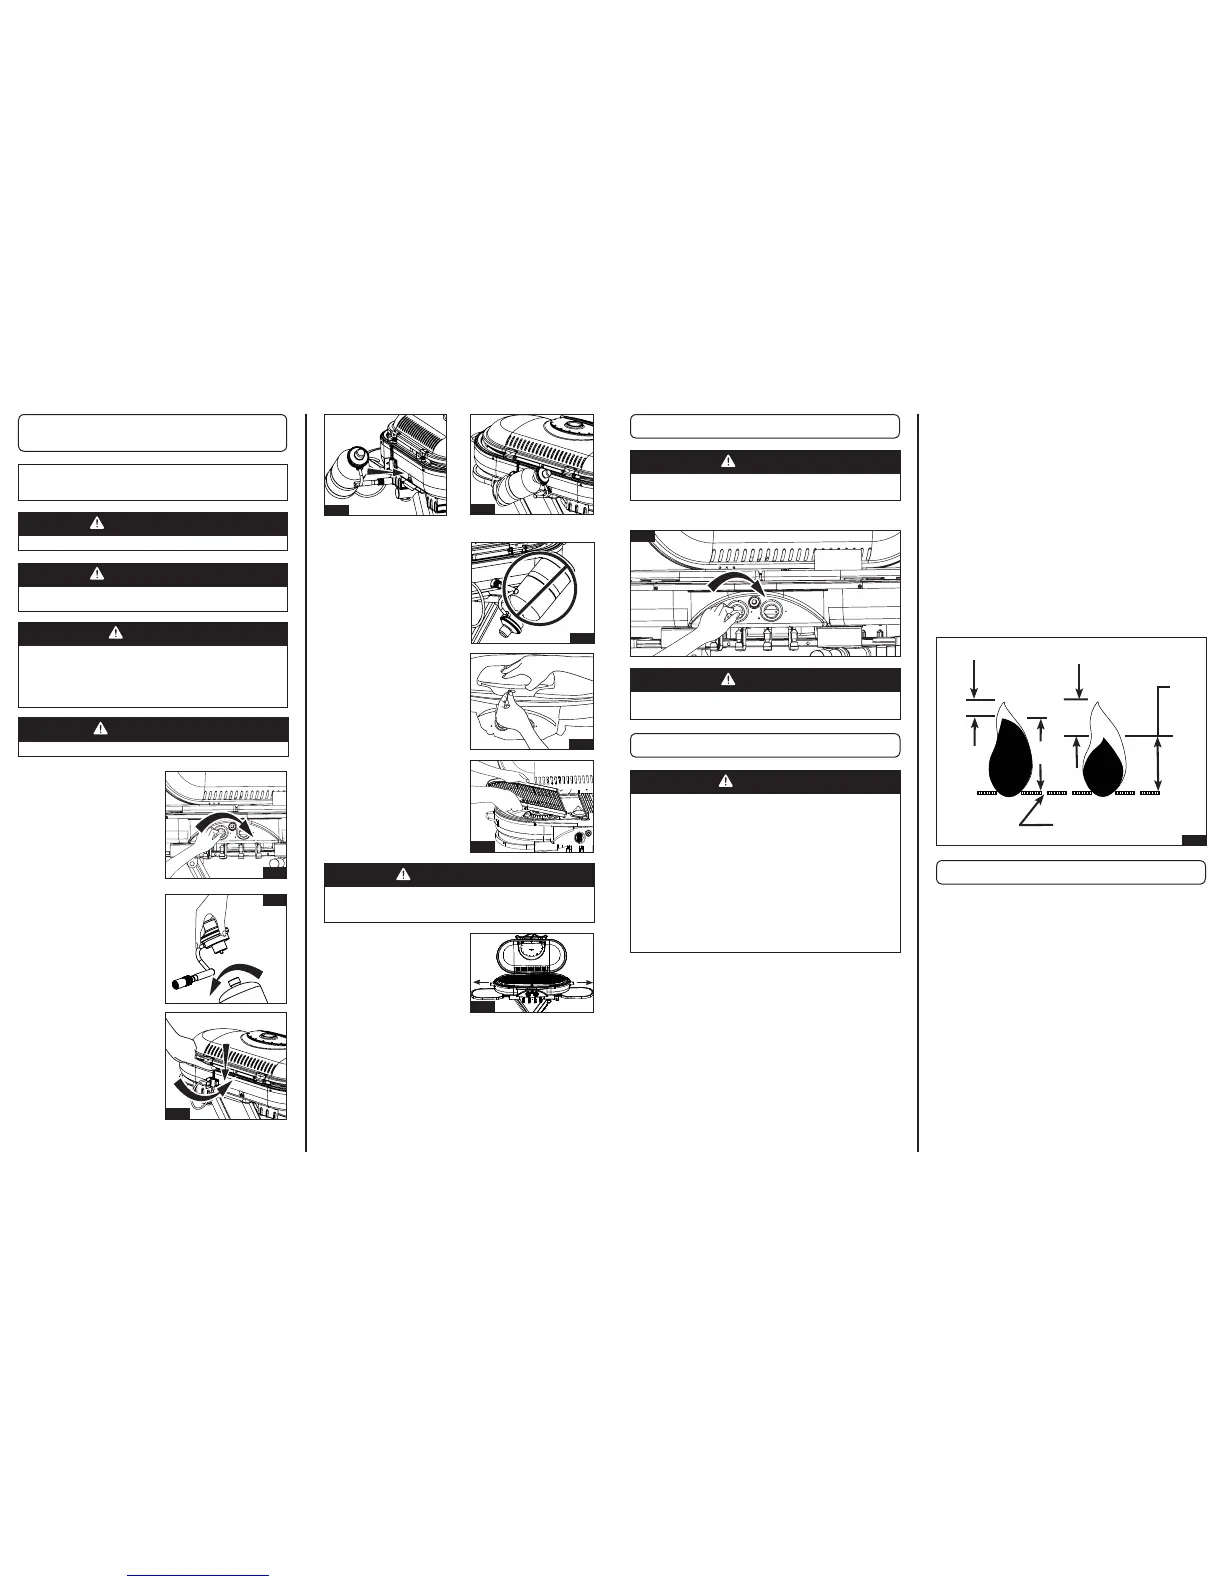
The Burner Flame
Open the grill lid. The cooking grates should be in place. •
Keep your arms and face away from being directly above •
the cooking area. Look through the cooking grates and
observe the burner’s ame below.
Flames should appear similar to the good ame shown in •
Fig. 31 and as follows:
A good ame should be blue with a yellow tip. •
Turn all burner control knobs to off. (Fig. 30) ■
CAUTION
DO NOT touch hot grill parts with your bare hands!
You MUST use protective gloves.
CAUTION
Be certain the disposable cylinder is disconnected when
the grill is placed in storage.
Burner Control Setting Tips
The high ame setting is too hot for direct cooking. The •
high ame setting is good for quick searing of meat, then
nish cooking on medium or low ame settings.
Use the high ame setting with the lid closed to preheat •
the grill for 5 minutes before cooking and with the lid
closed for a maximum of 5 minutes after cooking to burn
off grease drippings.
Use a medium ame setting for direct cooking of steaks, •
pork chops, chicken and hamburgers.
Use a low ame setting for roasts. •
Thick steaks will nish with a better texture and more juice •
if rst seared on high ame setting and then cooked on a
low ame setting.
Safe Grill Operation
NEVER leave cooking food unattended. Continually •
observing the food will help in maintaining an even
temperature, conserve fuel, improve the food’s avor and
lessen are-ups.
Shutting Off the Grill
Grilling Tips and Hints
General Use and Correct Burner Flames
Some yellow tips on ames up to 1 inch in length are •
acceptable as long as no carbon or soot deposits appear.
If ames are excessively yellow and irregular, the oil •
residue may not be completely burned off, or the venturi
may be clogged or may not be properly positioned over
the ori ces. Allow the grill to cool before repositioning the
venturi over the valve and ori ces.
Grills that have been in use for a while sometimes begin to •
show more yellow ame. A build-up of food deposits, fats
or cooking seasonings can cause yellowing ames. Clean
the burner to remove residue and check for clogged burner
holes or a blocked venturi. Refer to the section titled
“Cleaning the Venturi”.
Regular use of your grill will actually help keep it operating •
more smoothly.
Each grill may heat differently. Some units will heat •
somewhat more to the center and back of the grill. The
avor of grilled food will improve the more you use the grill
and as you become familiar with it.
HIGH/LIGHT
LOW
OFF
HIGH/LIGHT
LOW
OFF
Fig. 30
Yellow
Blue
Holes in Burner
Yellow
Blue
Good Bad
Fig. 31

 Loading...