English-5
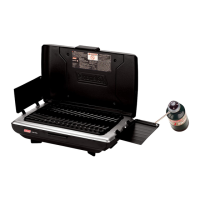
■ Remove plastic cap from top
of propane cylinder and
screw cylinder into regulator
hand tight. (Fig. 14)
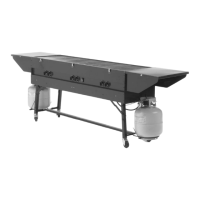
■ Lift up on cylinder support on
back of stove and swing out.
(Fig. 15)
■ Screw regulator into stove
hand tight. (Fig. 16)
■ Place cylinder into cylinder
support. (Fig. 17)
Fig. 18
■ Never operate stove with
propane cylinder in an
inverted position.
(Fig. 18)
■ Before attaching propane
cylinder make sure burner
valves are in the OFF
position. (Fig. 13)
Fig. 14
Fig. 15
Fig. 16
Fig. 17
Fig. 19
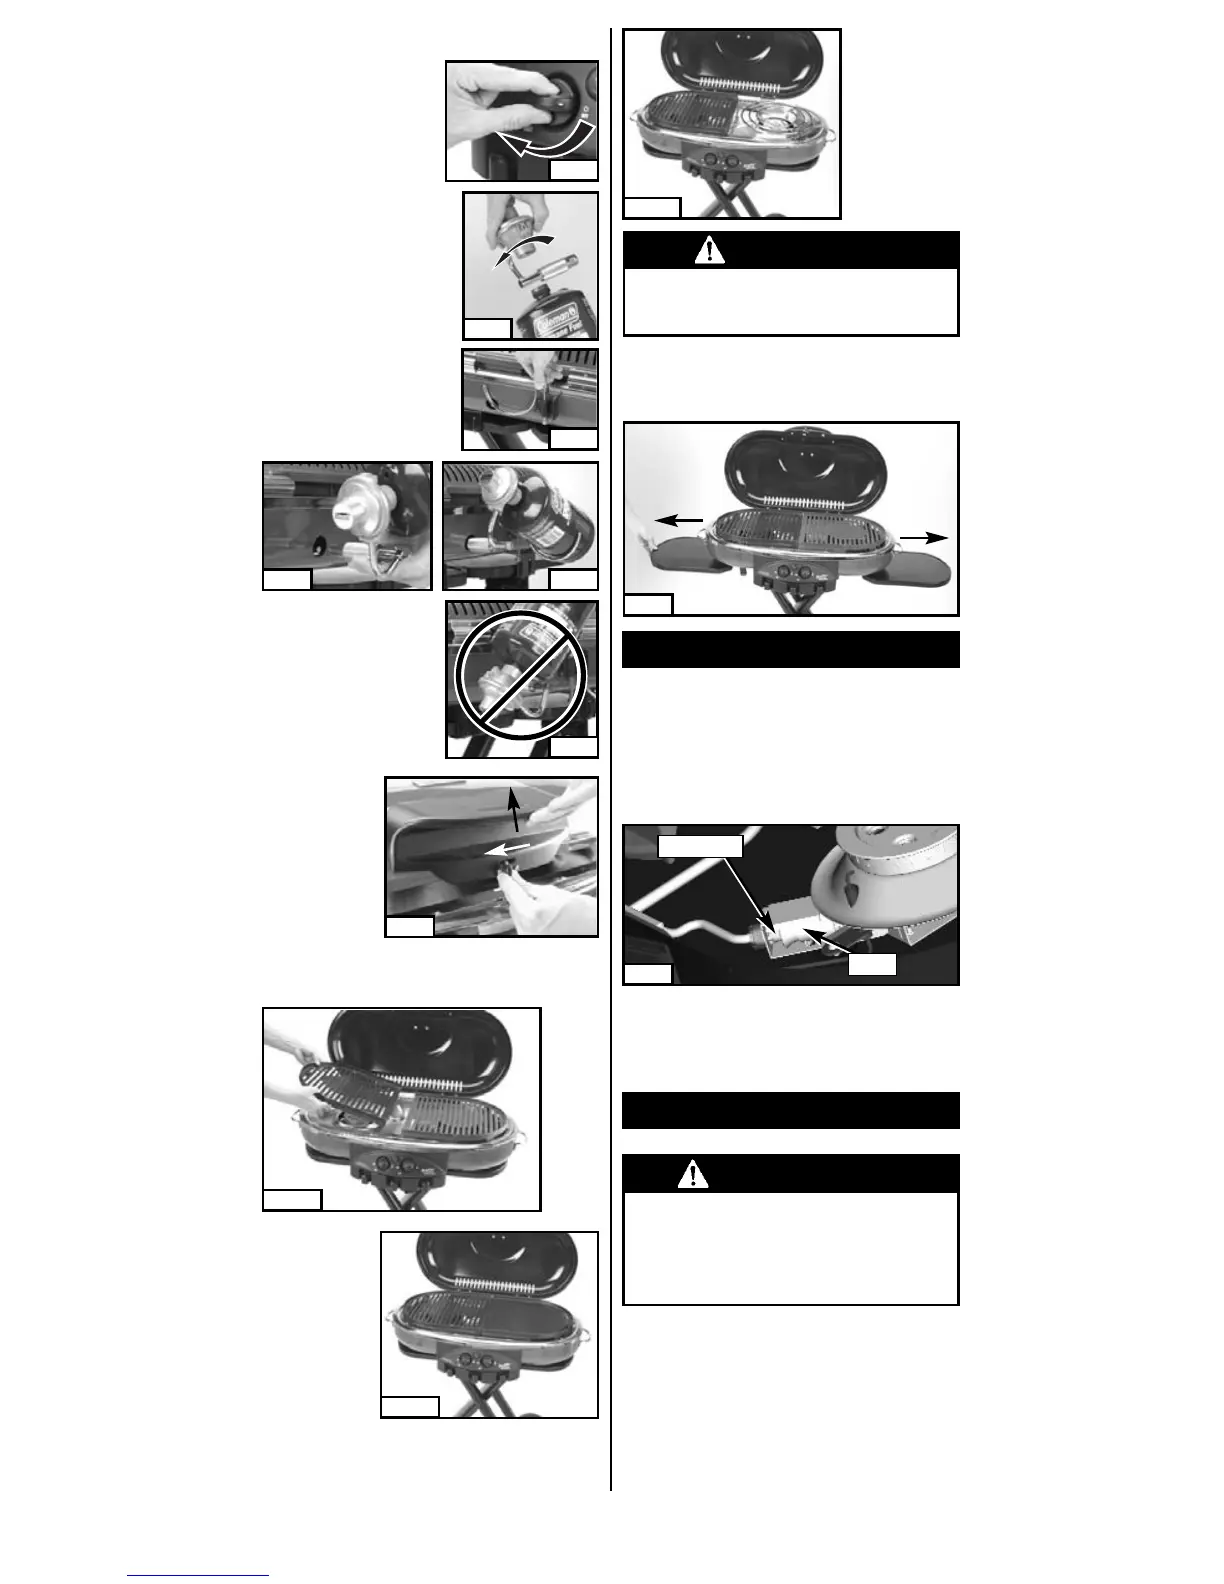
■ To open lid,
move lever to
OPEN position
and lift up.
(Fig. 19)
Attach Propane Cylinder
■
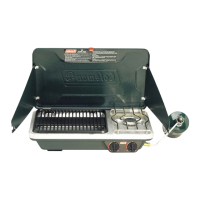
Place a grill, griddle, or stove ring over
each burner. (Fig. 20, 21, and 22)
Fig. 20
Fig. 13
Fig. 21
Fig. 22
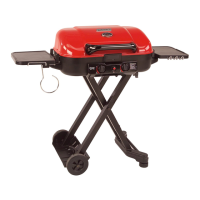
■ To extend side tables, grasp hold of side tables
on bottom of stove and slide out until fully
extended. (Fig. 23)
Fig. 23
WARNING
DO NOT operate the stove with side tables in
storage position. Damage will occur and void
the warranty.
WARNING
• Perform leak test outdoors.
• Extinguish all open flames.
• NEVER leak test when smoking.
• Do not use the outdoor stove until connection
has been leak tested and does not leak.
Leak Check
Burner and Orifice
■ Proper location of the burner with respect to the
orifice is important. To verify the proper installa-
tion of the burner tube, use a screwdriver to
remove the stove top. The burner tube must be
located over the orifice fitting.
See Fig. 24 (stove top not shown).
■ Check and clean the burner/venturi tubes for
insects and insect nests. A clogged tube can
lead to a fire beneath the appliance.
Fig. 24
Burner
Orifice Fitting

 Loading...