7
To Set Up (continued)
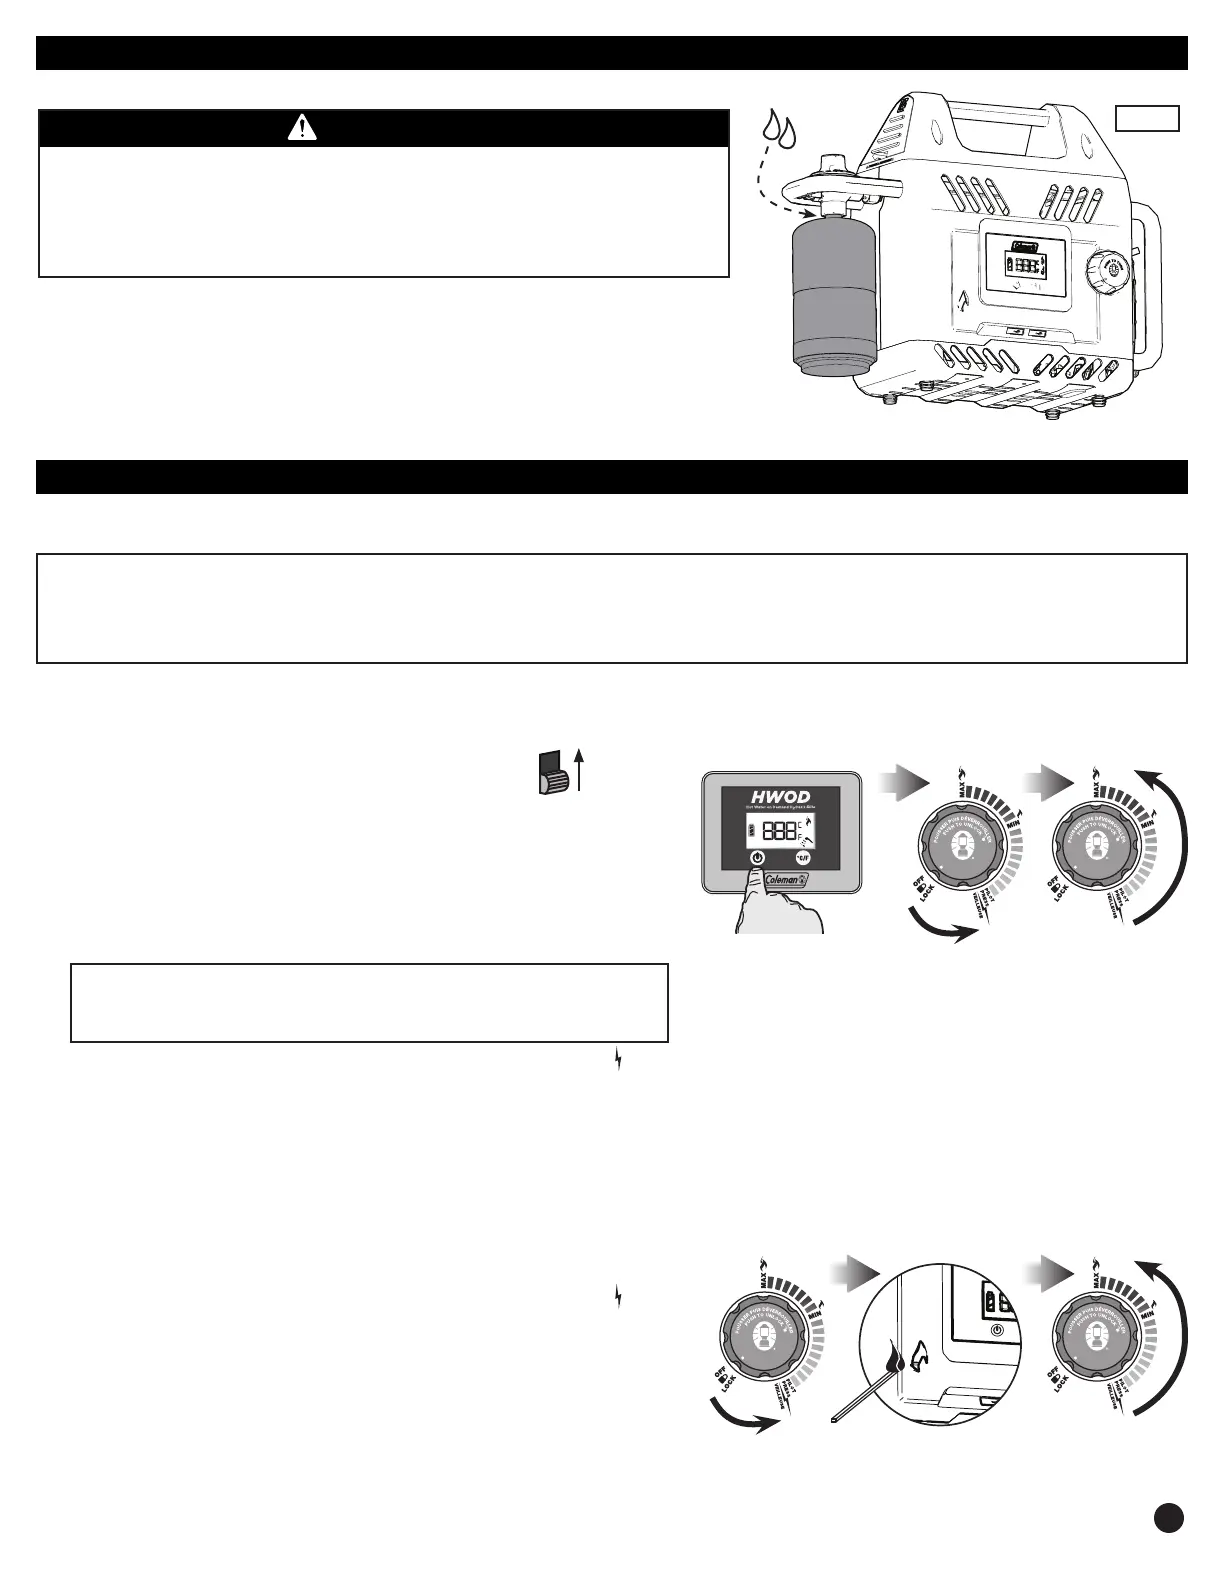
GAS LEAK CHECK
WARNING
•Perform leak test outdoors.
•Extinguish all open flames.
•NEVER leak test when smoking.
•Do not use Hot Water on Demand
TM
unit until connection has been leak tested and does
not leak.
1. Make 60 to 90 ml of leak check solution
(one part liquid dishwashing detergent
and three parts water).
2. Apply several drops of solution at the
connection between the propane cylinder
and the regulator.
3. Bubbles indicate a leak.
4. Check that the connection is not cross-
threaded and that it is tight.
5. Perform another leak check. If there is still
a leak, remove the cylinder and contact
Coleman for services or repair.
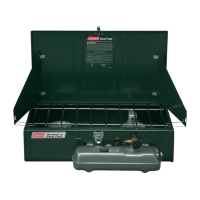
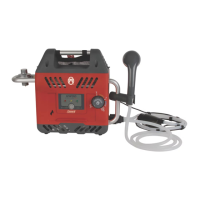
Use and Operation
Clean before first use. It is strongly recommended that you clean the heater prior to using for the first time. Follow these simple steps before you leave home,
and then clean at least once a year or when the hose becomes discolored with a white calcium build up.
CAUTION: accessible parts may be very hot. Keep young children away, USE OUTDOORS ONLY. Must only be operated on a horizontal surface. Not suitable
for marine environments. Do not modify this appliance. Annual service by an authorised person is recommend. Or if any of the following conditions are
noticed; incomplete ignition, appreciable yellow tipping, carbon deposition, lifting, floating, lighting back or objectionable odor. DO NOT use this appliance
if it has damaged or worn seals. DO NOT use this appliance if it is leaking, damaged or does not operate properly. To check if the gas cylinder is empty,
disconnect the cylinder from the appliance and shake from side to side. If there is no sound or movement of liquid, the cylinder is empty.
LIGHTING THE HEATER
Before lighting the heater, please make sure that the water supply is ready, the shower connection & pump connection is setup, the gas cylinder is installed and
the rechargeable battery is not running low (check battery status by referencing the section “Chart of Indicators” or see section “Charging the Battery”).
• Electronic Ignition
1. Turn on the main power switch (available on Elite version only).
2. Turn on the electrical system by switching the power button “ON”, which is located
on the display panel. When powered on:
On ELITE version - battery indicator is lit and the current environment temperature is
displayed.
On STANDARD version - a flashing green light on Display Panel indicates that the
electrical system is powered on.
IMPORTANT: When powered on, the pump starts to pump & water starts to run,
before the heater being ignited. To conserve water usage, get yourself familiar
with the complete operation instructions before you switch the power on.
3. Press and turn the control knob counter-clockwise to the ignition position “ PILOT”.
4. Press and hold (7~10 seconds) the control knob to start the electronic ignition sequence, you will hear the clicking sound.
5. While pressing control knob, check whether the pilot light is lit by reading the indicator on the display (see section Chart of Indicators).
NOTE: Ignition takes longer time at the first use for the reason that gas runs through and fills the gas line.
6. When the pilot light is lit, then turn the control knob counter-clockwise to a setting between “MAX” and “MIN” for a desired water temperature.
NOTE: At “MAX” setting, the heater can increase the water temperature by about 30°C. If the electronic ignition fails to light the pilot light, please refer to
the below section “Match Lighting” or the “Troubleshooting” section.
• Match Lighting
1. Switch the power button on.
2. Press and turn the control knob counter-clockwise to the ignition position “
PILOT”.
3. Put a lit match near the burner by inserting it through the flame window, then press and
hold the control knob until the pilot is lit (see indicator on display)
4. Turn the control knob counter-clockwise to a setting between “MAX” and “MIN” for a
desired water temperature.
NOTE: It is typical to experience a slight change in water flow & temperature when moving
spray adapter from high to low heights.
PRESSE
PRESSE
Varies by model
PRESSE
PRESSE
Fig. 9
ON
 Loading...