Do you have a question about the Coleman Kenai 10'x8' and is the answer not in the manual?
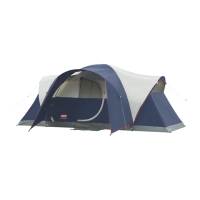
Details the main tent poles required for assembly.
Details the rainfly pole for the tent.
Position the tent and orient the door correctly for optimal setup.
Secure tent corners by staking down loops to keep the floor taut.
Assemble and insert tent poles into sleeves, forming an 'X' shape.
Connect one end of the main tent pole to the tent corner pin system.
Bend the pole to form an arch and secure the other end to the tent corner.
Attach frame clips from tent edges to the poles for secure connection.
Adjust tent corner stakes as necessary for optimal stability.
Assemble and insert rainfly poles into designated sleeves on the rainfly.
Drape the rainfly over the tent frame and secure it using attachment points.
Stake out the guylines for added tent stability and wind resistance.
Explains condensation formation and provides tips for minimization.
Guides on proper tent drying, cleaning, and storage to preserve material.
Covers warnings for stake removal, pole storage, and flame/heat sources.
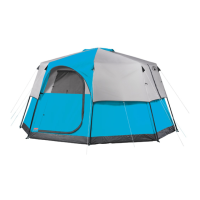
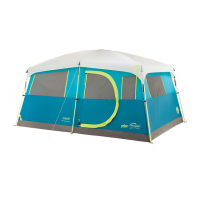
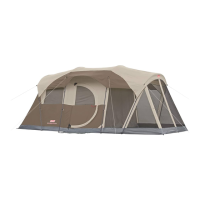
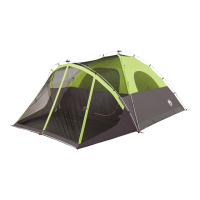
| Brand | Coleman |
|---|---|
| Model | Kenai 10'x8' |
| Weight | 18.7 lbs |
| Season | 3-season |
| Doors | 1 |
| Windows | 2 |
| Pole Material | Fiberglass |
| Floor Material | Polyethylene |
| Tent Fabric | Polyester |
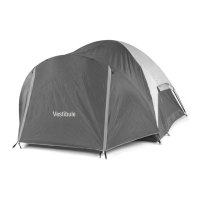
| Rainfly | Yes |
| Dimensions | 10 x 8 ft |
| Ventilation | Mesh windows |