8. Changing and initialization of the password
7. Chime sound
2) Setting the Sub-Unit
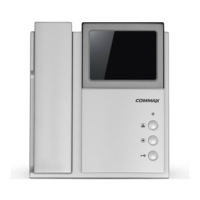
① Set the ID as “ 0 ”on Multi-Entry panel which should be
connected to chanel 1
- The default of all Multi Entry Panels is assigned to “ 0 ”
② While picking up the handset of an in-house unit, press
“ Extension call ” button and the “ Door open ”button at the same time.
③ You can communicate with Multi Entry Panel while the resident’s
number displayed on it.
④ When the “*** -> S ” message is displayed on the Multi Entry
Panel when you press the “ Extension call ”button on the in-house unit.
⑤ Then, register the ID of the said residence,
and press “ ”button to hear a sound of completion.
The registration is complete when you hang up the handset
⑥ The registration is complete when you hang up the handset.
(Repeat this process for other residentes)
⑦ Set the ID’ as “1” on the Multi-Entry panel after completing the registration
Note) The doors do not open by default password “ 1234 ”.
Only after changing default password, can you use this function
1) Initialization of password for in-house unit.
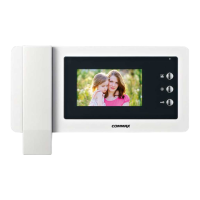
① Before turning off AP-5HM, it is necessary to separate
it from its wall mounting, to then detach the wired power cable.
( from 4th connectors)
② While holding the “Door release” and “Extension call” button
at same time, reconnect the power cable(to 4th connector)
and keep this situation for 3 seconds.
③ After Finishing the wiring work, mount the back of
AP-5HM on the wall. (The default set password is “1,2,3,4”).
Chime will sound when calling an individual door bell with audio type .
2) Changing Resident Password
(From Multi Entry Panel)
①
Hold “ Residence Number ” and “ ” button for 2 seconds
and release when LCD stops blinking.
② Enter “ Current password ”.
③ Hold “ ” button for 2 seconds and release
when LCD stops blinking.
④ Enter “ New Password ”with 4 digits on Multi Entry Panel
displaying “NEW PW : ” message.
⑤ Hold “ ” button for 2 seconds and release
when LCD stops blinking.
⑥ Repeat “ New password ” to confirm it.
⑦ Hold “ ” button for 2 seconds and release
when LCD stops blinking.
7
6