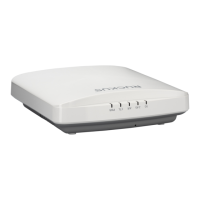
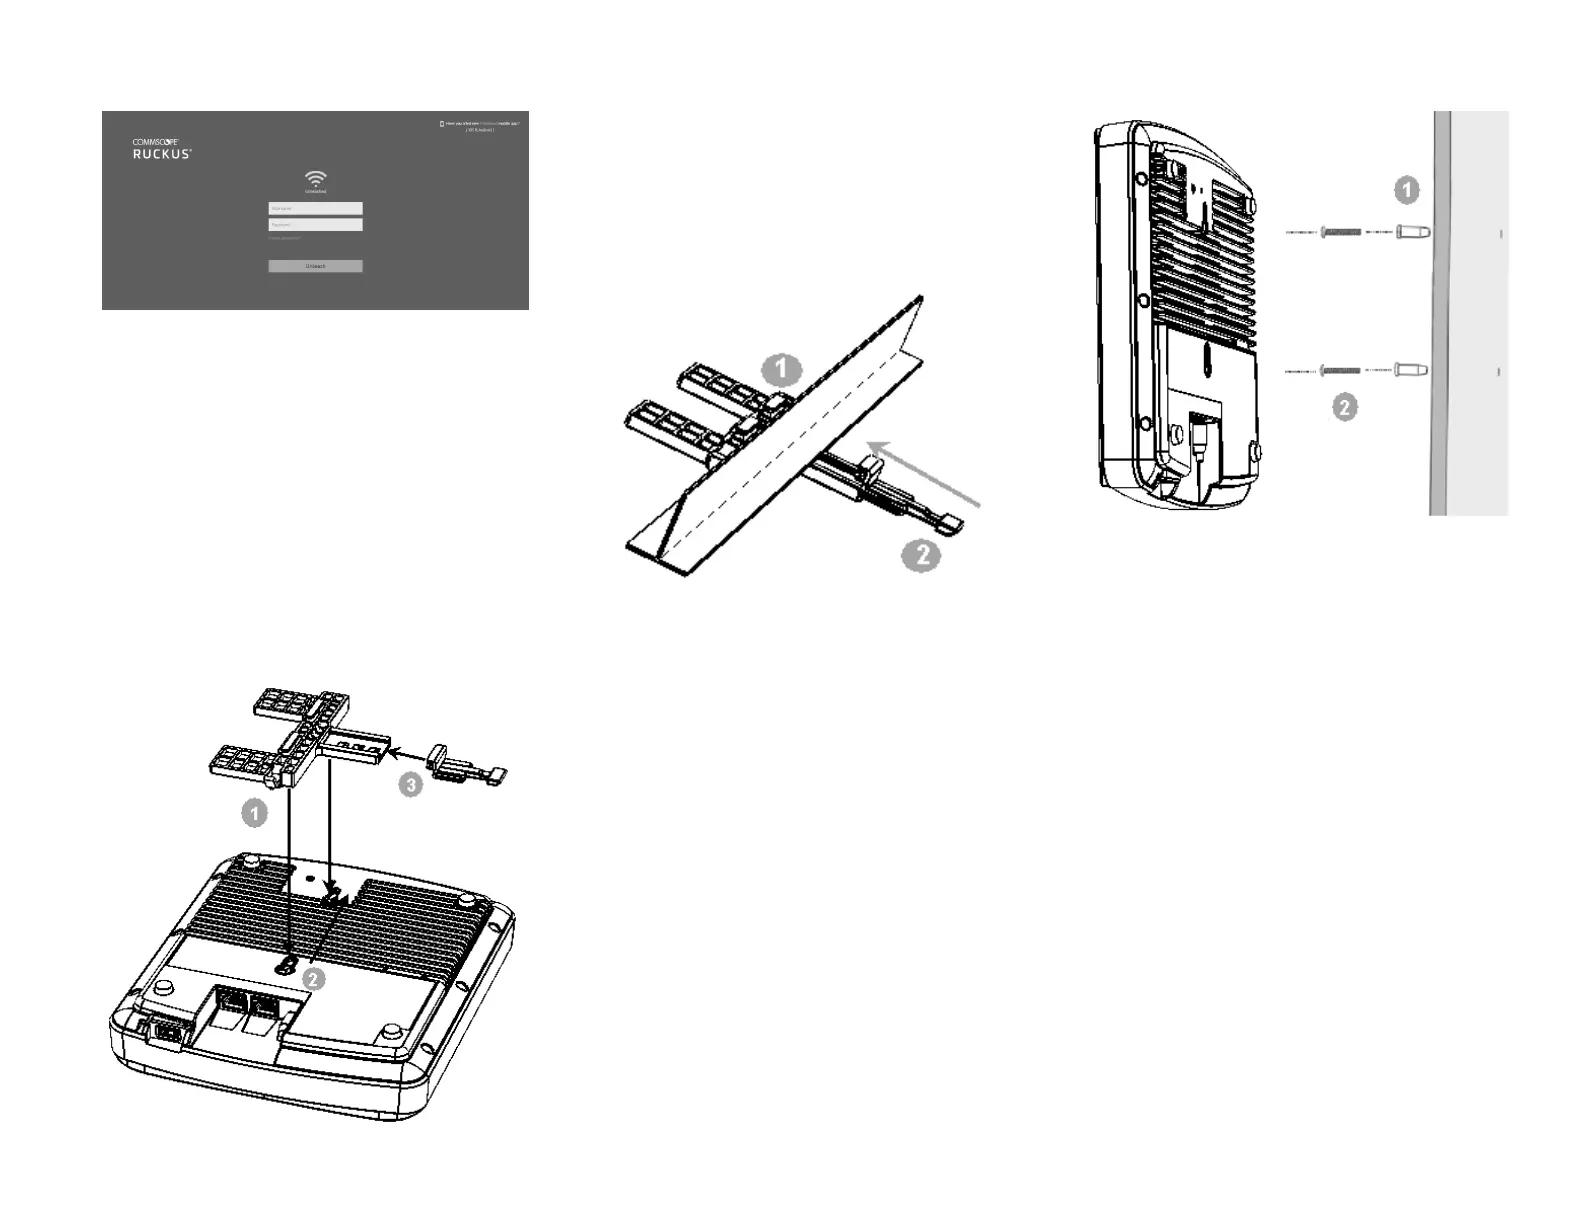
FIGURE 5 The Login page
8. Upon successful login you will be presented with the Unleashed
Dashboar
d, which displays an overview of your Ruckus Unleashed
network.
Mounng Instrucons
Mounng on a Drop-Ceiling T-Bar
The factory-supplied T-bar mounng assembly kit allows you to aach the
AP to recessed and ush drop-ceiling T-bars.
1. Posion the studs on the boom of the T-bar bracket (1 in Figure 3) in
the keyholes on the AP enclosure.
2. Slide the T-bar bracket away from the Ethernet ports on the boom
of the AP unl the AP retainer tab snaps into place, trapping the T-bar
bracket studs in the keyholes (2 in Figure 3).
FIGURE 6 Aaching the T-bar Bracket to the AP
3. Insert the locking tab (3 in Figure 3) so it is in the rst posion on the
T-bar bracket (1 Figure 3).
4. Gently push the ceiling les, if present, up and out of the way.
5. Posion the T-bar bracket so its two clasps grip one edge of the T-bar
(1 in Figure 4). Make sure that both clasps are gripping the T-bar.
6. Hold the AP in place and gently push the locking tab (2 in Figure 4)
unl its clasp grips the other edge of the T-bar. Make sure that all
three clasps are gripping the T-bar.
FIGURE 7 Aaching the T-bar Bracket to the T-bar
Mounng on a Fla
t Surface
The factory-supplied mounng screws and plasc wall anchors allow you
to aach the AP to a wall or other at surface.
1. Use the Mounng Template on the last page of this Quick Setup
Guide to mark the locaons for two drill holes on the mounng
surface.
2. Use a 4.75-mm (3/16-in.) drill bit to drill holes approximately 25 mm
(1 inch) deep into the mounng surface.
3. Insert the factory-supplied anchors (1 in Figure 5) and mounng
screws (2 in Figure 5) into the mounng surface, leaving
approximately 6 mm (1/4 inch) of the screw heads protruding for the
AP enclosure.
FIGURE 8 Fla
t Surface Mounng
4. Place the AP onto the mounng scr
ews so the screw heads enter the
keyholes on the AP enclosure, and push the AP down unl the AP
retainer tab snaps into place.
©
2020 CommScope, Inc. All rights reserved.
ARRIS, the ARRIS logo, COMMSCOPE, RUCKUS, RUCKUS WIRELESS, the Ruckus
logo, and the Big Dog design are trademarks of CommScope, Inc. and/or its
aliates. Wi-Fi Alliance, Wi-Fi, the Wi-Fi logo, Wi-Fi Cered, the Wi-Fi
CERTIFIED logo, Wi-Fi Protected Access, the Wi-Fi Protected Setup logo, Wi-Fi
Protected Setup, Wi-Fi Mulmedia and WPA2 and WMM are trademarks or
registered trademarks of Wi-Fi Alliance. All other trademarks are the property of
their respecve owners.
Copyright
©
2020 CommSc
ope, Inc. All rights reserved. Page 2 of 3
Published July 2020, Part Number 800-72625-001 Rev A
 Loading...