United States
Maintenance and Service Guide
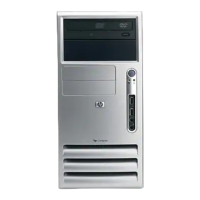
Compaq Presario 7400 Series Computers
MSG index Product Description Troubleshooting Illustrated Parts Catalog
Home Removal & Replacement Jumper & Switch Information Specifications
Removal Sequence
Before you begin
Serial number
Chassis
Power supply
Mass storage devices
Fax-modem
PCI bracket
System board
Instant On button board
Creativity Action Center
REMOVAL & REPLACEMENT PROCEDURES
Power Supply
1
Perform preparation procedures.
2
Remove the chassis.
3
Gently lay the computer on its side with back
connectors closest to the working surface.
4
Remove the four screws that secure the
power supply to the back of the chassis as
shown.
5
Slide the power supply away from the back
of the chassis
, rotate it up and away ,
and slide it to the right to remove it from the
slots.
6
Disconnect the power supply cables from the
system board, hard drive, floppy drive, and
CD/DVD drive and remove the cables from
the chassis.
Replacement
To replace the power supply, reverse this
procedure.
privacy and legal statement

 Loading...

