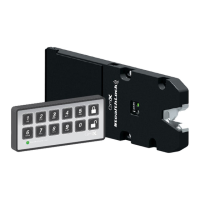
StealthLock
®
, Keyless Invisible Security
7
Step #3 – Press the learn button
on the Receiver Latch until the
yellow LED lights to insure that
the Latch is in the open position
Step #4 – Remove release paper
from the back of the strike plate
Step #5 – Close door firmly and open it
again. The strike plate will become
affixed to the door in the proper
mounting position. Remove and discard
red installation tool
Step #6 - Screw the strike plate in
place using 2 of the #6 x ½” screws
supplied. If attaching to material
less than ¾” thick, alternate
fasteners may be required.
Step #7 – Check the fit after any bumpers are installed. Door should
latch into the Receiver Latch and still have a little free play. Adjust
Receiver Latch forward on oval holes as required.
Release Paper
Finish by installing the remaining
screws at the front of the Receiver Latch
StealthLock
®
, Keyless Invisible Security
8
Installation Instructions – Transmitter Pad
The Transmitter Pad has a functional range of 15 feet from the Receiver Latch and can be
mounted virtually anywhere on any non-metallic panel. To mount, simply remove the
release paper from the tape on the back side of the Transmitter Pad, and press into place.
Suggested mounting areas
• Cabinet door face or drawer face
• Wall above switch plate
• Inside unlocked cabinet door or drawer to be hidden
Remove release
paper from tape

 Loading...