- 6 -
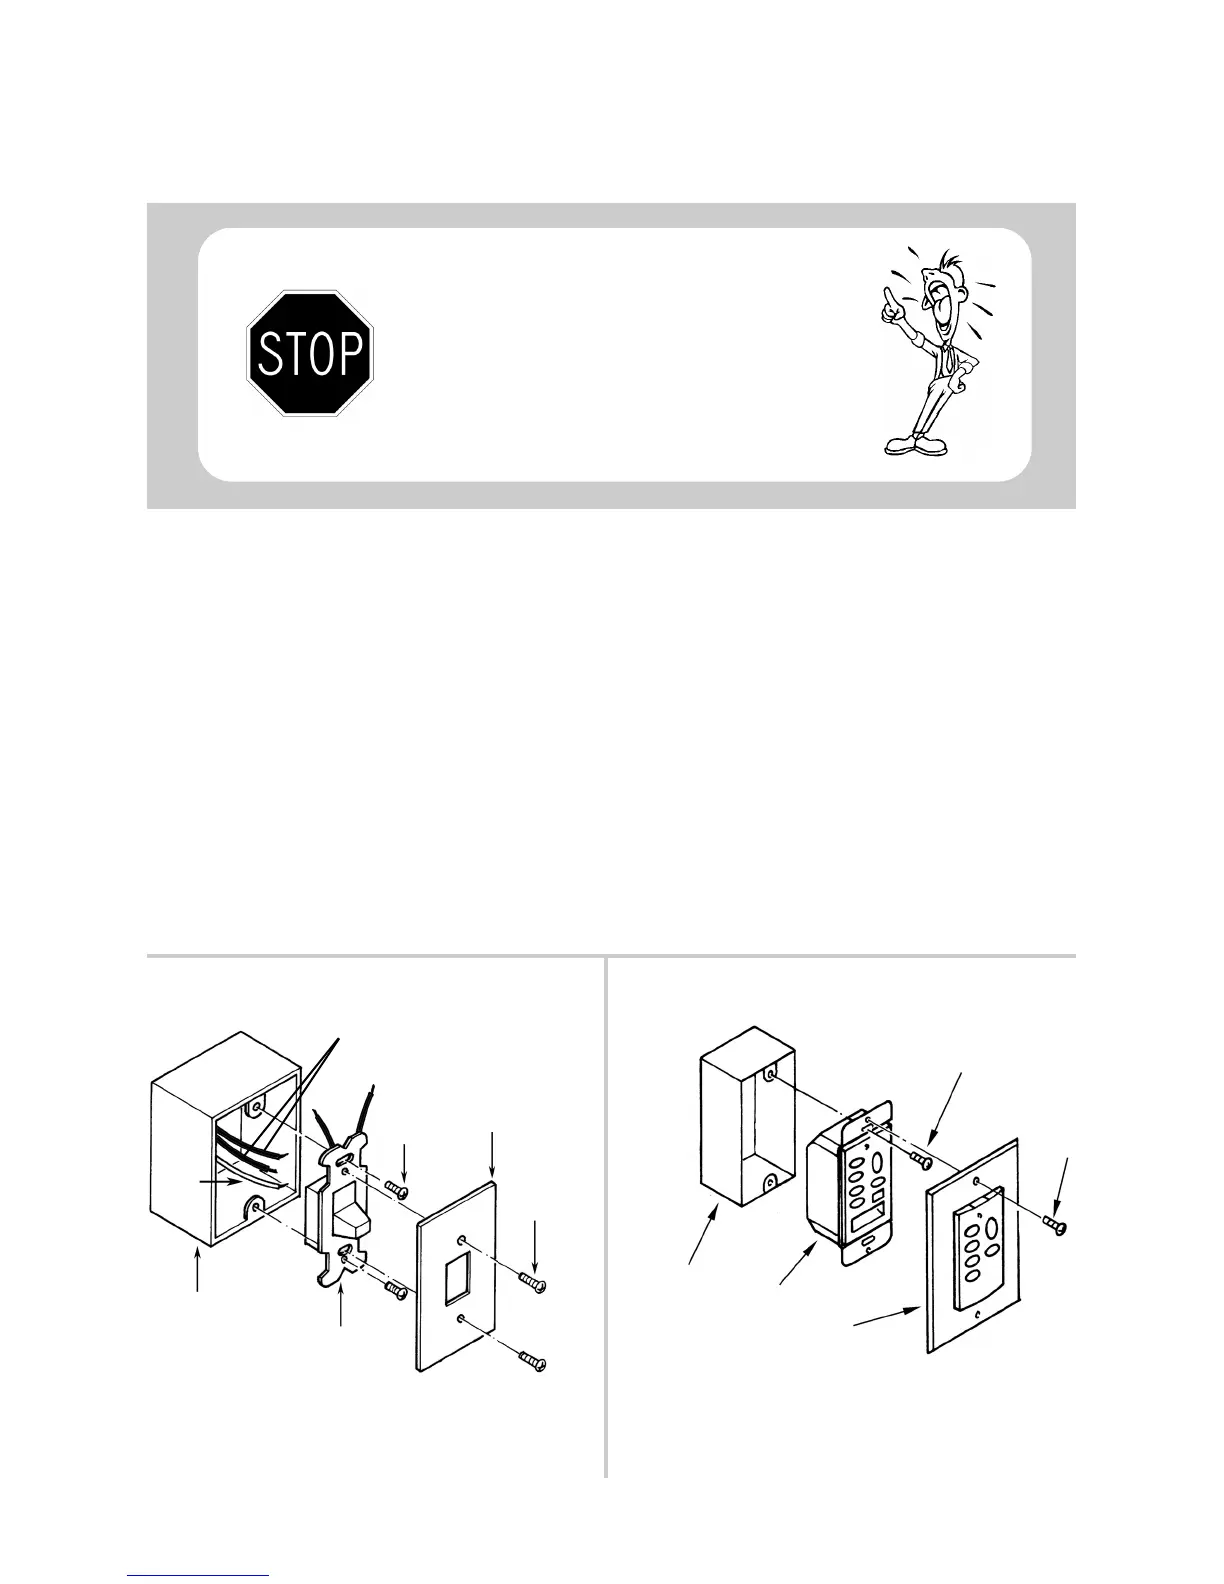
Remove the wall switch plate cover and then remove the ON/OFF switch from the switch box (see
figure A). Pull the switch out of the box until you can see the wire nuts connecting the two wires
in the wall to the two wires on the switch. Now remove the wire nuts and disconnect the wires
from the switch. Re-connect the 2 switch wires together and tuck back in switch box to allow room
for RM-08. Replace wire nuts.
Push the Control Unit into the switch box and secure it with the two screws at each end of the unit
(this procedure is the same as if you were to put the original wall switch back into the wall). Now
attach the face plate to the Wall Control (see figure B).
Next, please see the Operation Instruction.
Reset your circuit breaker.
Figure A
Figure B
Mounting
Screw
Wall
Plate
Mounting
Screw
Old ON/OFF
Switch
Switch
Box
Ground
Wire
Switch Box
Wall Plate
Screw
Wall Control Unit
(This unit replaces the current ON/OFF switch)
Installing the Wall Control
Before you begin, TURN OFF THE ELECTRICITY
(at the main circuit panel or fuse box). If you feel
unsure of this procedure, have a qualified electrician
install this unit.
Screw
Switch
Wires