10. Mounting the "FHT8V" valve operating
mechanism
a) Removing the old thermostat
• Remove the old mechanical thermostat.
• If necessary, use multigrip pliers to loosen seized scr-
ews by turning them counterclockwise.
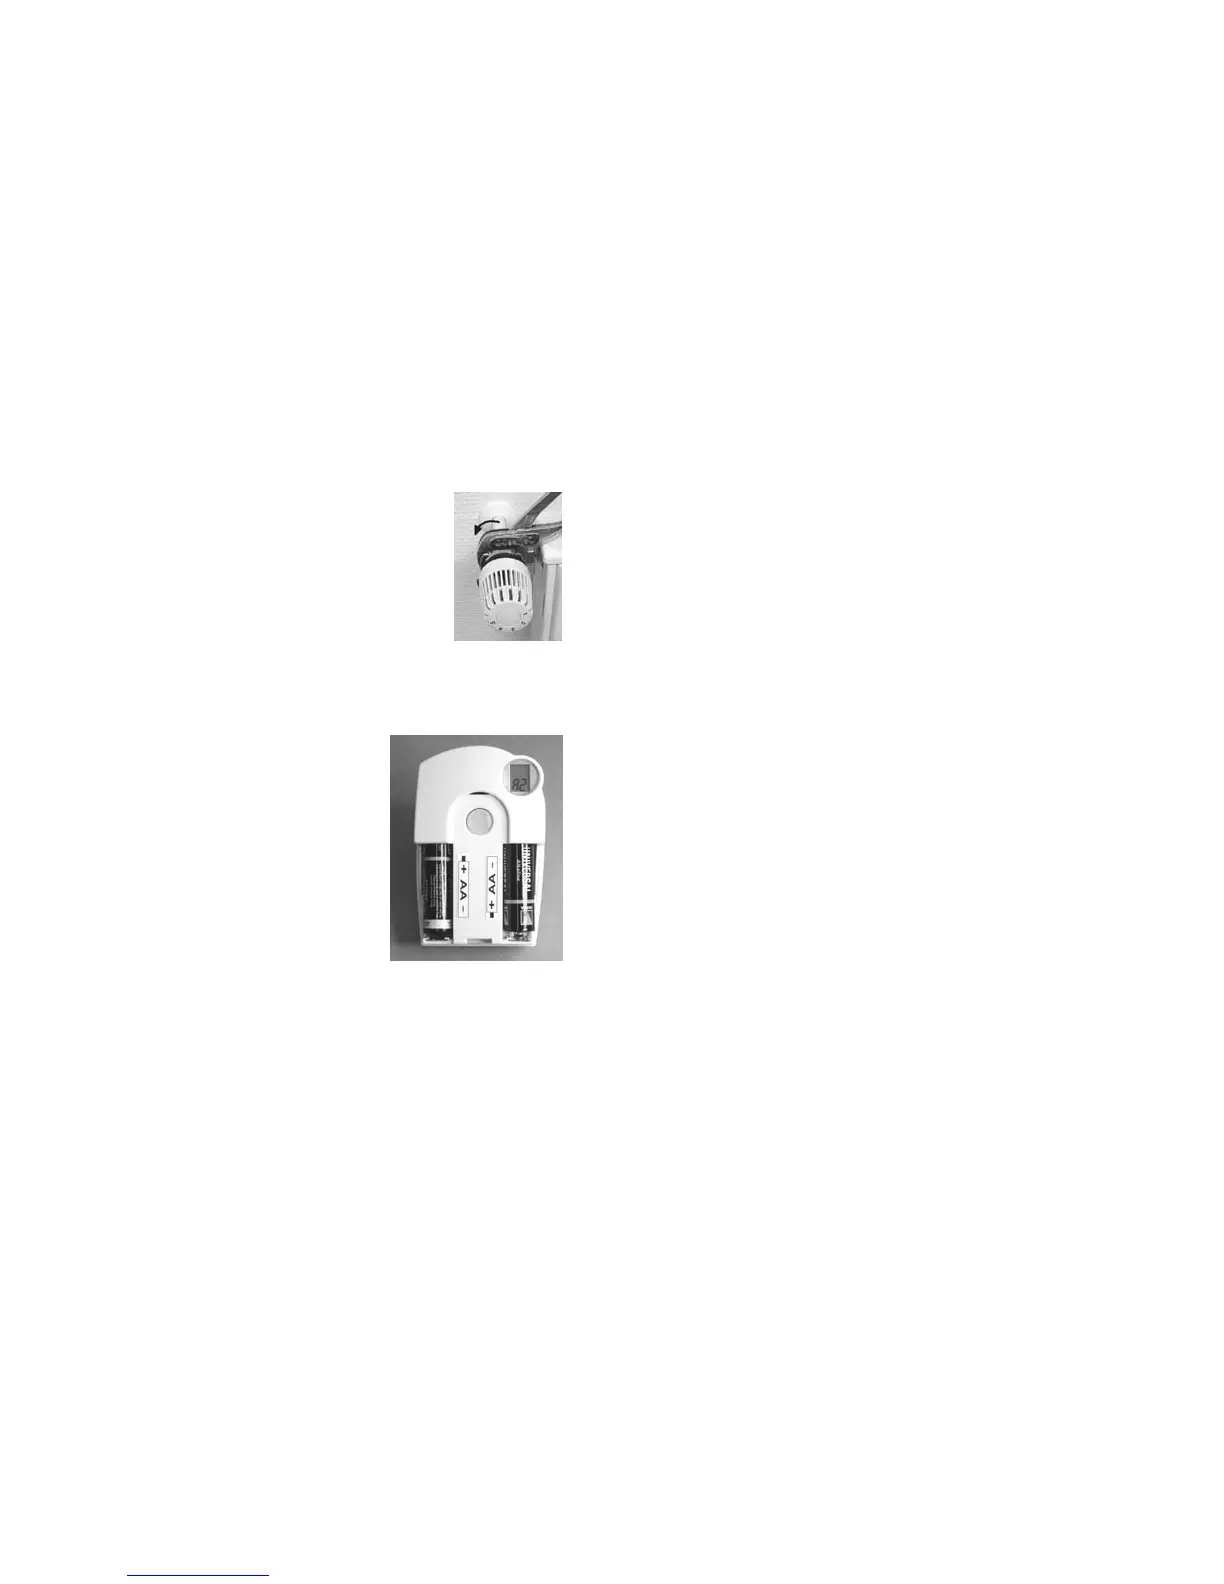
b) Inserting the the batteries into the valve
operating mechanism
• Remove the battery compartment cover of
the valve operating mechanism by sliding it
down.
• Insert two AA batteries into the battery com-
partment. Make sure to insert the batteries
with the correct polarity, see illustration in the
battery compartment and figure on the right
side.
•"C1" is displayed first, followed by a two-
digit number, "C2", and another two-digit
number. These two numbers are the current-
ly stored safety code of the valve operating
mechanism (e.g. 11 and 22 = safety code
1122).
• An acoustic signal is generated, and "A1" is displayed.
• The valve operating mechanism fully retracts the control pin to facilitate
mounting.
• Now "A2" is displayed.
68
Figure 9
Figure 10
b) Sélection de l'unité de température («°C°F»)
Vous pouvez régler ici l'affichage de température sur l'afficheur à cristaux
liquides avec l'unité °C (°Celsius) ou °F (°Fahrenheit).
• Appuyez sur la touche «PROG» jusqu'à ce que «Sond» apparaisse à l'affi-
cheur à cristaux liquides (pour «fonction particulière»).
• Sélectionnez la fonction particulière «°C°F» avec la roue de réglage.
• Confirmez votre choix par une brève pression sur la touche «PROG».
• Il est possible de commuter entre «°C» et «°F» à l'aide de la roue de réglage.
• Confirmez votre choix par une brève pression sur la touche «PROG». Le
régulateur de chauffage revient dans son mode de service normal.
c) Réglage de la date et de l´heure («dAt»)
• Appuyez sur la touche «PROG» jusqu'à ce que «Sond» apparaisse sur l'af-
ficheur à cristaux liquides.
• Sélectionnez la fonction particulière «CALC» avec la roue de réglage.
• Confirmez votre choix par une brève pression sur la touche «PROG».
☞
Effectuer les réglages supplémentaires comme décrit dans le cha-
pitre 9 page 114.
133