4
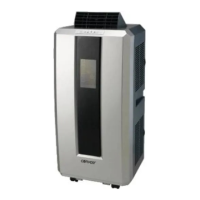
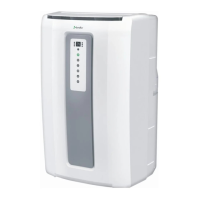
CP12CW2 Portable Refrigerated Air Conditioner
5
6B
To avoid damage to the control panel, do not operate with sharp objects.
NOTE!
7
5
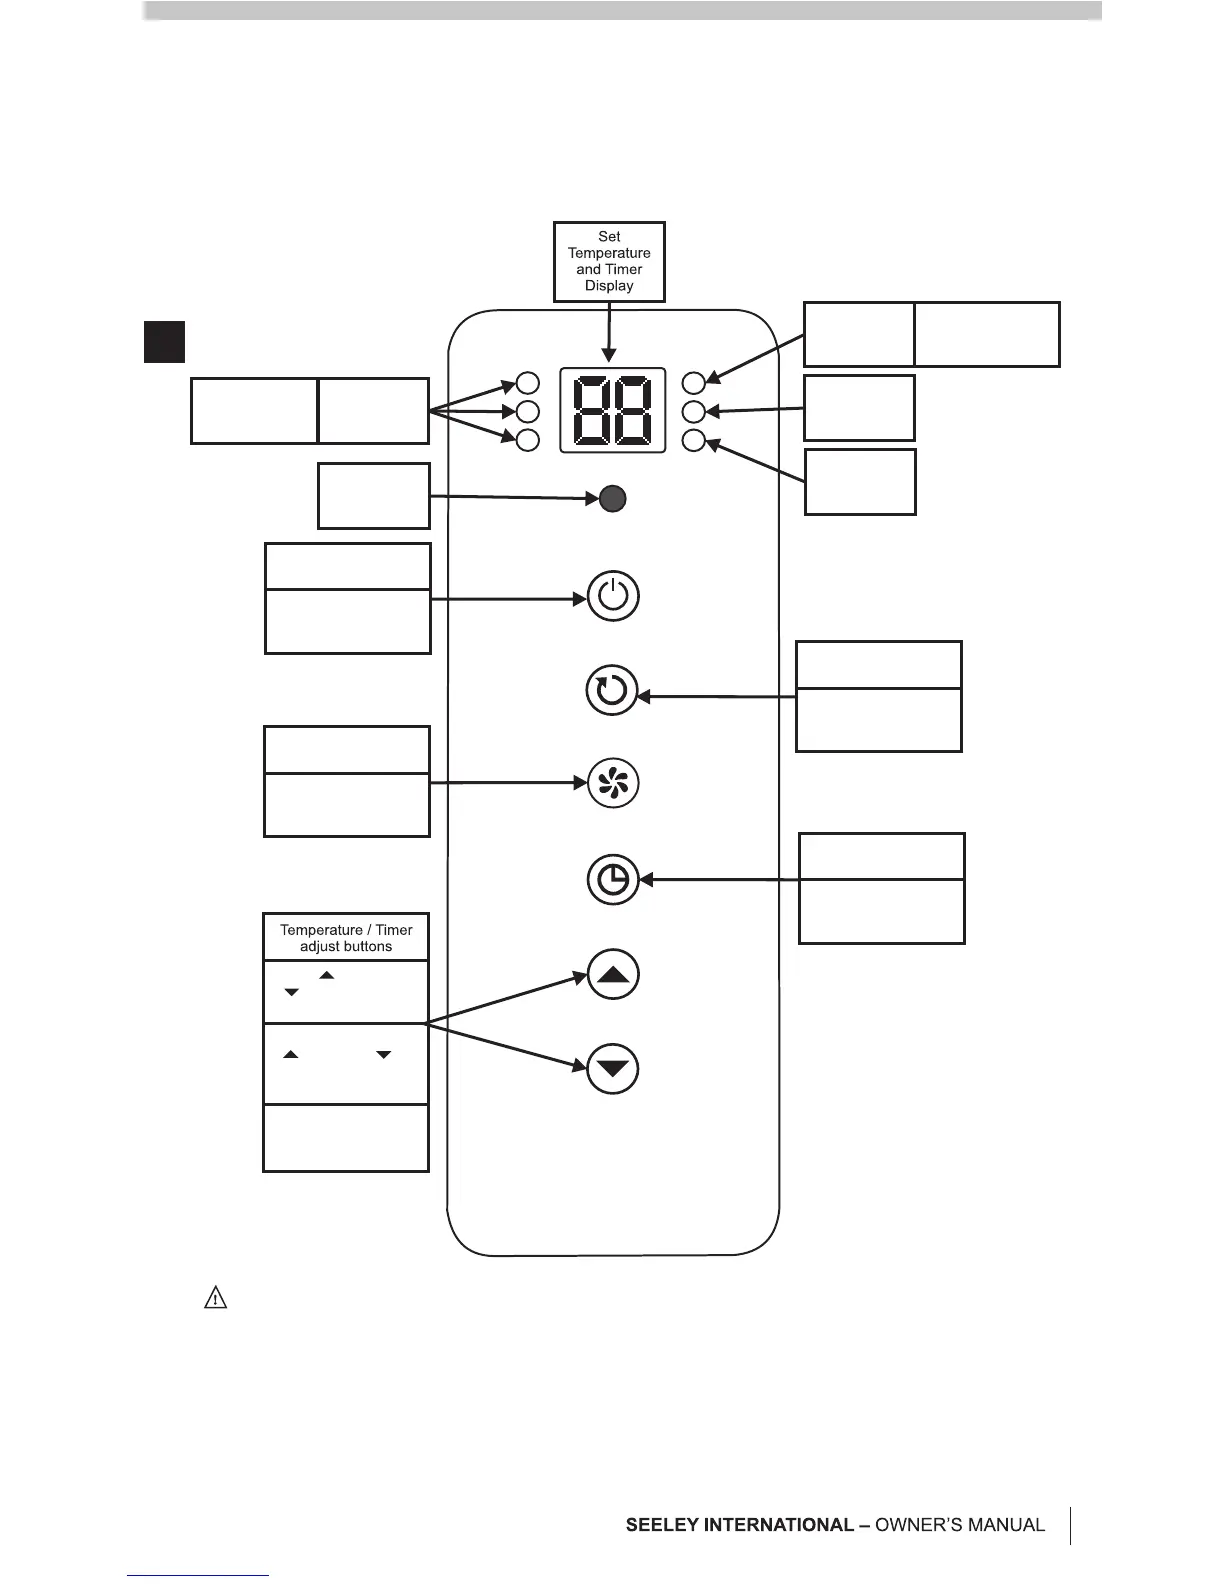
CONTROL AND DISPLAY PANEL
6A
Press to turn the air
conditioner on and off
Press to cycle the fan
speed between low,
medium and high
Press to enter the
timer setting mode
and time
Press to cycle from
Cooling,Dehumidifying
and Fan modes.
Press to increase,
to decrease the
set temperature
In Timer mode, press
to increase, to
decrease the timer
from 01-24 hours
In Cooling mode, press
at same time to toggle
between °C and °F
Power ON / OFF
button
Fan Speed
control button
Timer Set
button
Mode Select
button
Remote
Control
Receiver
Fan Speed
Indicator Lights
Low - 1 Light
Medium - 2 Lights
High - 3 Lights
Mode
Indicator
Light
Blue - Cooling
Yellow - Dehumidify
Green - Fan
Water Full
Indicator
Timer
Indicator
Note!
Note!
The minimum distance required
from the operating air conditioner to
any obstructing objects or walls is
50cm.
Keep the exhaust hose as short and
straight as possible and minimise
kinks. This will maximise the cooling
performance.
Don’t use extension pieces for the
exhaust pipe as this will reduce the
performance and possibly result in
damage to the air conditioner.
Hot air and possibly mist will be
emitted from the exhaust hose.
It is critical to the performance of
the unit that the hot exhaust air is
completely removed from the space
being cooled.
INSTALLING THE EXHAUST HOSE
Step 1:
Step 2:
Push the Hose End onto the cooler,
and rotate so the slot locks onto the catch
(Fig. 5). Fit the Exhaust Hose to the Hose
End and Exhaust Nozzle by turning
clockwise.
Open a window and fit the Window
Kit. Extend the attachments as required and
lock into place with the wingnuts provided.
Ensure the outlet is not obscured. The
Window Kit can be installed horizontally or
vertically to suit your window type. Fit the
Exhaust Nozzle to the Window kit, and lock
into place (Fig. 6A & 6B).