Start-Up Quick Checks
Checking the Sensor
Unplug the sensor and start the compressor. The Sentronic
module LED should be red. Simultaneously measure the
oil pump pressure vs. crankcase pressure. Monitor the two
terminals at the back of the sensor with an ohmmeter. If
the differential pressure is below the range of 7 to 9 PSID,
the sensor circuit should be open. If the pressure is above
12 to 14 PSID, the sensor circuit should be closed.
Checking the Installed Sentronic+
TM
Module Shut off the compressor. Unplug the sensor. Verify
the module is powered by reading control voltage between
the 240V (or 115V) terminal and the L (or 2 if separate
control is used) terminal.
Start the compressor with the sensor unplugged. Recheck
to make sure the module voltage is still present. After 120
seconds +/- 15 seconds, the L-M contact should open and
shut off the compressor.
Interchangeability of Sentronic™ and
Sentronic+™ Modules and Sensors
The new Sentronic+™ oil pressure control uses both a new
module and a new sensor. The sensors and module can
be made compatible with older generation components if
the following steps are taken:
To use a Sentronic+ module with an older Sentronic™
sensor, the original Sentronic sensor cable must be wired
to the new Sentronic+ module.
To use an older Sentronic module with a Sentronic+
sensor, the new Sentronic+ cable must be wired to the
Sentronic module.
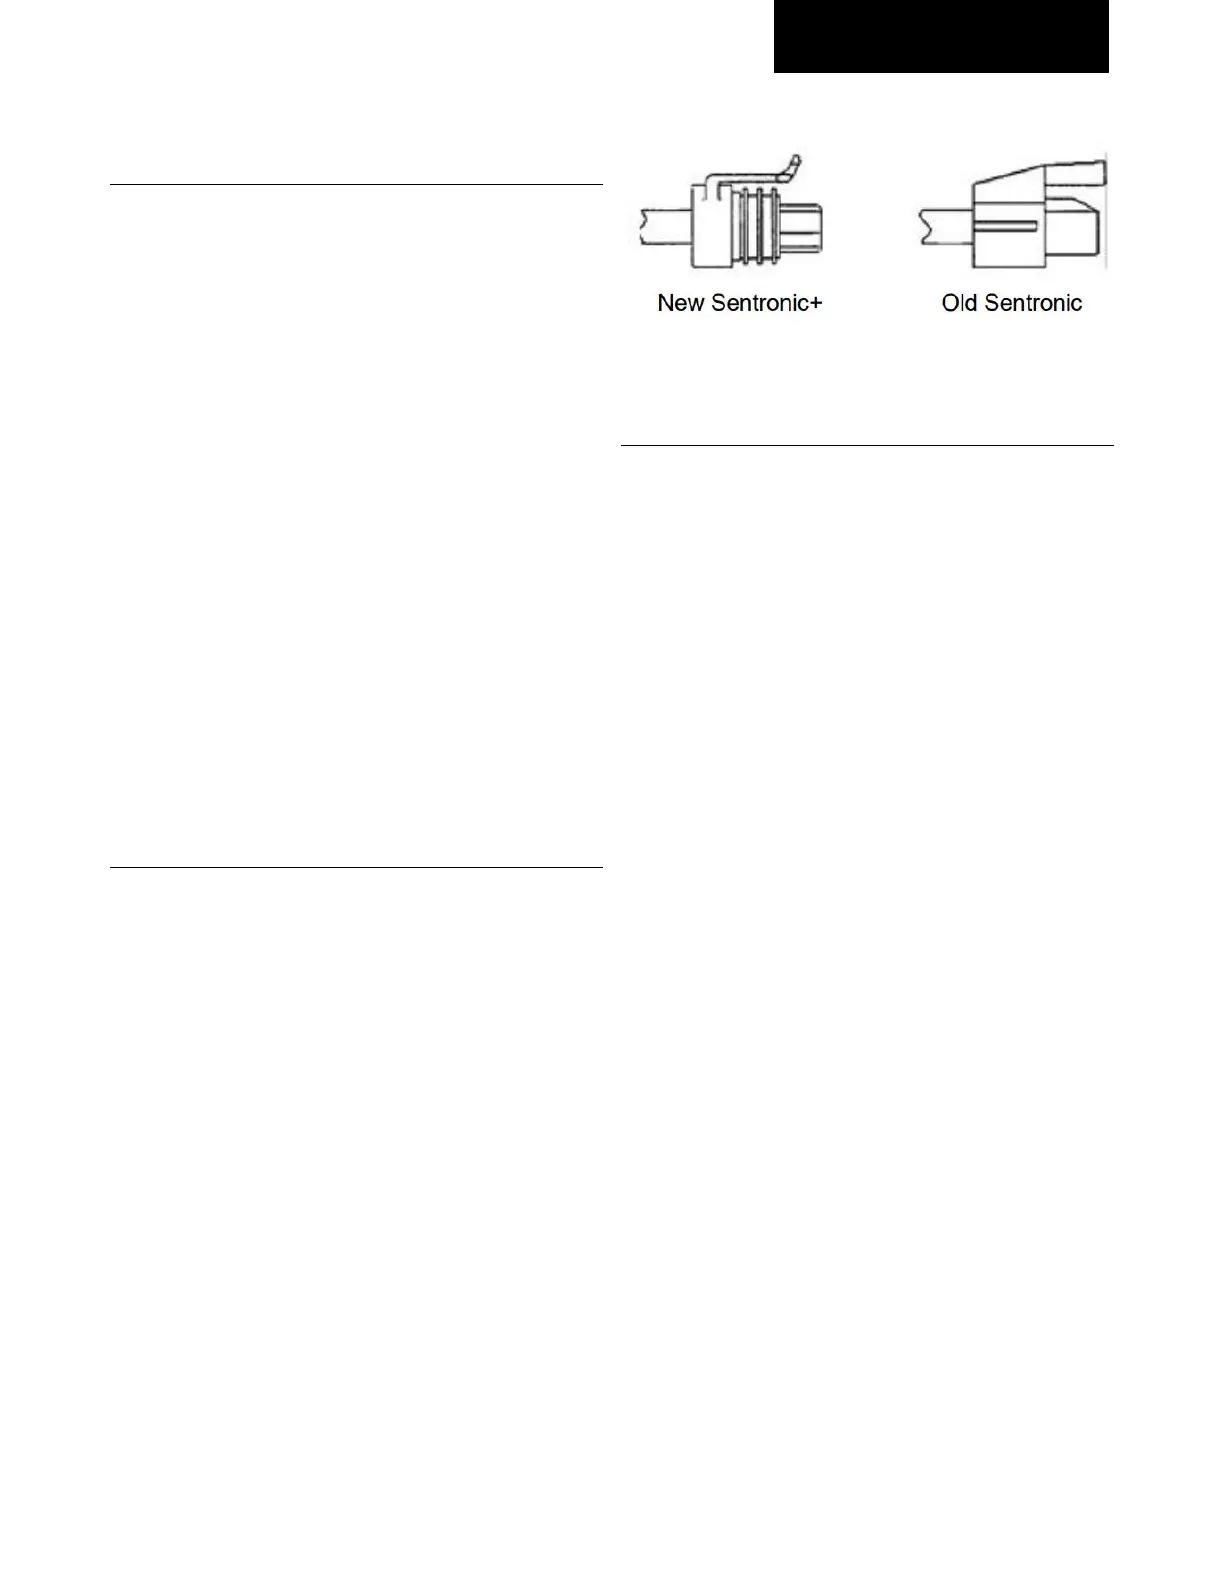
There is an older generation Sentronic module which is
fully compatible with the new Sentronic+ sensor. It is
supplied with the new (Sentronic+) cable which is gray for
identification purposes, see illustration.
Connecting the Sentronic+ Module to an Older
Sentronic Sensor
Removing the cable from the old Sentronic module:
• Disconnect power to the old module
• Disconnect the cable from the sensor
• Remove the cover from the old module
• Remove the two cable quick connections from the
circuit board
• Using pliers, squeeze the strain relief slots and
pull to remove the cable from the module
• Remove the old module from the compressor
Removing the cable from the new Sentronic+ module:
• Remove the cover from the Sentronic+ module
• Pull the 2-cable quick connects from the circuit
board (these are labeled “Org” and “Red”)
• Remove the wires from the strain relief (note the
routing of the wires for future reference) and lift
the wires out
• Remove the wire cable from the module by
twisting the conduit counterclockwise and gently
pulling
Connecting the old cable to the Sentronic+ module:
• Trim approximately 2” of cable sheathing from the
module end of the old cable, taking care not to
nick the wire insulation
• Feed the wires into the module through the hole
in the bottom of the case
• Leaving enough lead length to reach the quick
connects, push the wires into the strain relief.
• Connect the 2 quick-connects to the “ORG” and
“RED” spades. (Note: the connections may be