SpiderCloud Radio Node - SCRN-340 Hardware Installation Guide
17
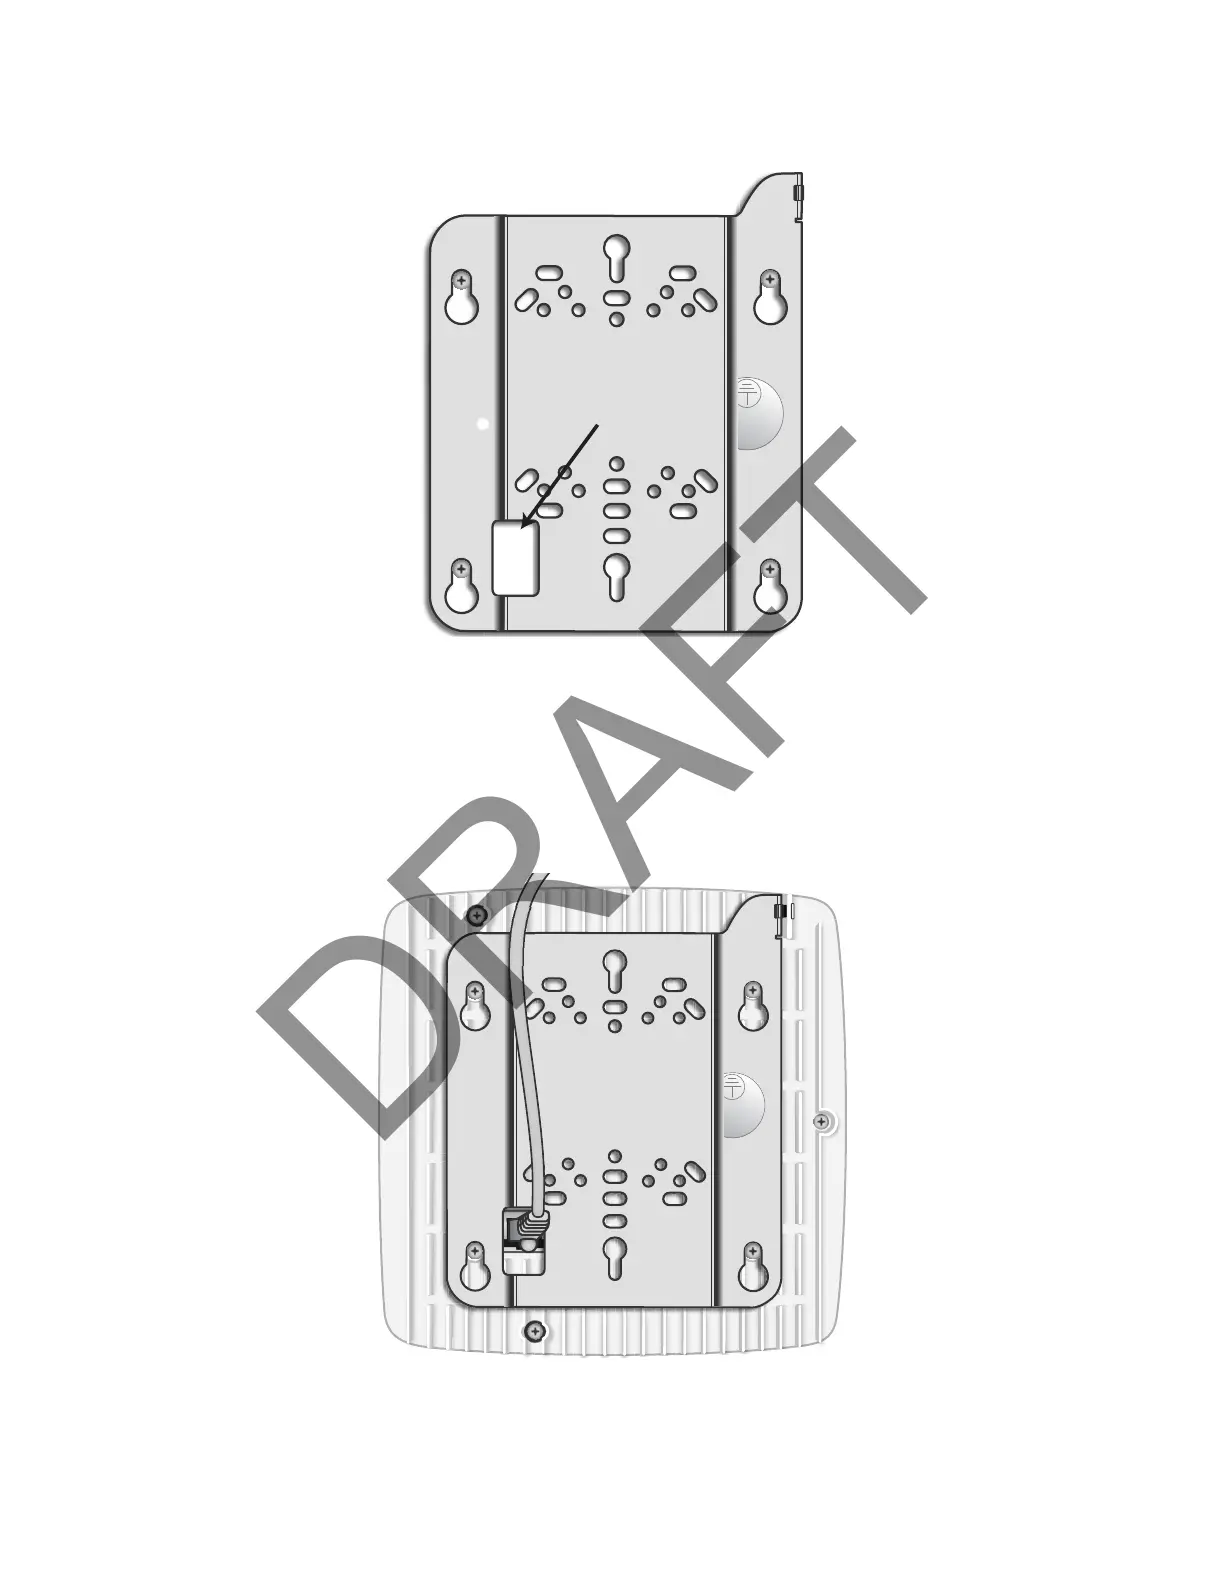
Step 2 Route the Ethernet cable through the rectangular hole in the mounting bracket.
Figure 12 Mount Bracket with Direct Cable Routing
Step 3 With two user-provided screws, attach the mount bracket assembly to a wall or ceiling. The
screw holes are sized for an M4 (#10) or larger screw. Ensure the screws have a snug fit onto
the studs, sheetrock, anchor, or other material you are bolting onto and that you match the
screw head with the appropriate cutout hole size on the bracket.
If needed, use a flat washer between the bracket and screw head to ensure a secure fastening.
Step 4 Insert the RJ-45 connector into the Ethernet port as shown in Figure 13:
Figure 13 Route and Terminate the Cable