A
B
Retrait des filtres anti-poussière avant et inférieur
> Pour retirer le filtre anti-poussière du panneau
avant, retirez tout d'abord le panneau avant en
appuyant sur les angles supérieurs du couvercle
en aluminium.
> Pour retirer le filtre anti-poussière inférieur, tirez
sur la languette située sous le bloc d'alimentation.
Entfernen der Staubfilter auf der
Vorder- und Unterseite
> Um den Staubfilter der Frontplatte zu entfernen,
müssen Sie zuerst die Frontplatte abnehmen.
Drücken Sie dazu auf die oberen Ecken der
Aluminiumabdeckung.
> Die Vorderplatte springt heraus und ermöglicht
den Zugang zum vorderen Staubfilter.
> Um den unteren Staubfilter zu entfernen, ziehen
Sie den Filter an der Zunge unterhalb der
Netzteils heraus.
Rimozione dei filtri antipolvere frontale e inferiore
> Per rimuovere il filtro antipolvere del pannello frontale,
rimuovere prima il pannello frontale solido premendo
gli angoli superiori del coperchio in alluminio.
> Il pannello frontale solido fuoriesce consentendo
di accedere al filtro antipolvere frontale.
> Per rimuovere il filtro antipolvere inferiore, individuare
la linguetta di rilascio sotto il PSU ed estrarre il filtro.
Extracción de los filtros antipolvo frontal e inferior
> Para extraer el filtro antipolvo del panel frontal,
extraiga primero el panel frontal sólido presionando
las esquinas superiores de la cubierta de aluminio.
> El panel frontal sólido saltará y se accederá al filtro
antipolvo frontal.
> Para extraer el filtro antipolvo inferior, localice
primero la pestaña que se encuentra debajo de la
PSU y, a continuación, tire del filtro antipolvo inferior.
Снятие переднего и нижнего пылевых фильтров
> Чтобы снять пылевой фильтр на передней
панели, сначала снимите сплошную часть
передней панели, нажав на верхние углы
алюминиевой крышки.
> Передняя сплошная панель откроется для
доступа к переднему пылевому фильтру.
> Чтобы снять нижний пылевой фильтр,
сначала найдите язычок фиксатора под
блоком питания, затем извлеките нижний
пылевой фильтр.
拆除前部和底部滤尘器
> 要拆除前面板滤尘器, 首先需通过推动铝制罩盖的顶
角来拆下刚性前面板。
> 刚性前面板将弹出, 以便您操作前部滤尘器。
> 要拆除底部滤尘器, 首先找到 PSU 下方的拉出舌片,
然后将底部滤尘器拉出。
前面および底面の防塵フィルタを取り外す
> フロントパネルの防塵フィルタを取り外すには、まずアルミ
カバー上部隅を押してフロントパネルを取り外します。
> フロントパネルが外れ、前面の防塵フィルタが現れます。
> 底面の防塵フィルタを取り外す場合は、電源ユニット下部の
レバーを引き出して、底面の防塵フィルタを引き出します。
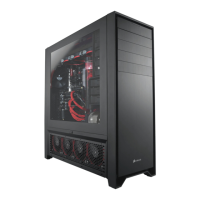
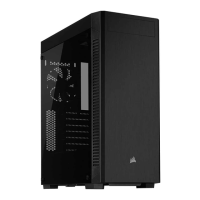
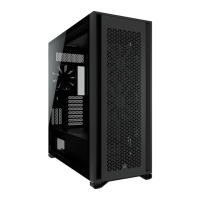
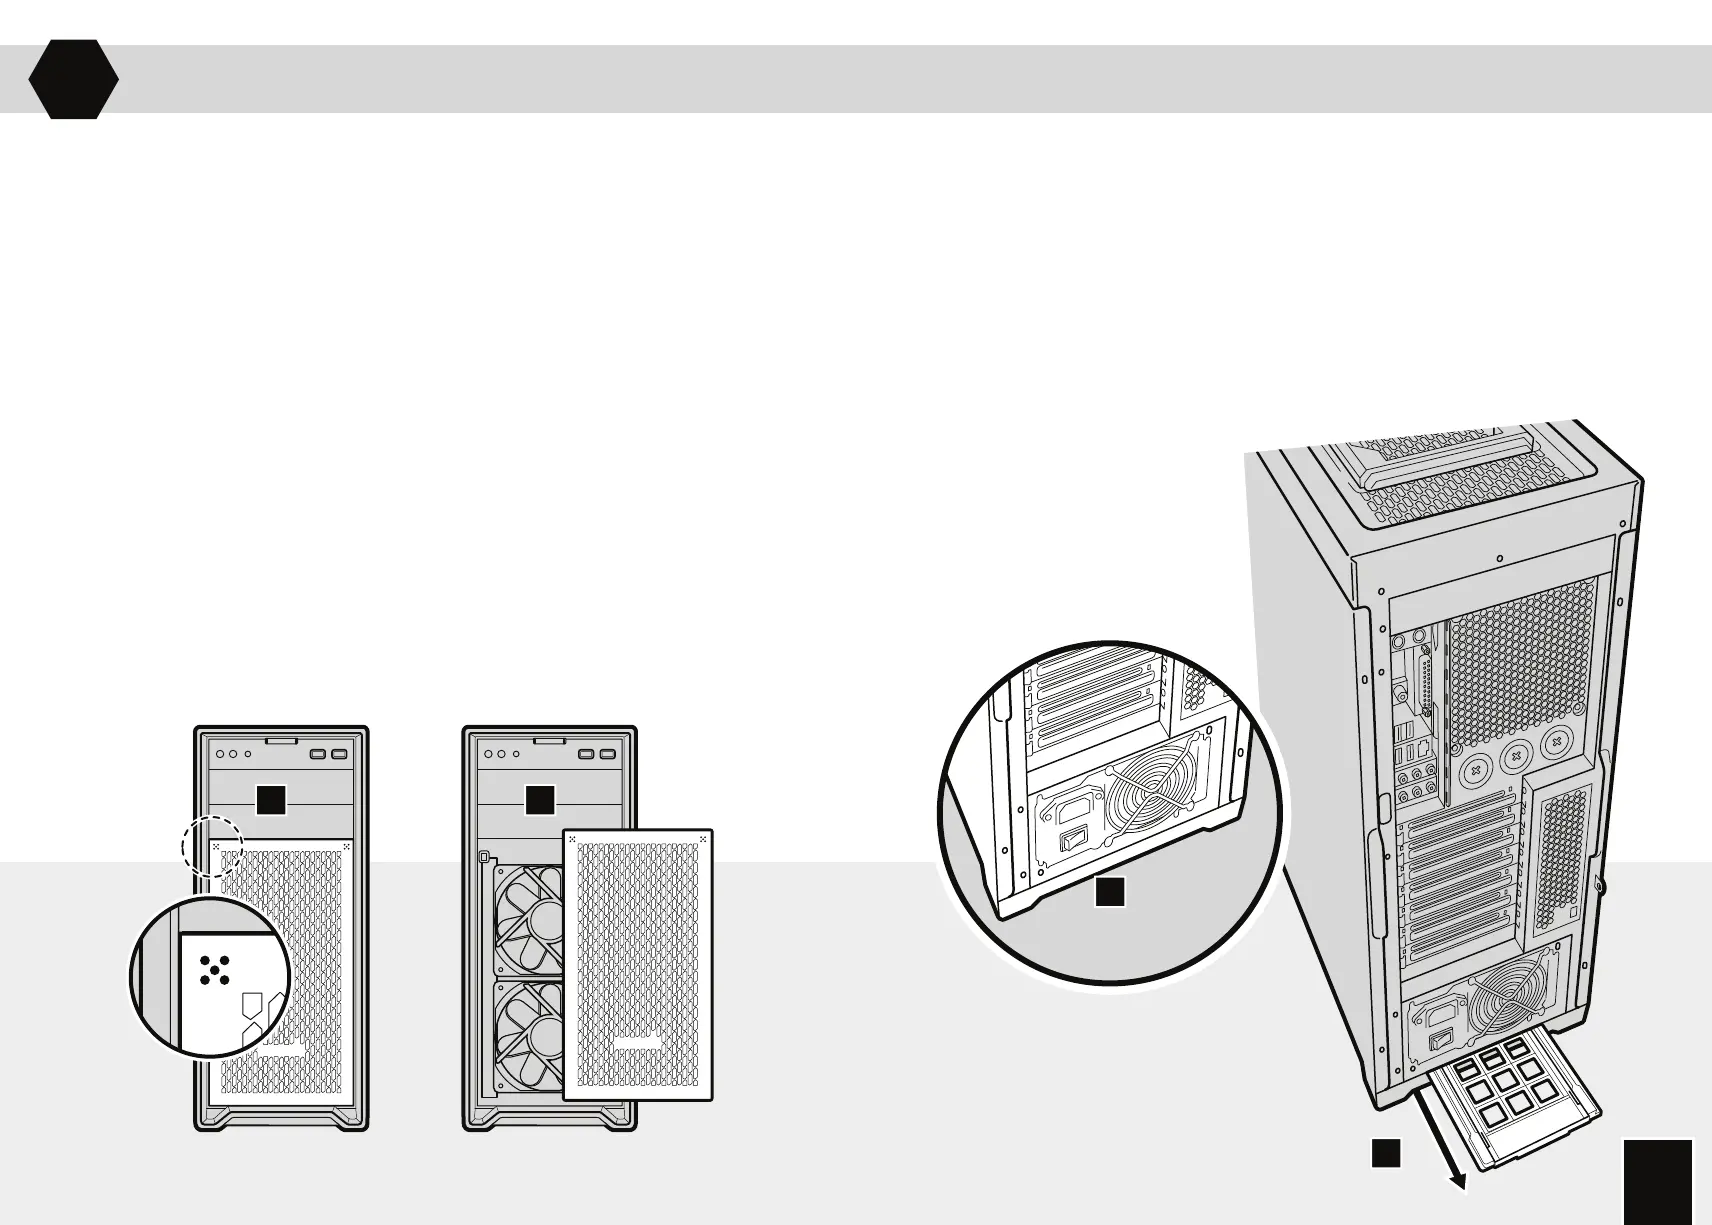
> To remove the front panel dust filter, first remove the
solid front panel by pushing the top corners of the aluminum cover.
> The front solid panel will pop out for access to the front dust filter.
> To remove the bottom dust filter, first locate the pull out tab underneath the PSU, then
pull the bottom dust filter out.
Removing the front and bottom dust filters
 Loading...